Premmia GL Series
51
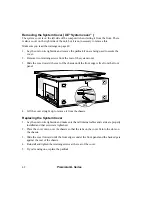
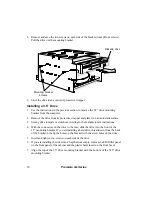
8. Slide the 3.5” drive mounting bracket toward the front of the unit. The screw hole
at the top of this bracket should line up with the screw hole on the 5.25” drive
mounting bracket.
9. Insert and tighten the screw that attaches the 3.5” drive mounting bracket to the
5.25” drive mounting bracket.
10. Attach the power and data cables to the drives in the 3.5” drive mounting bracket.
11. Follow the instructions on page 42 to replace the system cover.
Changing Drives in the 5.25” Drive Bays
CAUTION:
While performing the following procedure, be careful not to scrape the
drive cables or the mounting bracket against the motherboard and any cards that are
attached to it.
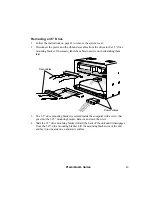
Removing a 5.25” Drive
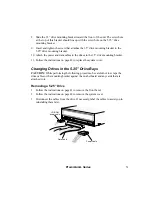
1. Follow the instructions on page 41 to remove the front bezel.
2. Follow the instructions on page 42 to remove the system cover.
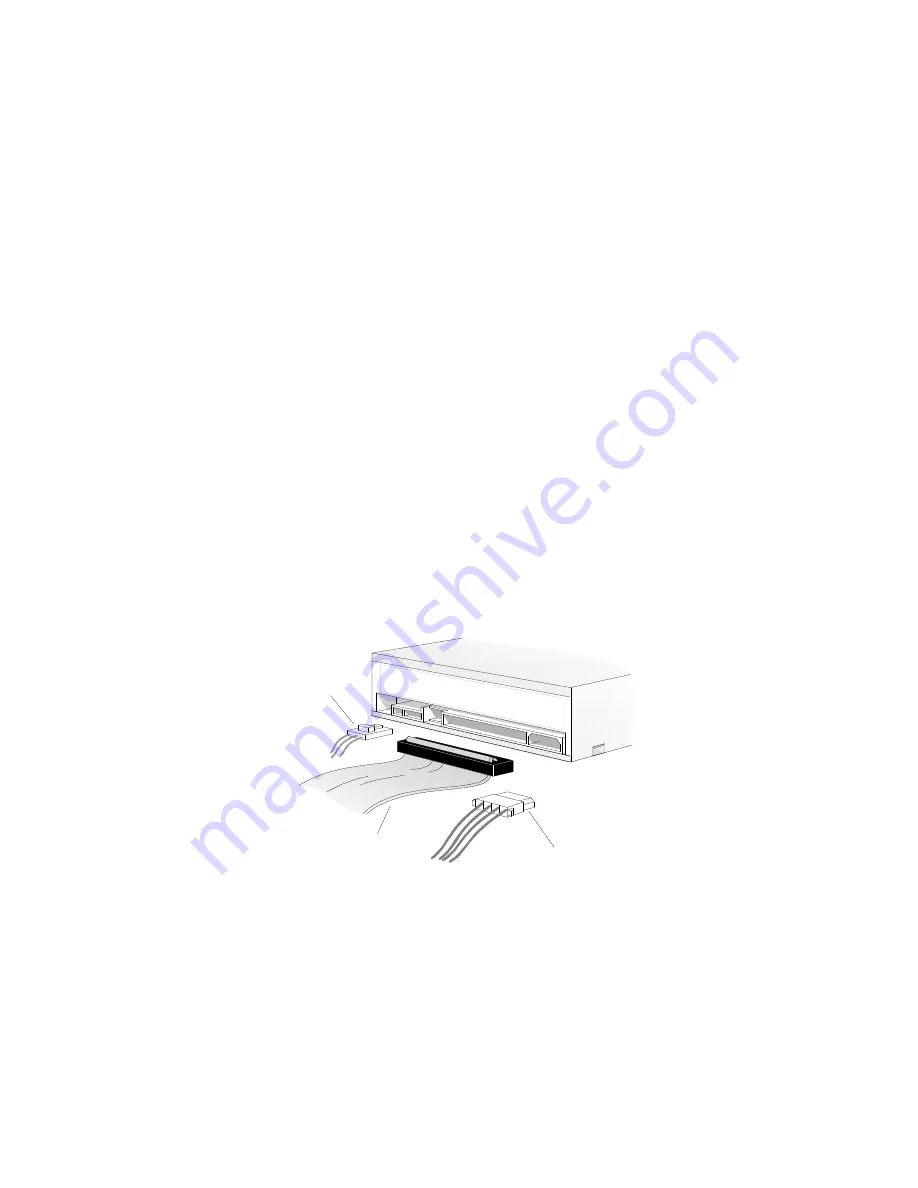
3. Disconnect the cables from the drive. If necessary, label the cables to assist you in
reinstalling them later.
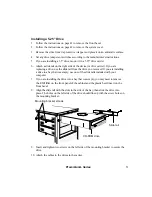
CD-ROM
audio cable
Power cable
Data cable
Содержание PREMMIA GL Series
Страница 1: ...Operator s Guide ...
Страница 13: ...Premmia GL Series 13 B D E F G H I J K L M N P R A C Q O ...
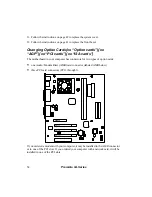
Страница 44: ...44 Premmia GL Series E Primary IDE J PCI card slots ...
Страница 93: ...Premmia GL Series 93 ...
Страница 95: ...Premmia GL Series 95 ...


