50
Premmia GL Series
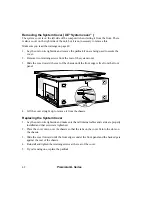
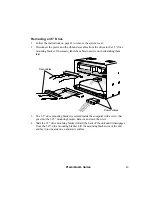
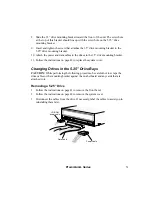
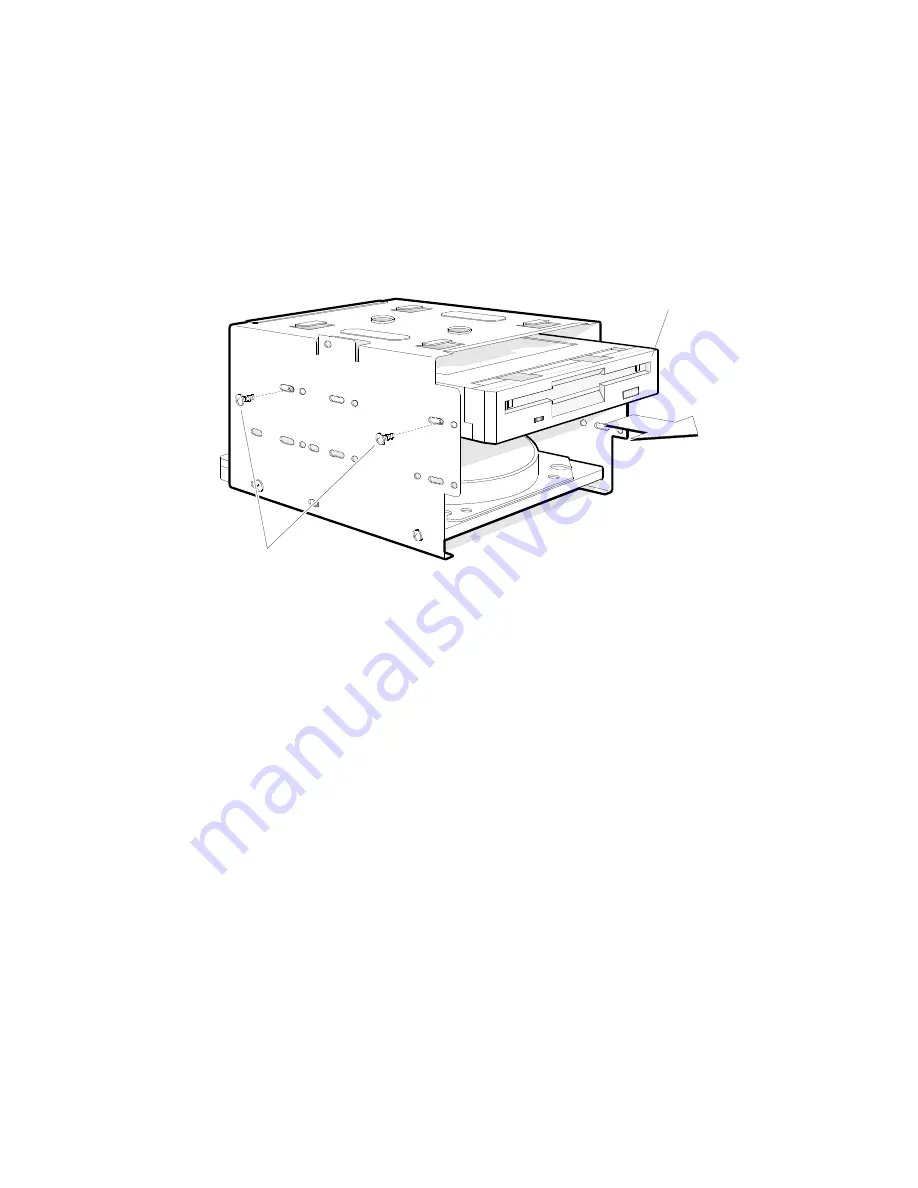
5. Remove and save the two screws on each side of the bracket (total of four screws).
Pull the drive out the mounting bracket.
Diskette drive
Mounting bracket
screws
6. Store the drive in an anti-static protective wrapper.
Installing a 3.5” Drive
1. Use the instructions in the previous section to remove the 3.5” drive mounting
bracket from the computer.
2. Remove the drive from its protective wrapper and place it on an anti-static surface.
3. Set any drive jumpers or switches according to the manufacturer’s instructions.
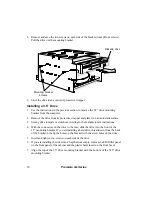
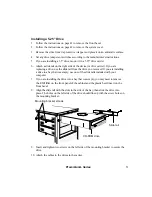
4. With the connectors on the drive to the rear, slide the drive into the front of the
3.5” mounting bracket. If you are installing a hard drive, this slides in from the back
of the bracket. Line up the holes on the bracket with the screw holes on the drive.
5. Insert and tighten two screws on each side of the drive.
6. If you are installing the drive into a bay that was empty, remove the EMI filler panel
on the front panel of the cabinet and the plastic bezel insert on the front bezel.
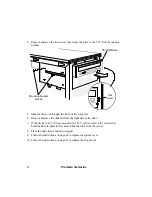
7. Align the top of the 3.5” drive mounting bracket with the bottom of the 5.25” drive
mounting bracket.
Содержание PREMMIA GL Series
Страница 1: ...Operator s Guide ...
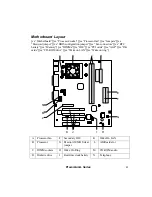
Страница 13: ...Premmia GL Series 13 B D E F G H I J K L M N P R A C Q O ...
Страница 44: ...44 Premmia GL Series E Primary IDE J PCI card slots ...
Страница 93: ...Premmia GL Series 93 ...
Страница 95: ...Premmia GL Series 95 ...

