51
Removing Valves
NOTE: Index all valves, springs, and cotters to their
original position when removing. When installing, all
valve components should be installed in their origi-
nal position.
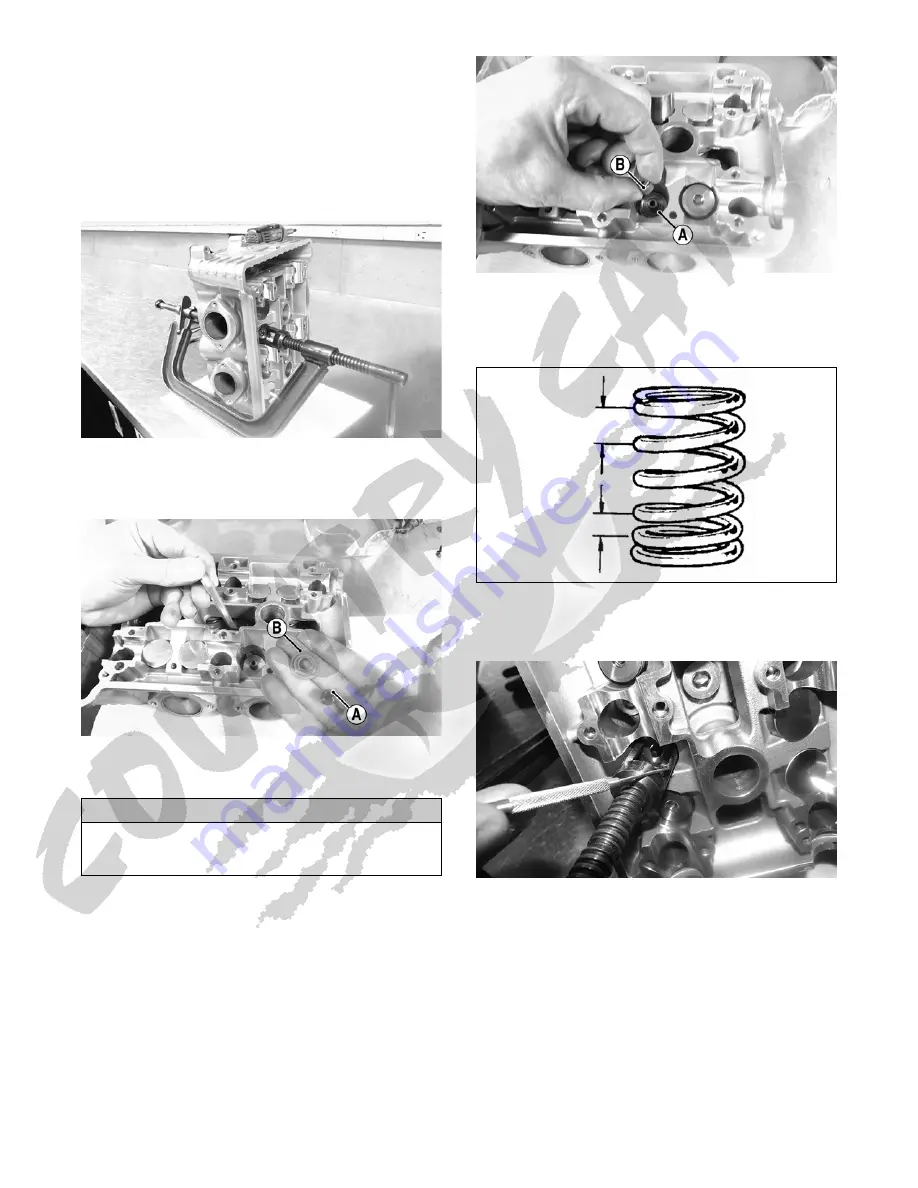
1. Using a valve spring compressor, compress the valve
springs and remove the valve cotters. Account for an
upper spring retainer.
WT585
2. Using an appropriate tool, remove the valve seal (A)
and the lower remaining spring seat (B). Discard the
valve seal.
WT583A
3. Remove the valve springs; then invert the cylinder
head and remove the valves.
Measuring Valve Guide (Bore)
1. Insert a suitable bore gauge 1/2 way into each valve
guide bore and record the measurement.
2. Acceptable inside diameter range must be within
specifications.
3. If a valve guide is out of tolerance, the cylinder head must
be replaced.
Installing Valves
1. Apply grease to the inside surface of new valve
seals; then place a lower spring seat (A) and valve
guide seal (B) over each valve guide.
WT582A
2. Insert each valve into its original location.
3. Install each valve spring (two per valve) with the closest
wound coils towards the cylinder head (down).
KC522
4. Place a spring retainer over the valve springs; then
using the valve spring compressor, compress the valve
springs and install the valve cotters (two per valve).
WT587
NOTE: Apply a small amount of grease to the end of
the tool to hold the cotter.
PISTON ASSEMBLY
NOTE: Whenever a piston or pin is out of tolerance,
it must be replaced.
Removing Piston Rings
1. Starting with the top ring, slide one end of the ring out
of the ring-groove.
2. Remove each ring by working it toward the dome of
the piston while rotating it out of the groove.
CAUTION
If valves are discolored or pitted or if the seating sur-
face is worn, the valve must be replaced. Do not attempt
to grind the valves or severe engine damage may occur.


