117
INSTALLING
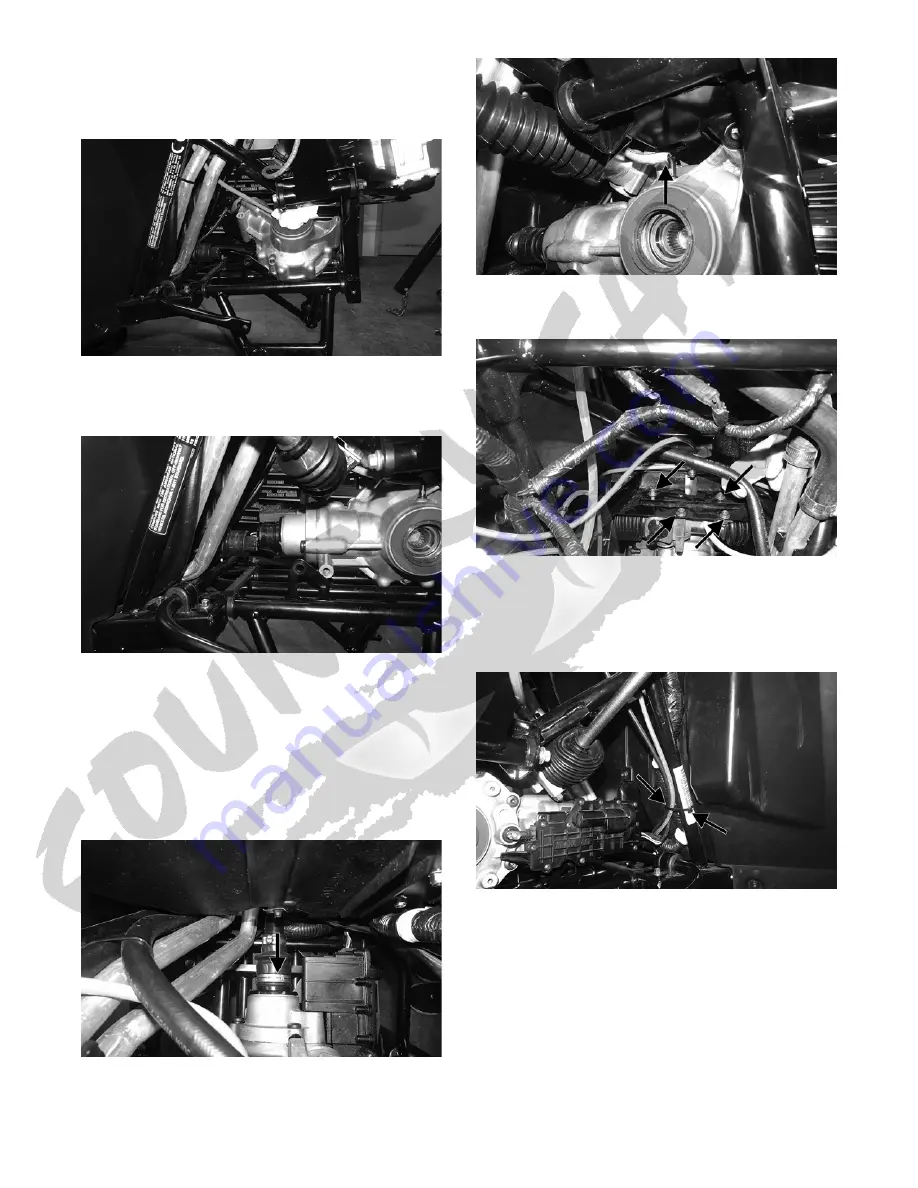
1. From the right side of vehicle, place the differential
into the vehicle (actuator side down); then maneuver it
into the mounting brackets.
WT501
2. Slide the differential towards the front of the vehicle
to align the driveshaft; then apply molybdenum grease
and slide the differential rearward onto the driveshaft.
WT502
3. Install the existing cap screws and spacers securing
the front differential to the frame. Using new cap lock
nuts, tighten to 38 ft-lb.
NOTE: The spacers go between the mounting
brackets and the front differential on the left side of
the differential.
4. Install the boot clamp securing the boot to the output
shaft of the front differential.
WT422A
5. Install the differential vent hose.
WT503A
6. Install the rack and pinion assembly. Using new lock
nuts, secure it to the frame and tighten to 25 ft-lb.
WT369A
7. Install the steering shaft, dash, and steering wheel.
8. Install the drive axles.
9. Connect the actuator harness and secure it with cable
ties.
WT504A
10. Install the axle into the knuckles; then swing the
knuckles upward and engage the ball joint of the
upper A-arm into the knuckle. Using a new “patch-
lock” cap screw, tighten to 35 ft-lb.


