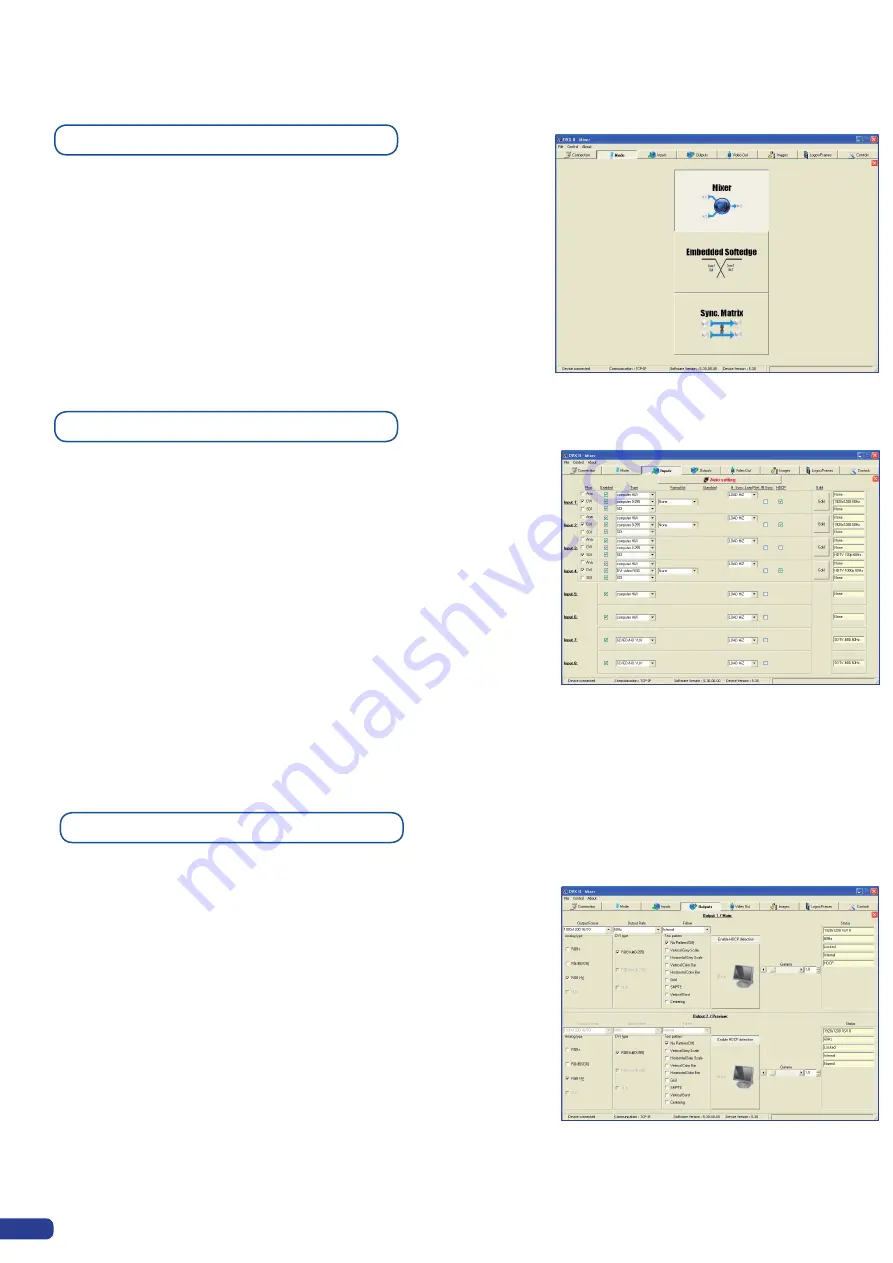
To choose the operating mode you want your
Di-VentiX II
to work in,
simply click the “Mode” tab, then select the desired mode by clicking
on one of the three mode buttons (Mixer, Embedded Softedge or
Sync Matrix).
*NOTE *:
for further details on different modes, restrictions and
settings, please refer to the “
Working with the Di-VentiX II
” section,
the “
Home Menu
” section, and the “
Soft Edge Blending
” section.
Once your
Di-VentiX II
is connected to your PC, the first step in
properly configuring your machine is to individually select and
parameter your inputs.
1/ Click on the “Inputs” tab of the RCS.
2/ In the Plug column, select the plug type by clicking the appropriate
field.
3/ Activate the input in the Enabled column if it is not already.
4/ In the scroll-down menu of the Type column, select the signal type
connected to that plug.
5/ Repeat steps 2 to 4 for all sources connected to the rear panel of
your
Di-VentiX II
.
6/ Click on the “Inputs” tab to return to the main screen.
1/ Click on the “Outputs” tab of the RCS.
2/ Select the type of plug which is connected to outputs 1 & 2 of your
Di-VentiX II
by clicking in the appropriate field in the Analog Type or
DVI Type section for both Main and Preview outputs.
3/ Select the approriate output format and output rate.
4/ Click on the “Outputs” tab to return to the main screen.
5-2. WORKING WITH THE RCS
Operating Mode
Source input configuration
Source output configuration
The «Output» menu also allows you to generate test patterns. This is
particularly handy in the case of use of the
Di-VentiX II
in Embedded
SEB (Soft Edge Blending) mode. The test patterns available through
the «Output» menu let you quickly and reliably setup your projectors
for use in soft edge configurations.
* NOTE *:
be sure to turn the test pattern off to display your sources
again.
54
Содержание Di-VentiX II
Страница 1: ...Version 5 30 USER MANUAL ...
Страница 2: ......
Страница 86: ......
Страница 87: ......


