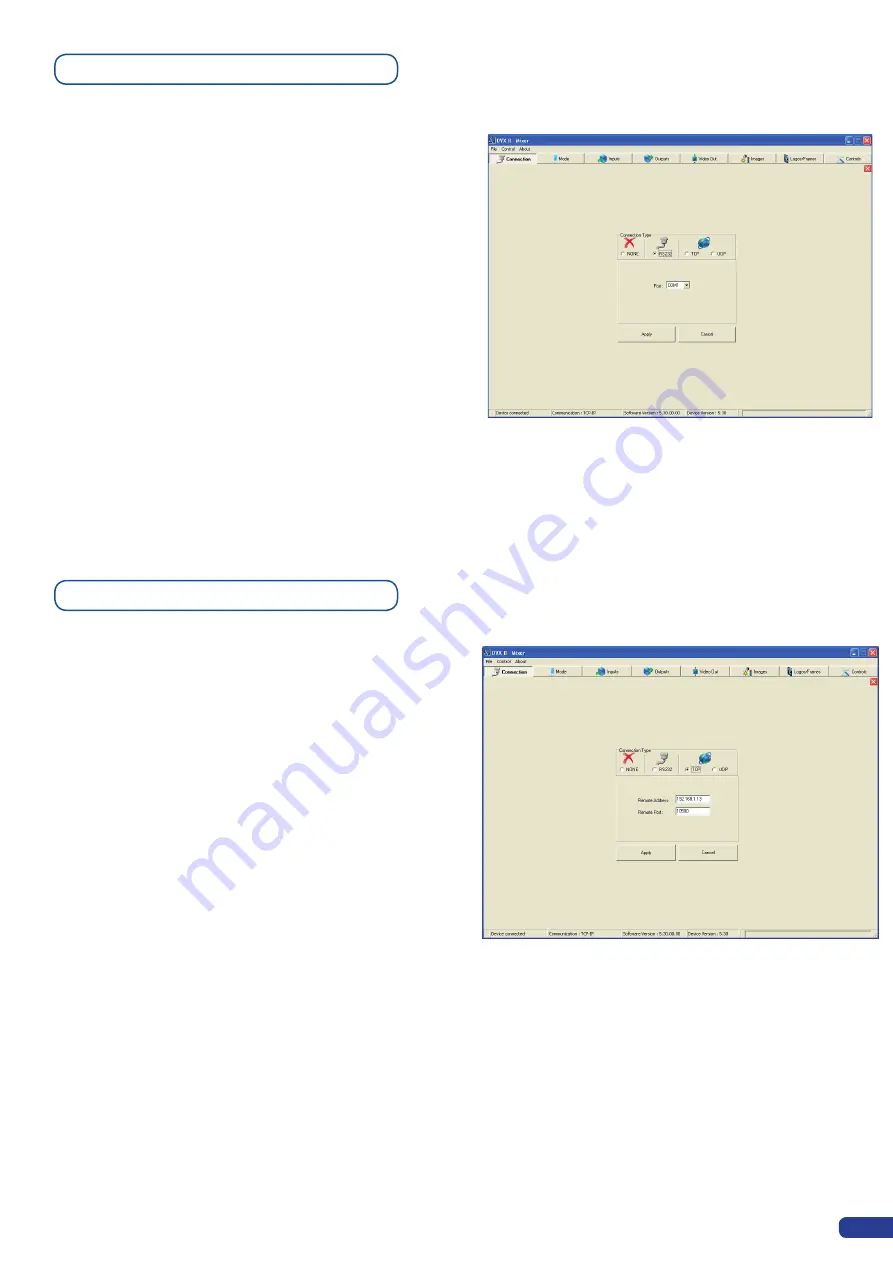
1/ Connect an RS232 cable between the
Di-VentiX II
and
your PC, then power on your devices.
2/ Click on the RCS program file on your PC to run the
software.
3/ Click on the “Connections” tab and select RS232 as the
connexion type. In the drop-down menu, select the COM
port number corresponding to the connected device
(default is Port 1).
4/ Click apply, and wait for devices to synchronize. The
RCS will display the following connexion message:
“Device Connected”
5/ Click on the “Connections” tab to return to the main screen.
1/ Connect a crossed RJ45 cable between the
Di-VentiX II
and your PC, then power on your devices. Use a straight
RJ45 cable if connecting through a network switcher.
2/ Click on the RCS program file on your PC to run the
software.
3/ Click on the “Connections” tab and select LAN as the
connexion type.
4/ In the “Remote Address” field, enter the IP address of the
Di-VentiX II
you wish to control (see also “
Working with
the Di-VentiX II
”).
5/ In the “Remote Port” field, enter the remote port number
of the
Di-VentiX II
you wish to control (see also “
Working
with the Di-VentiX II
”).
6/ Click Apply, and wait for devices to synchronize. The RCS will
display a connexion message.
7/ Click on the “Connections” tab to return to the main screen.
Serial connection
Ethernet connection
53
Содержание Di-VentiX II
Страница 1: ...Version 5 30 USER MANUAL ...
Страница 2: ......
Страница 86: ......
Страница 87: ......


