4/ Select
Record Frames
from the
Logo/Frames
menu by rotating
the corresponding knob, then pressing the corresponding
[SET]
button. A white rectangle will appear on your main display,
indicating the frame which will be captured. Select an empty
frame memory (empty frames are indicated in the sub-menu) to
store the frame into. Press the corresponding
[SET]
button.
5/ Select
Yes
with the corresponding knob when the LCD screen
asks for frame record confirmation, then press the corresponding
[SET]
button. The
Di-VentiX II
will display a progress status bar on
the VFD screen. Your frame is stored when the menu reappears
on the VFD screen.
6/ Press the
[BKGND/FRAME]
button, select a frame number (#1 to
#8), your frame will appear on your Preview screen, then press
the
[TAKE]
button. Your background frame will appear on your
Main screen.
*
NOTE
* : Make sure layer A is off (black), cropped or resized, as it
will otherwise hide your frame.
36
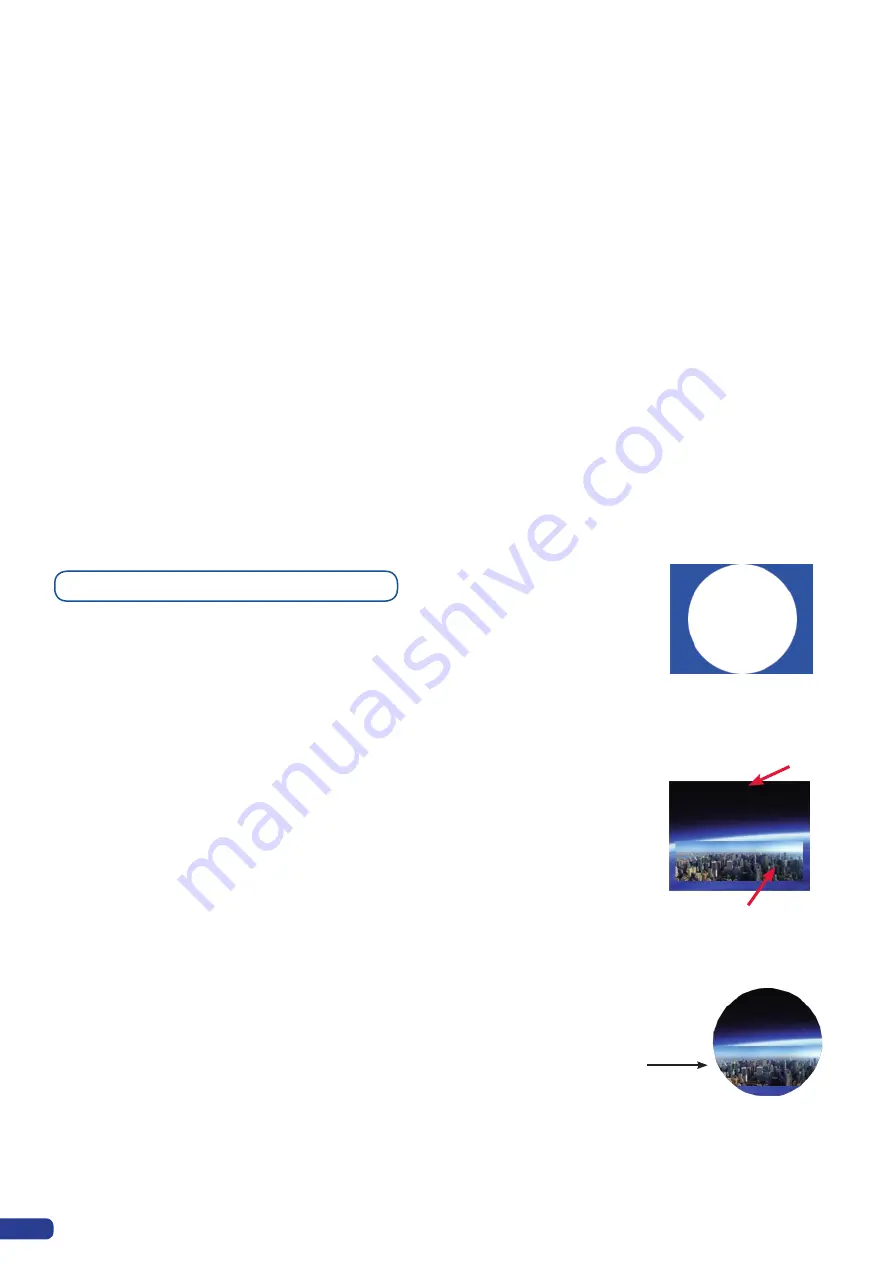
The Mask Frame layer will add a ‘masking’ effect to your picture
as the shutter function on old cinema projectors. You can setup
any shape for your mask. First capture your frame then proceed as
follows:
CAPTURING A MASK FRAME:
1/ Select the Record Masks option from the Logo / Frame menu.
2/ Set the Luma Key and Cut Out Color values as required.
3/ Select the Store / Erase option to record your mask frame.
4/ Press the
[MASK/FRAME]
button, select the mask frame number ‘1’,
then press the
[TAKE]
button to apply your mask to your main screen.
Masking Frame
Layer A
Mask Frame Layer
Raw Output
Layer B
Result
after
TAKE
ADDING A MASK FRAME TO YOUR PRESET:
Once a mask is stored, you can add it to your preset by hitting the
button
[MASK/FRAME]
then button ‘1’ on the preset. When you
press the button
[MASK/FRAME]
,
if the buttons ‘1’ on Preview and
Main presets stays dark, it means that your Mask/Frame has not
been stored correctly.
Содержание Di-VentiX II
Страница 1: ...Version 5 30 USER MANUAL ...
Страница 2: ......
Страница 86: ......
Страница 87: ......


