Designing Panel Pages
26
TPDesign3 Touch Panel Program
4.
Click in the On State Icon field (title turns red); choose an icon from the listing to assign the
On State of the button. Repeat this step for the Off State.
5.
You can clear the individual or both states by using either the Clear or Clear Both buttons at the
top of the Select Icon dialog box. The On/Off States of a button can have the same icon
assigned to them.
6.
Click OK to accept your changes and return to the main menu.
Selecting a Picture
1.
Select a button by clicking on it.
2.
Select Picture from either the Button drop-down or right-click Button option menus to open
one of the Select Bitmap dialog boxes similar to those shown in FIG. 11. To the left of the
Bitmap Info section is the bitmap list. This lists all the available images.
!
To view the text listing of available bitmaps, do not select the Use Graphical Dialog
option from the Edit > Preferences > Application tab.
!
To view the graphical listing of available bitmaps, select the Use Graphical Dialog option
from the Edit > Preferences > Application tab.
3.
Select a picture name from the listing of available pictures. The first choice will assign the Off
State Bitmap.
4.
Click in the On State Bitmap field (title turns red); choose a picture from the listing to assign as
the On State of the button.
5.
You can clear the individual or both states by using either the Clear or Clear Both buttons at the
top of the Select Bitmap dialog box. The On/Off States of a button can have the same picture
assigned to them.
6.
Click OK to accept your changes and return to the main menu.
Image Positioning
1.
Select a button by clicking on it.
2.
Select Image Positioning from either the Button drop-down or right-click Button option menus
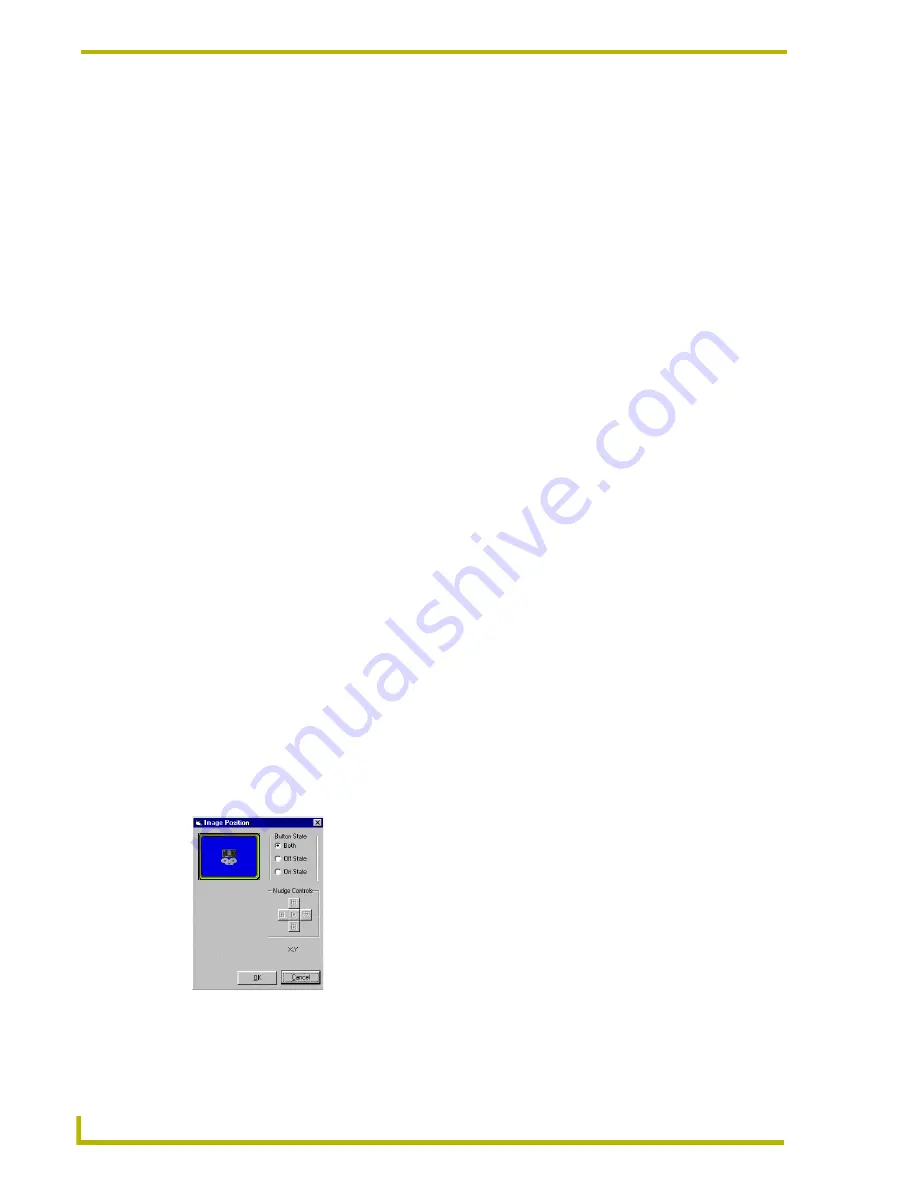
to open the Image Position dialog box (FIG. 12). Use this dialog box to set the bitmap or icon
position on the active button.
3.
Click a Button State to edit the button image features. You can choose either the On, Off, or
Both States of a button. The button displayed corresponds to the selection.
FIG. 12
Image Position dialog box
Subsequent button resizing operations,
after the Image Positioning window is closed,
re-centers all images in both the On and Off States.


