IRL File Transfers
73
Instruction Manual – DXLink™ Twisted Pair Transmitters/Receiver
Preparing for IRL File Transfers in an Endpoint System
To prepare for IRL file transfers in an endpoint system:
1.
Check to be sure #3 Toggle on the bottom of the Transmitter or Receiver is set to ON.
2.
Verify that you have the latest version of NetLinx Studio on your PC.
If the version is not the latest –
Use the Web Update option in NetLinx Studio’s Help menu to obtain the latest version.
Or
Go to
www.amx.com
and login as a Dealer to download the latest version.
3.
Download the applicable IRL file from
www.amx.com
(Partners / Search Devices) to your PC.
4.
Verify the following:
a.
Verify that an Ethernet/RJ-45 cable is connected from the switcher’s integrated Master to the network (e.g.,
from the LAN 100/1000 port on an Enova DGX 32 to a LAN).
b.
Verify that the target Transmitter or Receiver is connected via its DXLink connector to a DXLink Input or
Output Board (respectively) on the switcher.
c.
Verify that the switcher is powered on.
5.
Launch NetLinx Studio and open the OnLine Tree.
6.
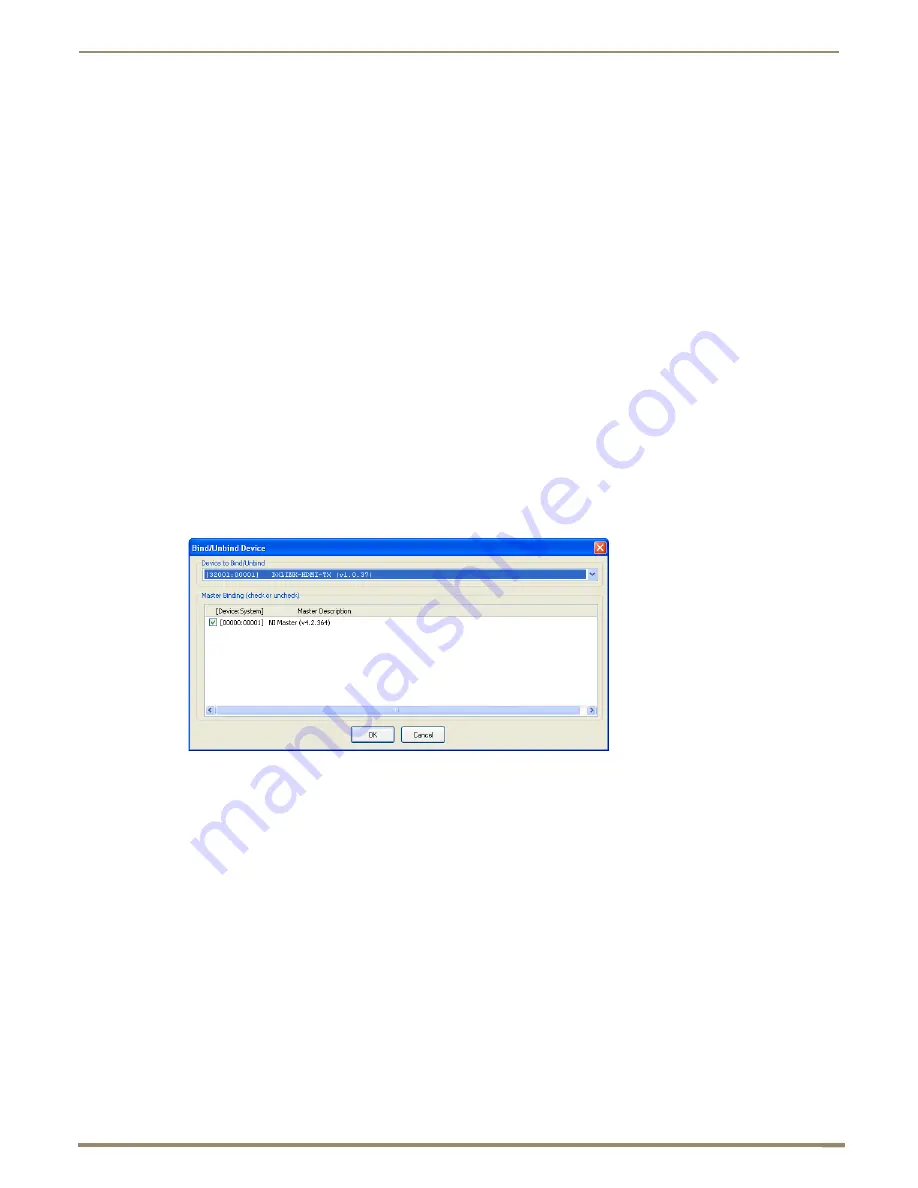
Bind the target Transmitter or Receiver to the integrated Master:
a.
Select and right-click the TX or RX in the Online Tree.
b.
From the context sensitive menu, select Network Bind/Unbind Device.
c.
Verify that the check box is selected. If not selected, select it now.
d.
Click OK.
7.
Determine the Device Number assigned to the target Transmitter or Receiver when it was bound. For the Device
Number location, see FIG. 38 on the previous page.
The Transmitter or Receiver is ready for the IRL file transfer (see page 75).


