


WebConsole - System Options
55
NetLinx Integrated Controllers (Firmware v4)- WebConsole & Programming Guide
5.
Copy (
Ctrl
+
C
) the text to the clipboard.
6.
Paste (
Ctrl
+
V
) this text into the
Submit Request
field on the CA’s Retrieve Certificate web page.
7.
Choose to view the certificate response in raw DER format.
Note the
Authorization Code
and
Reference Number
(for use in the e-mail submission of the request).
8.
Submit the request.
9.
Paste the copied text into your e-mail document and send it to the CA with its accompanying certificate application.
NOTE:
When a certificate request is generated, you are creating a private key on the Master. You can not request another
certificate until the previous request has been fulfilled. Doing so voids any information received from the previously requested
certificate and it becomes nonfunctional if you try to use it.
Once you have received the returned CA certificate, follow the procedures outlined in the following section to import the returned
certificate (
over a secure connection
) to the target Master.
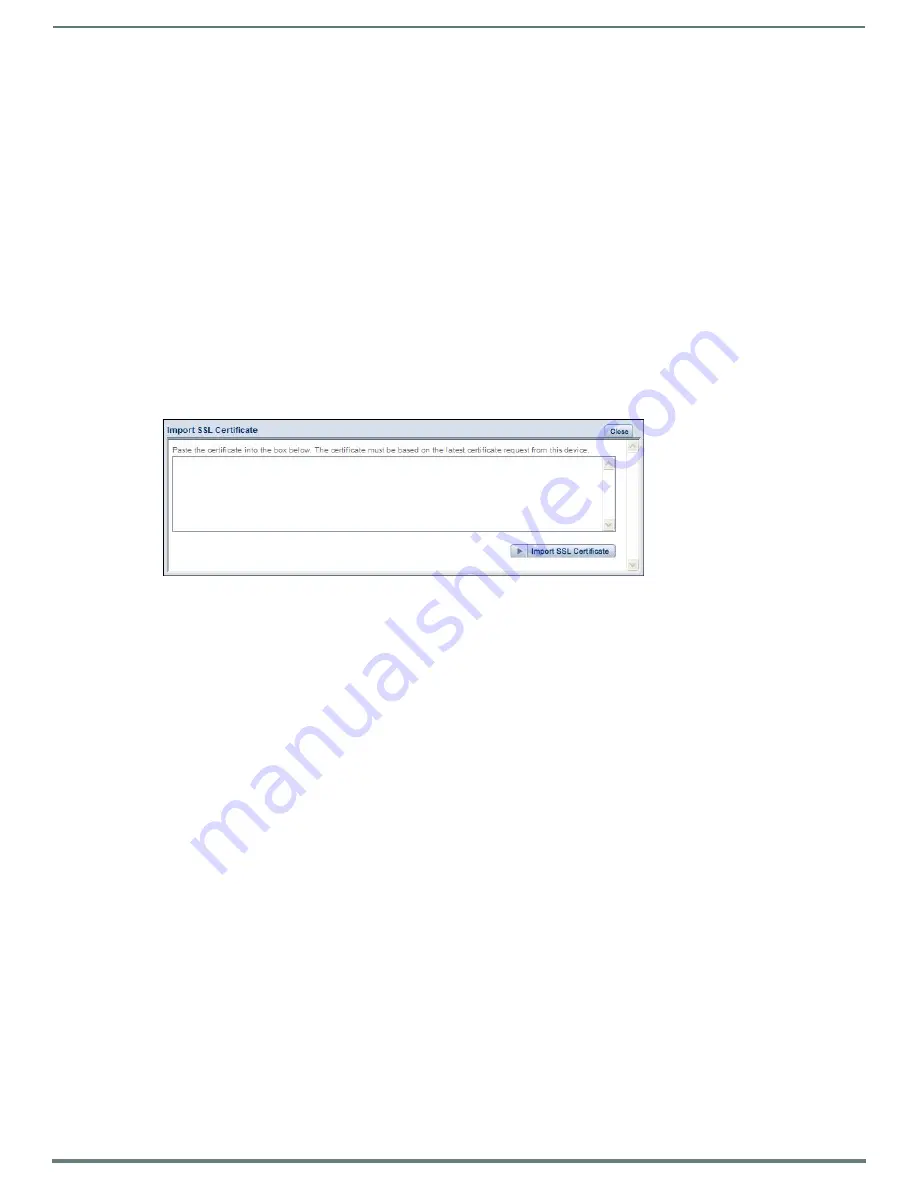
Importing an SSL Certificate
Click the
Import SSL Certificate
link to import a CA server certificate. Before importing an SSL Certificate you must:
First
, have a self-generated certificate installed onto your target Master.
Second
, enable the
HTTPS/SSL
feature from the Server Options page (FIG. 55), to establish a secure connection to the
Master prior to importing the encrypted CA certificate.
1.
Copy the returned certificate (signed by the CA) to your clipboard.
2.
Click the
Import SSL Certificate
link to open the Import SSL Certificate window (FIG. 58).
3.
Place the cursor inside the text box and paste the returned certificate text, in its entirety.
4.
Click
Import SSL Certificate
to save the new certificate information to the Master.
NOTE:
Once a certificate has been received from an external CA and installed on a Master, do not regenerate the certificate or
alter its properties. Regenerating a previously installed certificate, invalidates the certificate.
5.
Click the
Display Certificate
link to confirm the new certificate was imported properly to the target Master.
NOTE:
A CA certificate can only be imported to a target Master only after both a self-generated certificate has been created and
the SSL Enable feature has been selected on the Master. These actions configure the Master the secure communication
necessary during the importing of the CA certificate.
FIG. 58
Import SSL Certificate window


