MEGAPOWER CPU
8200-0421-03, REV. G
ADMINISTRATOR’S GUIDE
49 of 82
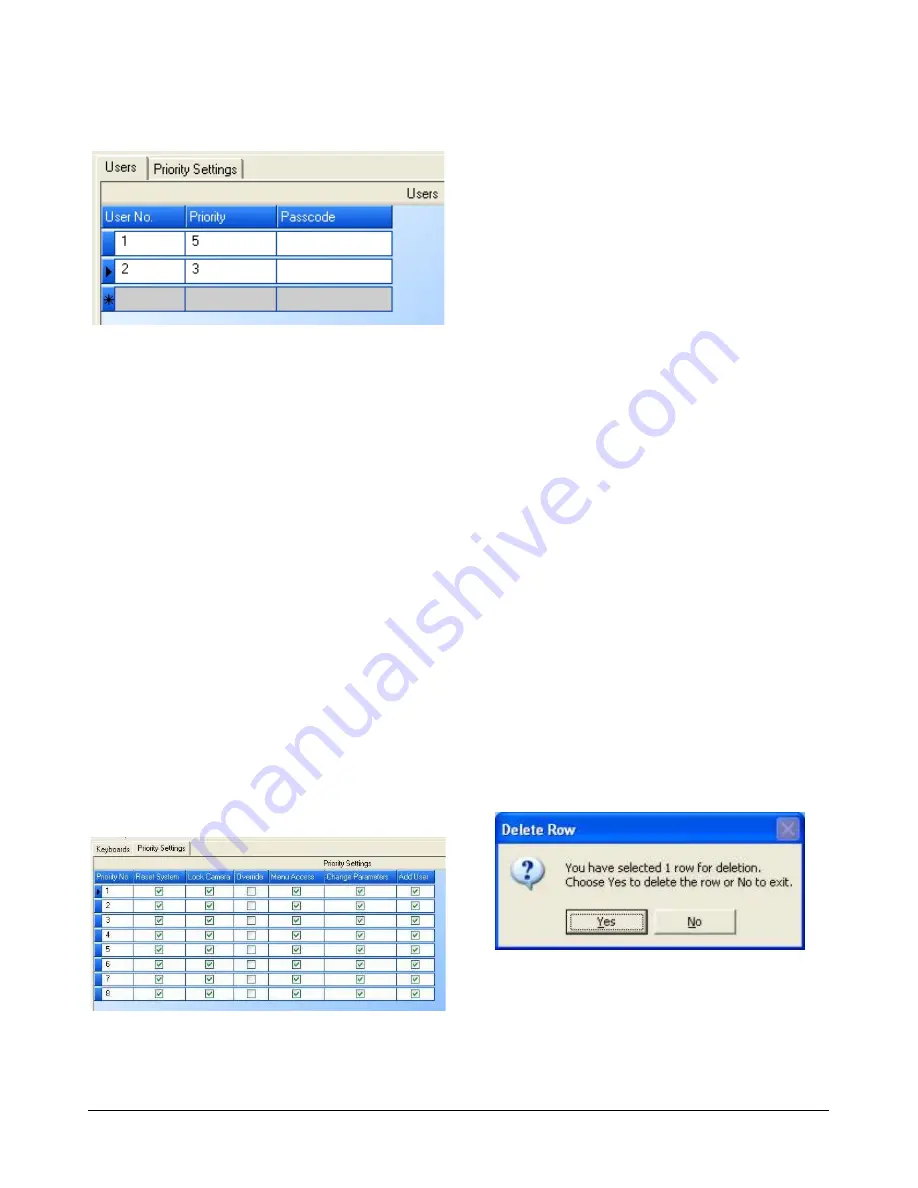
Figure 104. Definitions – keyboard/user priorities
users setup screen
3. In the Users tab, complete the following fields:
−
User No.
– Numeric reference assigned by the
administrator that identifies individual users.
−
Priority
– Identifies the priority level (1-8)
assigned to the user.
−
Passcode
– Displays the passcode for access
to system resources, such as cameras and
monitors.
Configuring the Keyboard/User
Priority Settings
The Keyboard/User Priorities setup allows you to
create up to eight priority levels that can be assigned
to keyboards and users. Each priority level grants a
different level of permission for control of cameras or
the system.
To configure the Keyboard/User priority settings, do
the following within the Priority Settings tab:
1. Click on Keyboard/User Priorities link in the
Explore menu to begin. The following screen
appears.
Figure 105. Definitions – keyboard/user priorities
settings screen
2. In the Priorities Settings tab, complete the
following fields:
−
Priority No.
– Identifies a level (1-8) to this
priority (1 = lowest priority, 8 = highest priority).
−
Reset System
– If enabled, the selected
priority level can clear all programmed
information from the CPU and return to factory
defaults.
−
Lock Camera
– If enabled, the selected priority
level can lock the control of a camera (equal or
lower priority levels will have view-only
capability).
−
Override
– If enabled, the selected priority
level can override the keyboard/camera view
and control partitioning restrictions.
−
Menu Access
– If enabled, the selected priority
level can access menu programming.
−
Change Parameters
– If enabled, the selected
priority level can edit system parameters
through menu programming (must have menu
access).
−
Add User
– If enabled, the selected priority
level can add new users.
Deleting Keyboard/User Priorities Settings
To delete a keyboard, user, or priority settings:
1. Click on the appropriate tab.
2. Click on the leftmost blue portion of the row
containing the desired definition. The entire row
turns blue.
3. Press
Delete
on the PC keyboard. The Delete
Row dialog box appears.
Figure 106. Delete Row dialog
4. Click
Yes
to delete the definition or
No
to retain
the definition.
Содержание MegaPower ADMPCPU
Страница 1: ...8200 0421 03 G MegaPower CPU ADMPCPU Administrator s Guide...
Страница 2: ......
Страница 85: ......


