


16
8.
Give your camera a name, then enter in the
camera’s username and password. Once you’ve
filled out all of the fields, tap
Next
.
9.
Your camera is now ready to go! Tap the
Start Live
Preview
button to get started!
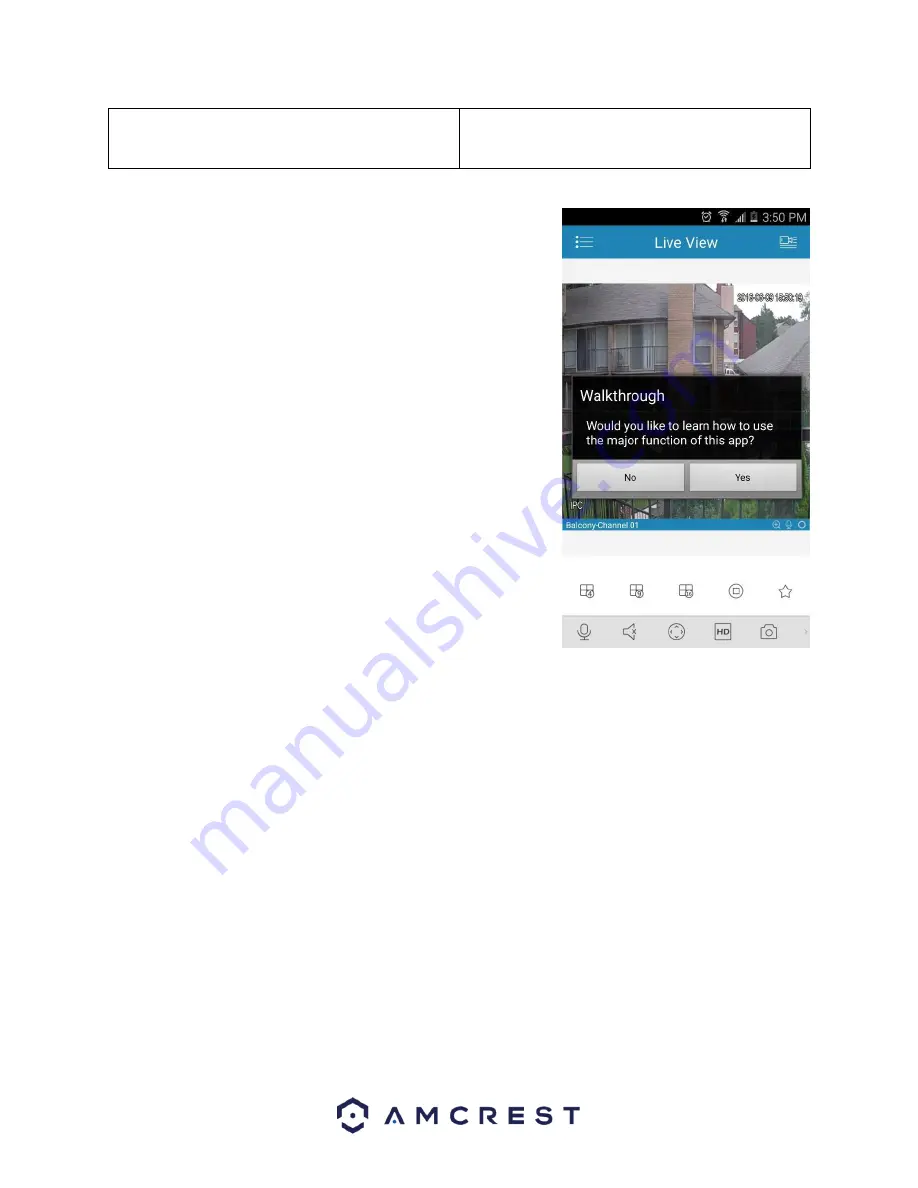
4.3.2 App walkthrough
Once you've set up your camera, the app will present you with a popup
that offers a walkthrough of different features. Tap “
Yes
” on this popup
to begin a tour of all of the icons located on the Live View screen. In the
future, you can always access the walkthrough again by opening the
Menu
, tapping
Help
, then tapping
Wizard
.
4.3.3 Motion detection setup
Setting up motion detection for the Outdoor PTZ camera through the Amcrest View app will allow you to choose
how your camera will react to and record motion. This is the best way to record events that are particularly of
interest without needing to waste storage space by constantly recording. However, you can have motion detection
set up along with 24/7 recording. The motion recordings will overlap the regular recordings and classify each
motion-triggered recording as a motion event for your convenience when searching.
There are a lot of customization options for motion detection that can be configured directly through the app. This
gives you complete control over how to make motion detection work the way you want it to.
Here is a list of all the advanced configuration options for motion detection:
•
Schedule
: Modify motion detection recording timings.
•
Anti-Dither
: Set how long motion detection can still be triggered after motion stops.
•
Sensitivity
: Select motion detection sensitivity.
•
Region
Setting
: Specify motion detecting regions of the screen.
•
Record
: Toggle this switch to start recording when motion is detected.


