


72
bottom right hand corner. To apply the settings, click the Apply button near the bottom right hand corner.
After completing the setup please click the save button to go back to the previous menu.
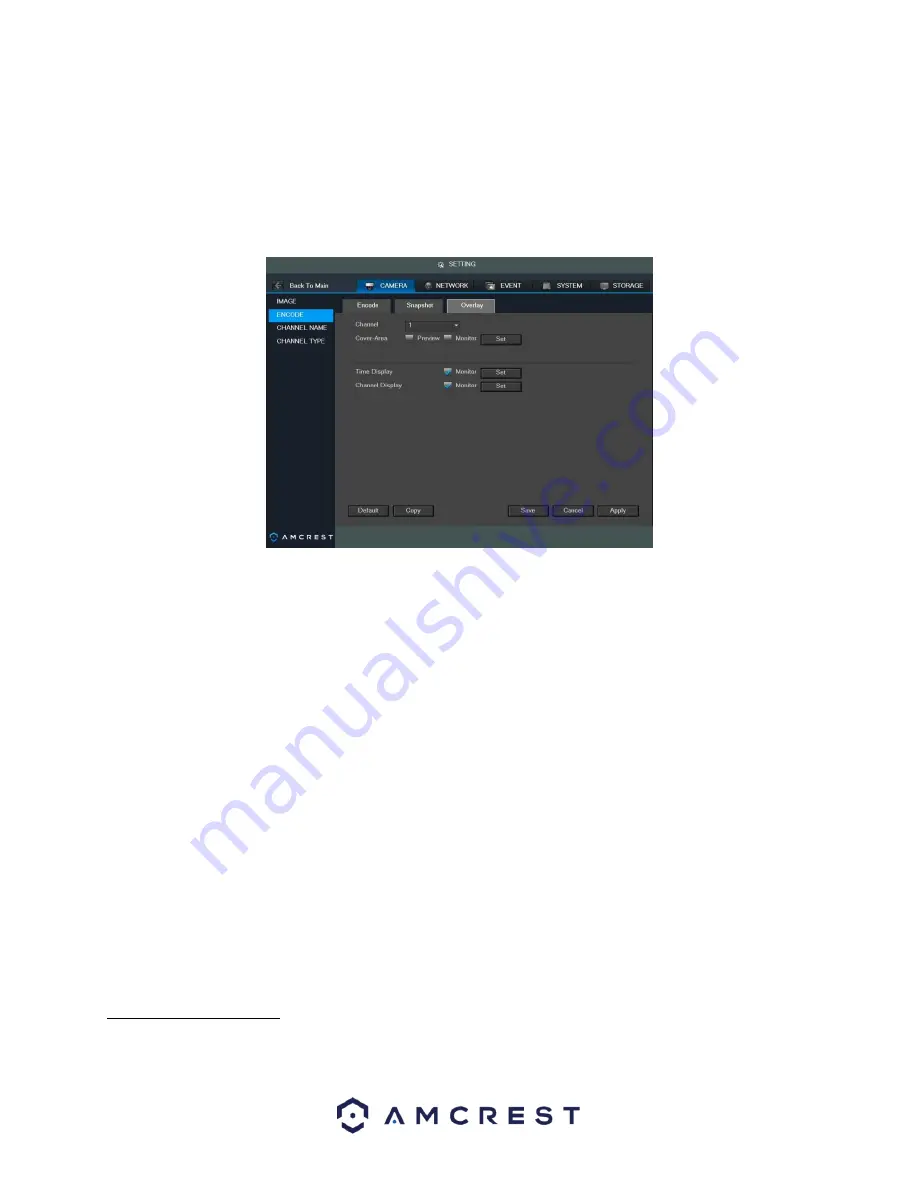
4.10.1.2.3 Overlay
The overlay tab allows the user to change overlay settings for each channel.
Below is a screenshot of the overlay tab:
Below is an explanation of fields that can be modified on the overlay settings screen:
•
Channel: This dropdown box allows the user to select a channel from the dropdown list to modify.
•
Cover Area: This button allows the user to set the cover area. Drag the mouse to set the proper section
size. The system supports a maximum of 4 zones in one channel.
•
Preview/Monitor: There are two types of cover areas
o
Preview means the privacy mask zone cannot be
viewed by user when system is in preview status.
o
Monitor means the privacy mask zone cannot be viewed by the user when system is in monitor
status.
•
Time Display: This button allows the user to select whether or not the system displays time on playback
video.
Clicking the set button and allows the user to drag the timestamp to the desired position on the screen.
•
Channel Display: This button allows the user to select whether or not the system displays channel number
on playback video. Clicking the set button allows the user to drag the title to the corresponding position
on the screen.
To revert to default settings, click the Default button near the bottom left hand corner. To copy settings to
another channel, click the Copy button near the bottom right hand corner. To confirm settings, click the Save
button near the bottom right hand corner. To cancel any modifications, click the Cancel button near the
bottom right hand corner. To apply the settings, click the Apply button near the bottom right hand corner.
After completing the setup please click the save button to go back to the previous menu.
4.10.1.3 Channel Name
This screen is used to modify the channel names. Each field supports a maximum of 31 characters.
Содержание AMDVTENL8
Страница 1: ...1 Amcrest 1080p Lite AMDVTENL8 DVR User Manual...
Страница 7: ...7 This page is left blank intentionally...
Страница 14: ...14...
Страница 25: ...25 2 Connect a USB mouse to the front of the DVR...
Страница 26: ...26 3 Connect an Ethernet cable to your router and then connect the other end of the cable to the DVR...
Страница 65: ...65...
Страница 155: ...155 Below is a screenshot of the period setup screen Below is a screenshot of the region setup screen...


