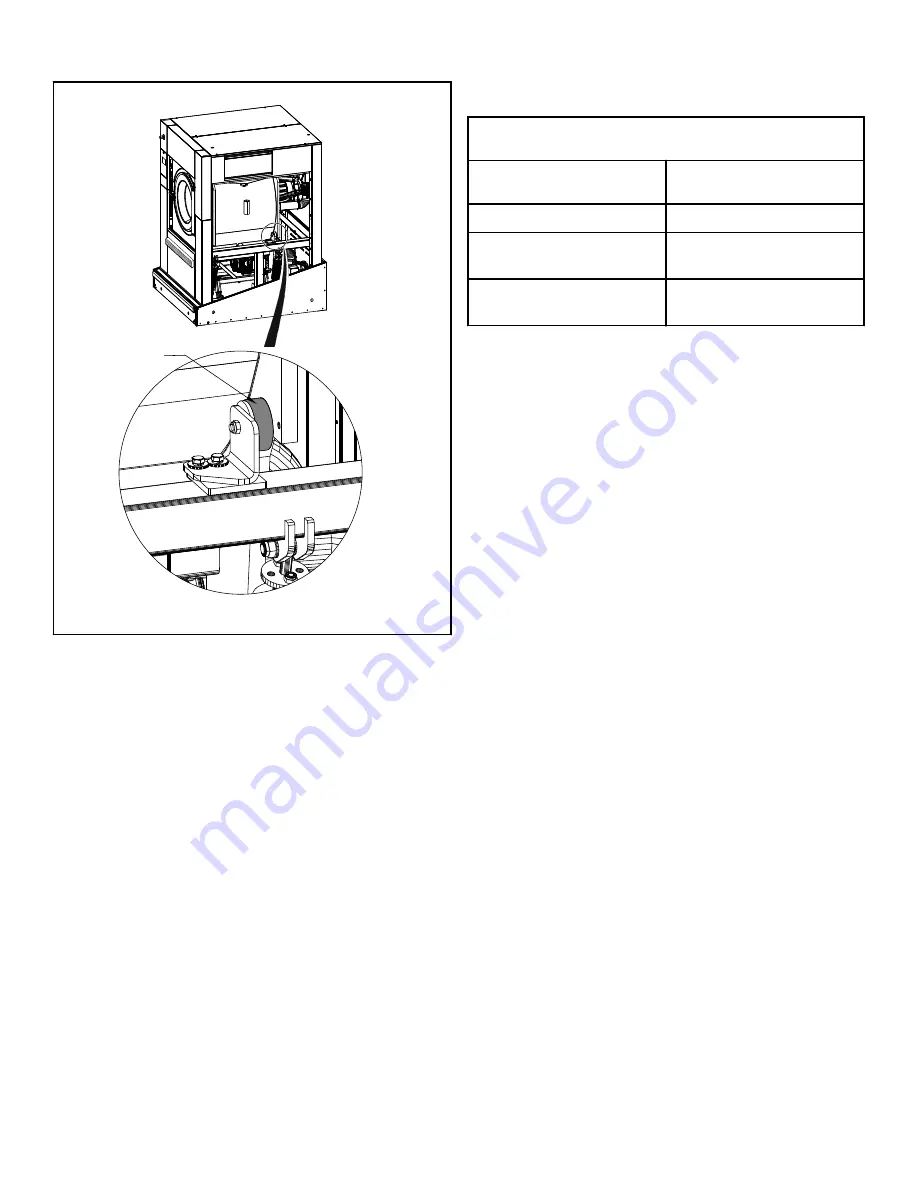
Placing the Backstops
CZW15N
1
1.
Backstop
Figure 22
2. With braces removed and backstops attached, put the guards
back.
Check Before Putting into Service
1. Shipping braces have been removed.
2. Cabinet protective foil has been removed.
3. Waste sump is ready for water drainage.
4. Protective connection (earth connection - "PE" or "PEN") is
working properly.
5. Installation, operation and maintenance instructions have been
carefully read and followed.
6. Drum rotation direction is correct during extraction. From the
front view, drum should rotate counter-clockwise.
7. Vibration switch and emergency function are working proper-
ly during extraction.
Drain Connection
Drain Connection Requirement
Specification
Requirement
Drain connection number
2
Drain connection size, in.
[mm]
3 [76]
Average flow rate of draining,
gal./ min.
-1
[dm
3
/ min.
-1
]
80 [210]
Table 15
The drain has to be connected to the waste channel or pipeline.
Seal the connecting point of the drain throat and flexible hose
with silicon cement. Secure the elbow or the hose with a clamp.
Cover the waste sump with a proper cover.
IMPORTANT: The waste channel must be located lower
than the drain outlets because the water discharges
from the machines by gravity. Do not reduce the diame-
ter of the machine drain pipes.
The main waste channel or pipeline must have such a capacity
that it can take away the drained water from all connected ma-
chines at the same time. Ask a corresponding expert (construction
technician) to design a sufficiently dimensioned waste pipeline
for your washing machines. The correctly designed pipeline is fit-
ted with the main ventilating pipeline (air supply), possibly an
auxiliary ventilating pipeline. This will prevent deceleration of
the flow and creation of a high vacuum or overpressure inside the
pipeline, causing a breach of the water level in odour closures.
Rear Drain
1. Connect a 3 in. [76mm] pipe or rubber hose to the machine’s
drain pipe, ensuring a downward flow from the machine.
2. Avoid sharp bends which may prevent proper draining. Refer
to
.
3. The drainage pipe should be located over a floor drain, drain-
age channel.
Installation
©
Copyright, Alliance Laundry Systems LLC -
DO NOT COPY or TRANSMIT
33
Part No. D2601EN
Содержание UY350 PROFORM TOUCH
Страница 2: ......


