


Magnis and Magnis Dx NGS Prep System User Guide
63
Cancel
This button cancels creation of the new user account and returns you to the User Management
screen.
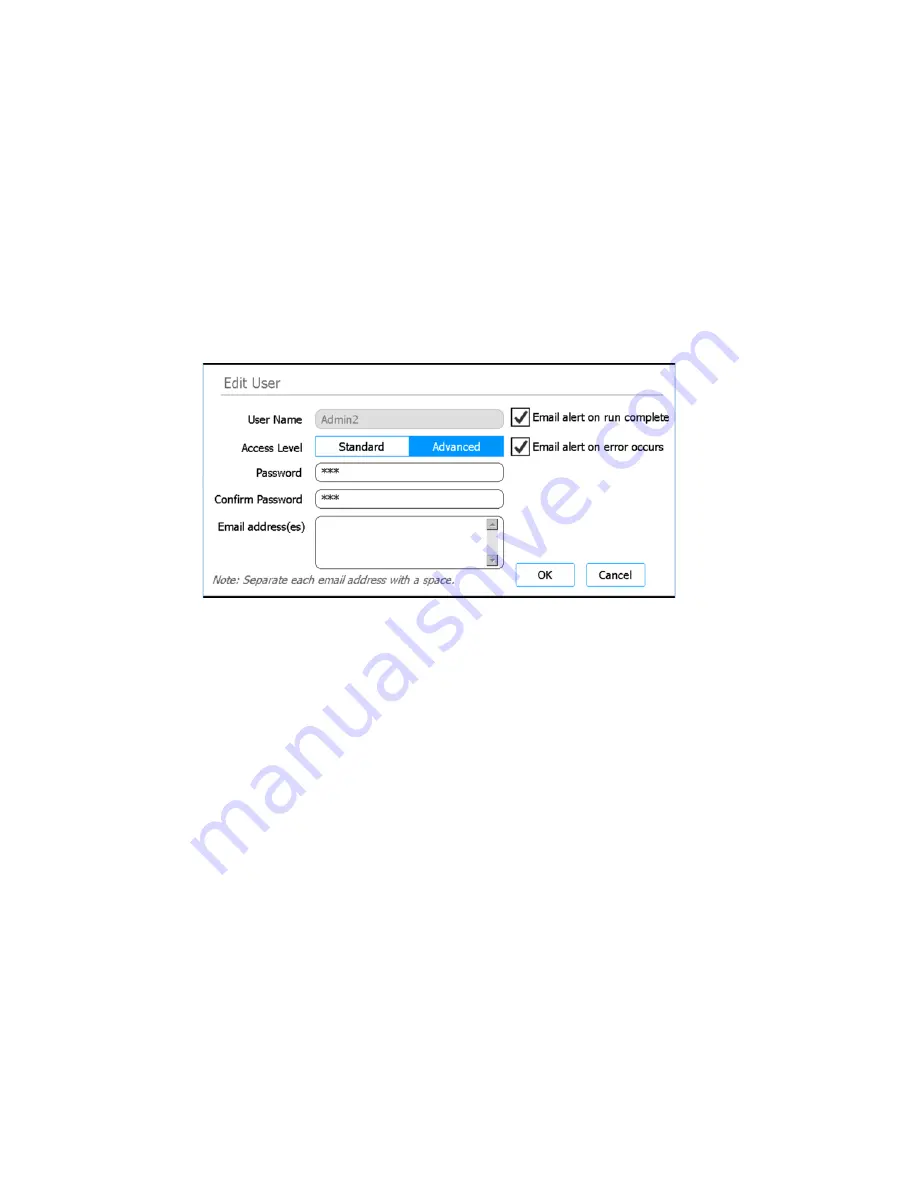
Edit User screen
Purpose: To edit configurations, including resetting the password, for existing user accounts. See
instructions in
To open: From the Home screen, press
Settings
. Press
User Management
. Then, press
Edit
.
Figure 39
Edit User screen
User Name
Displays the user name for the account. Note that you cannot edit the user name for existing
accounts.
Access Level
Select the access level for the account (standard or advanced).
Password / Confirm Password
To reset the password for the account, type a new password into these fields.
Email address(es)
In this field, type the email address of the user. If entering multiple email addresses, separate
them with a space.
Email alert on run complete
Mark this check box to have the system generate an automatic email to the user when it
completes a protocol run that was set up by that user. The email will be sent to all email
addresses entered in the Email address(es) field.
Clear this check box to discontinue sending these automatic emails to the user.


