Aercus Instruments™
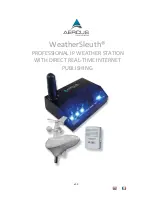
- WeatherSleuth®
10 |
P a g e
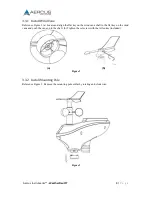
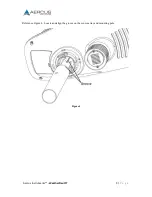
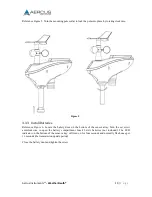
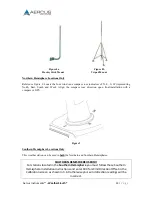
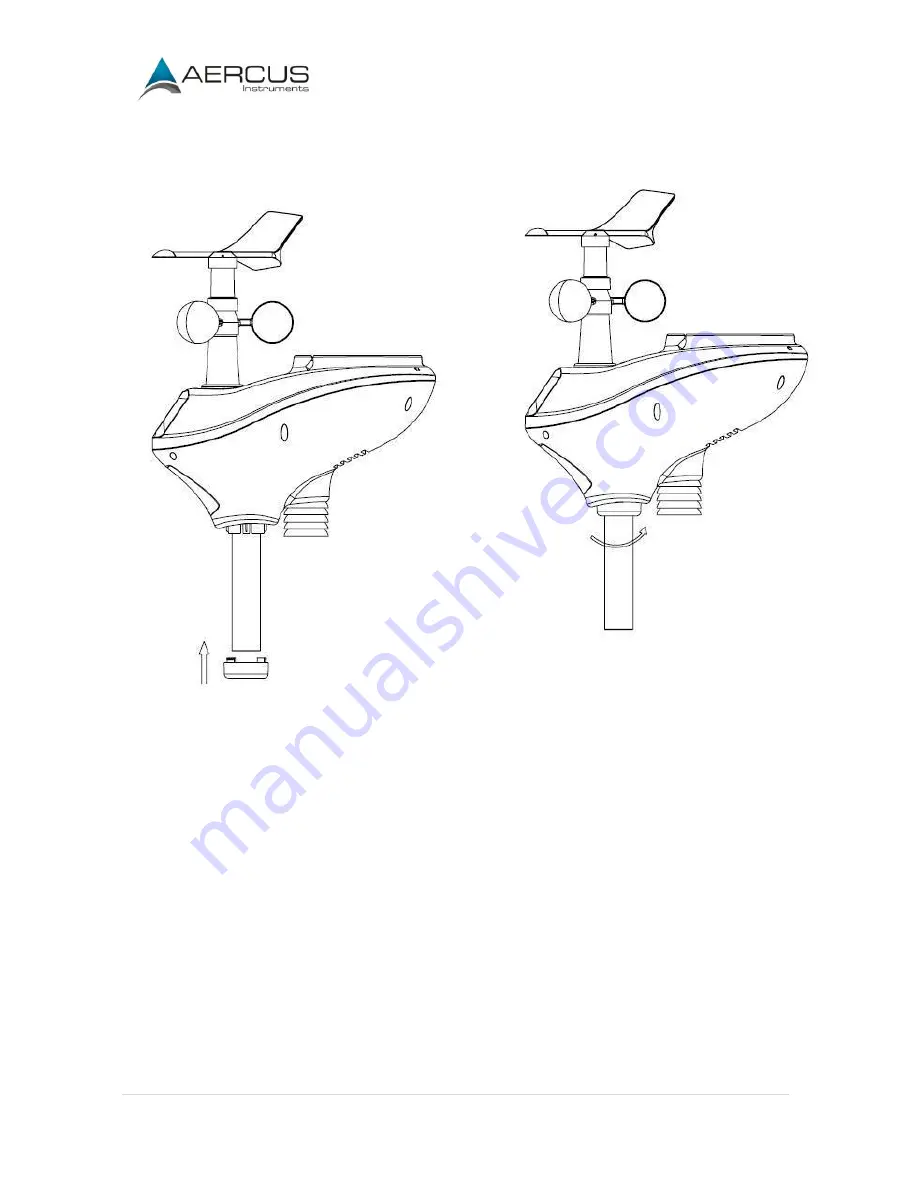
Reference Figure 5. Turn the mounting pole collar to lock the pole into place by rotating clockwise.
Figure 5
3.3.3 Install Batteries
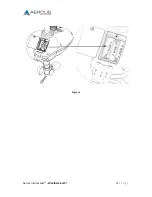
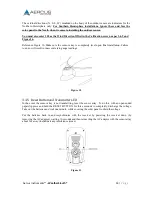
Reference Figure 6. Locate the battery door on the bottom of the sensor array. Turn the set screw
anti-clockwise to open the battery compartment. Insert 3xAA batteries (not included). The LED
indicator on the bottom of the sensor array will turn on for four seconds and normally flash once per
16 seconds (the transmission update period).
Close the battery door and tighten the screw.
Содержание WeatherSleuth
Страница 1: ...v1 2 WeatherSleuth PROFESSIONAL IP WEATHER STATION WITH DIRECT REAL TIME INTERNET PUBLISHING ...
Страница 11: ...Aercus Instruments WeatherSleuth 11 P a g e Figure 6 ...
Страница 36: ...Aercus Instruments WeatherSleuth 36 P a g e Figure 30e ...
Страница 39: ...Aercus Instruments WeatherSleuth 39 P a g e Figure 32 Figure 33 ...
Страница 54: ...Aercus Instruments WeatherSleuth 54 P a g e Figure 6 ...
Страница 80: ...Aercus Instruments WeatherSleuth 80 P a g e Figure 30e ...
Страница 83: ...Aercus Instruments WeatherSleuth 83 P a g e Figure 32 Figure 33 ...

