38
E
DIT
Splitting a title (HDD, DVD+RW or DVD-RW only)
Use this function to divide a title into two distinct sessions. After
the split, the new title can still be merged again. This function is
only applicable to titles longer than 6 seconds.
1. Press [BROWSER] to display the Browser menu.
2. Press [
] [
] [
] [
] to select the title you want
to edit and then press [EDIT] to go to the edit
screen.
3. Press [
PLAY] to start the title playback first.
Press [
NEXT] or [
PREVIOUS] to advance
to the next chapter or the previous chapter.
Press [
F.F.] or [
REW ] to perform fast
forward or fast rewind scanning.
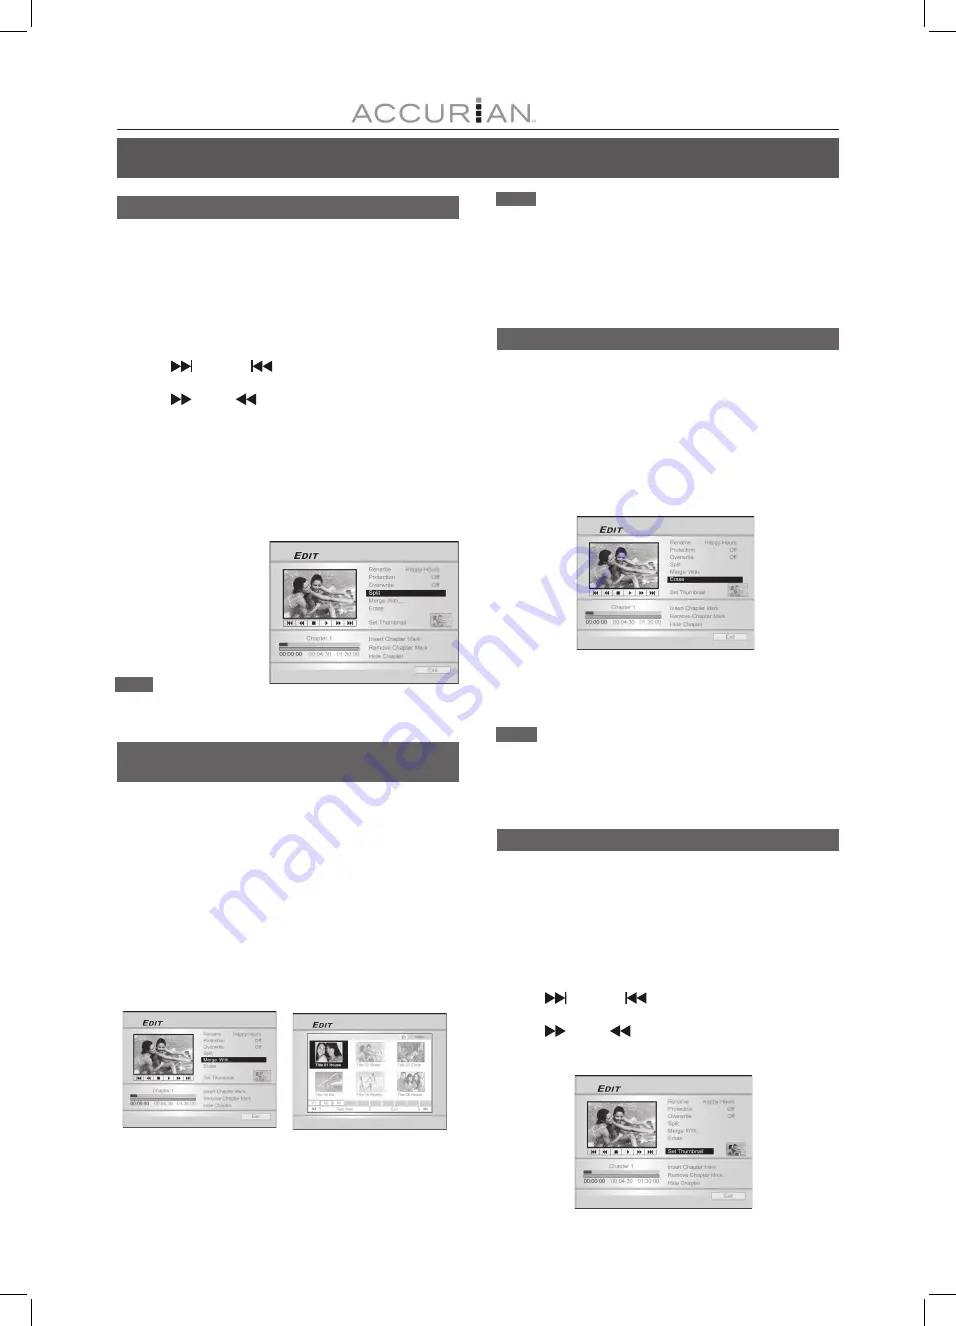
4. Move the highlighted cursor to “Split” and press
[ENTER] for confirmation.
The title is split into two titles at the point you pressed [ENTER]
during playback.
5. When complete, the Browser menu will be
displayed.
6. To split more titles,
repeat from step 2
to 4. Or press [
]
[
] to select “Exit”
and then press
[ENTER] to exit the
setting.
Note:
The split function is only applicable to video titles
longer than 6 seconds.
Merging
two titles into one (HDD, DVD+RW and
DVD-RW only)
Use this function to merge two titles into one.
After merged, the new title can still be split again.
1. Press [BROWSER] to display the Browser menu.
2. Press [
] [
] [
] [
] to select the title you want
to edit and then press [EDIT] to go to the edit
screen.
3. Press [
] [
] to select “Merge With...” and then
press [ENTER].
A menu displays all the titles applicable to this function.
4. Press [
] [
] [
] [
] to select the title to merge
and then press [ENTER].
5. To merge more titles, repeat from step 2 to 4. Or
press [
] [
] to select “Exit” and then press
[ENTER] to exit the setting.
Erasing a title (HDD and DVD only)
Use this function to erase a title.
Note that once erased, the title(s) cannot be retrieved.
1. Press [BROWSER] to display the “Browser” menu.
2. Use [
] [
] [
] [
] to select the title you want to
edit and then press [EDIT] to go to the edit screen.
3. Press [
] [
] to select “Erase.”
4. Press [ENTER] to confirm your setting.
The title selected is erased.
5. To erase more titles, repeat from step 2 to 4.
Or, press [
] [
] to select “Exit” and then press
[ENTER] to exit the setting.
Notes:
1. You can NOT erase recorded title(s) on a DVD+R, DVD-R or
DVD-RW disc if the disc is finalized.
2. Erasing titles on a DVD+R or DVD-R does not release the disc
space.
Notes:
1. For video titles recorded on a DVD+RW or a DVD-RW disc, you can
only merge the title with its previous/next title and only when
the previous/next title has the same recording quality, TV signal,
audio and video settings. Otherwise, the function will not be
applicable.
2. For video titles recorded on the built-in HDD, you can merge the
title with any of the titles recorded on the HDD with the same
recording quality, TV signal, audio and video setting.
Setting a title thumbnail (HDD and DVD only)
Normally the first picture of a recording is used as the index picture.
However, you can choose any picture from the recording as the index
picture.
1. Press [BROWSER] to display the Browser menu.
2. Use [
] [
] [
] [
] to select the title you want to
edit and then press [EDIT] to go to the edit screen.
3. Press [
PLAY] to start the title playback first.
Press [
NEXT] or [
PREVIOUS] to advance to
the next chapter or the previous chapter.
Press [
F.F.] or [
REW ] to perform fast
forward or fast rewind scanning.
Press repeatedly to play the title forward or reverse.


