29
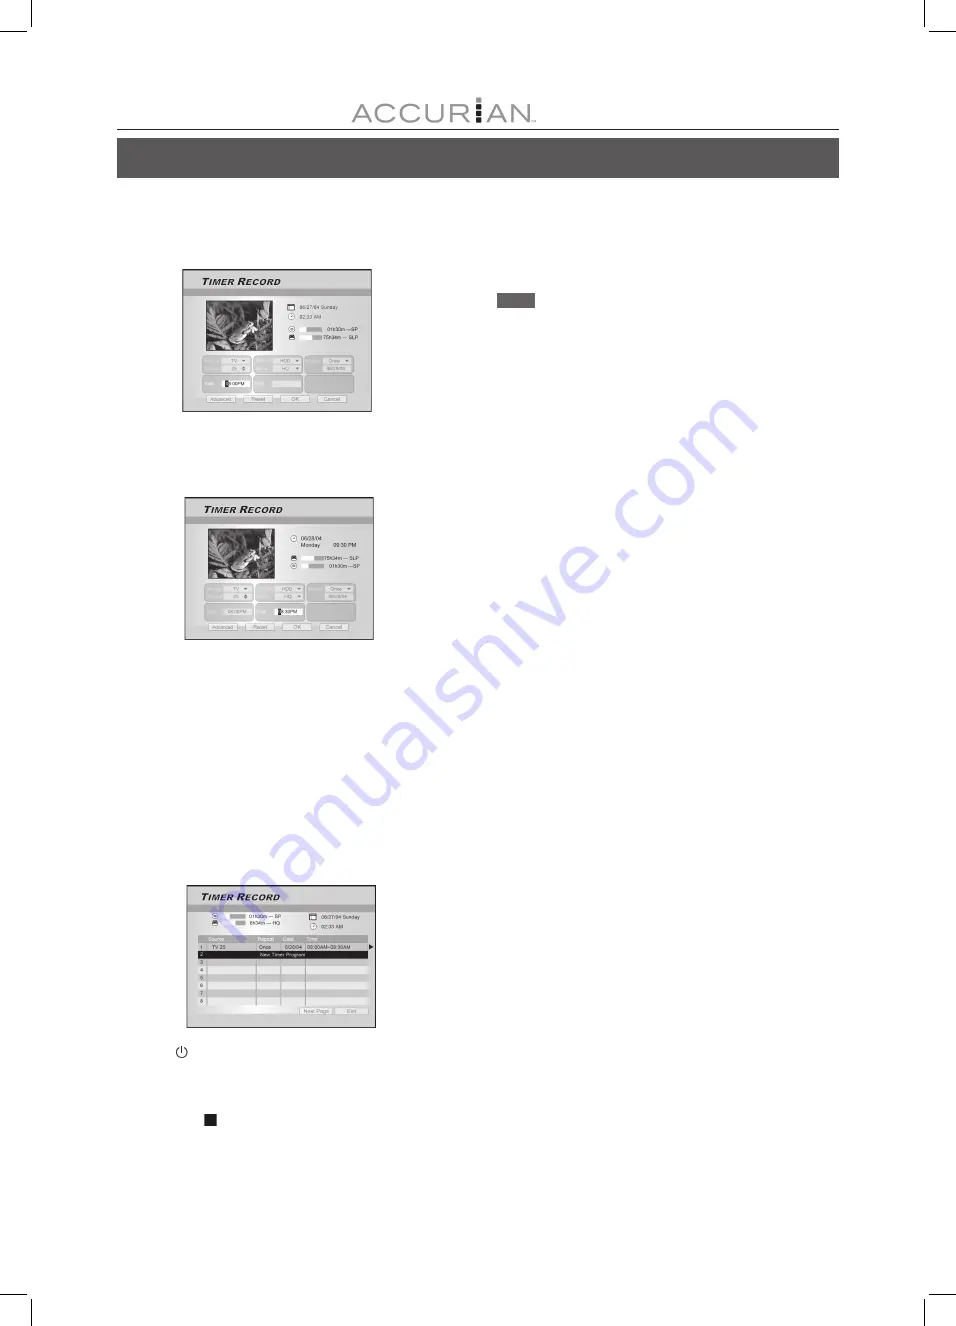
9. Press [
] [
] [
][
] to select “Start (Start Time)” ,
and then press [ENTER].
Use the numbered buttons (0~9) or press [
] [
] [
] [
] to
enter the start time.
10. Press [
] [
] [
][
] to select “End (End Time),”
and then press [ENTER].
Use the numbered buttons (0~9) or press [
] [
] [
] [
] to
enter the end time.
If you enter incorrect information
Press [
] [
] to re-select the item you want to change.
11. Press [
] [
] [
][
] to select “OK” and press
[ENTER] to save the setting for the timer record
item and go back to the Timer Record list.
Press [
] [
] [
][
] to select “Reset” and press [ENTER] if you
want to reset the timer record item.
12. Press [
] [
] to go to another item on the list
and press [ENTER] if you want to set up for more
Timer Record programs.
If not, move to the “Exit” icon and press [ENTER] or press [TIMER]
to exit the Timer Record List.
13. Press [ POWER] to turn off the unit and
activate the “Timer Record” function.
To stop recording during Timer Record
When you press [ STOP ] , it may take a few seconds for the
recording to stop.
T
IMER
R
ECORD
To check the recording status while Timer Record is
active
Press [DISPLAY] and the Timer Record information appears
on-screen.
Notes:
1. When the Timer Record function is active, the “Timer
LED” on the DVD Recorder front panel will illuminate.
2. The DVD recorder must be turned off to activate the Timer
Record function.
3. Make sure that a recordable DVD disc, or a well-prepared
CD-R/RW disc, is placed before the scheduled time,
corresponding to the selected recording quality.


