


User Manual
| VISIX PTZ Network Camera
10225 Westmoor Drive, Suite 300, Westminster, CO 80021 | www.3xlogic.com | (877) 3XLOGIC
57
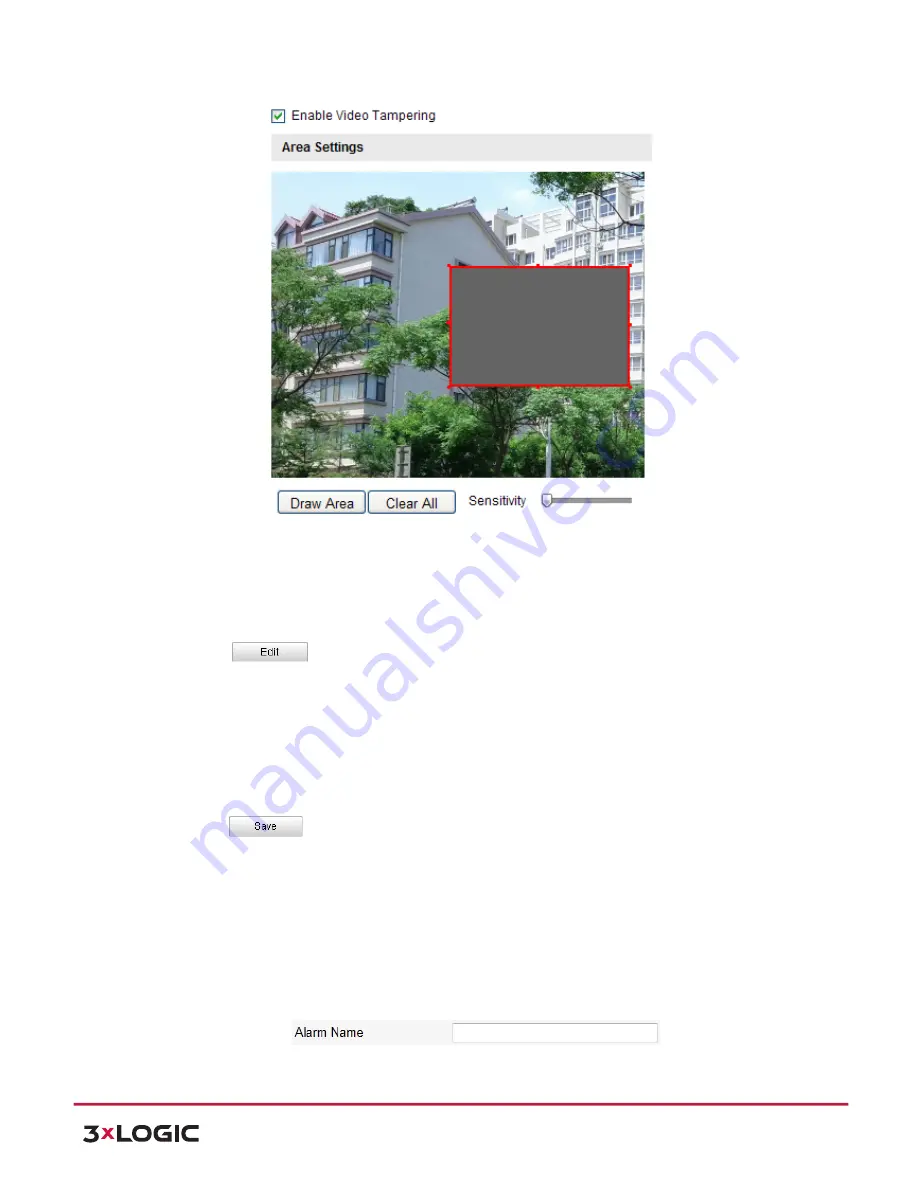
Figure 6-‐46
Tampering Alarm
2)
Check
Enable Video Tampering
checkbox to enable the tampering detection.
3)
Set the tampering area. Refer to
Step
1
Set the Motion Detection Area
in Section
6.6.1
Configuring Motion Detection
.
4)
Click
to edit the arming schedule for tampering. The arming schedule
configuration is the same as the setting of the arming schedule for motion detection. Refer to
Step
2 Set the Arming Schedule for Motion Detection
in Section
6.6.1 Configuring Motion
Detection
.
5)
Check the checkbox to select the linkage method taken for the tampering. Notify surveillance
center, send email and trigger alarm output are selectable. Please refer to
Step
3
Set the Alarm
Actions for Motion Detection
in Section
6.6.1 Configuring Motion Detection
.
6)
Click
to save the settings.
CONFIGURING EXTERNAL ALARM INPUT
Steps:
1)
Enter the Alarm Input Settings interface:
Configuration > Advanced Configuration> Events > Alarm
Input
:
2)
Choose the alarm input No. and the Alarm Type. The alarm type can be NO (Normally Open) and
NC (Normally Closed).
3)
Edit the name in
to set a name
for the alarm input (optional).