


User Manual
| VISIX PTZ Network Camera
10225 Westmoor Drive, Suite 300, Westminster, CO 80021 | www.3xlogic.com | (877) 3XLOGIC
38
NOTE:
The EAP-‐MD5 version must be identical with that of the router or the switch.
5)
Enter the user name and password (issued by the CA) to access the server.
6)
Click
to finish the settings.
NOTE:
The camera reboots when you save the settings.
7)
After the configuration, connect the camera to the protected network.
CONFIGURING QOS SETTINGS
Purpose:
QoS (Quality of Service) can help solve the network delay and network congestion by configuring the
priority of data sending.
Steps:
1)
Enter the QoS Settings interface:
Configuration >Advanced Configuration >
Network > QoS
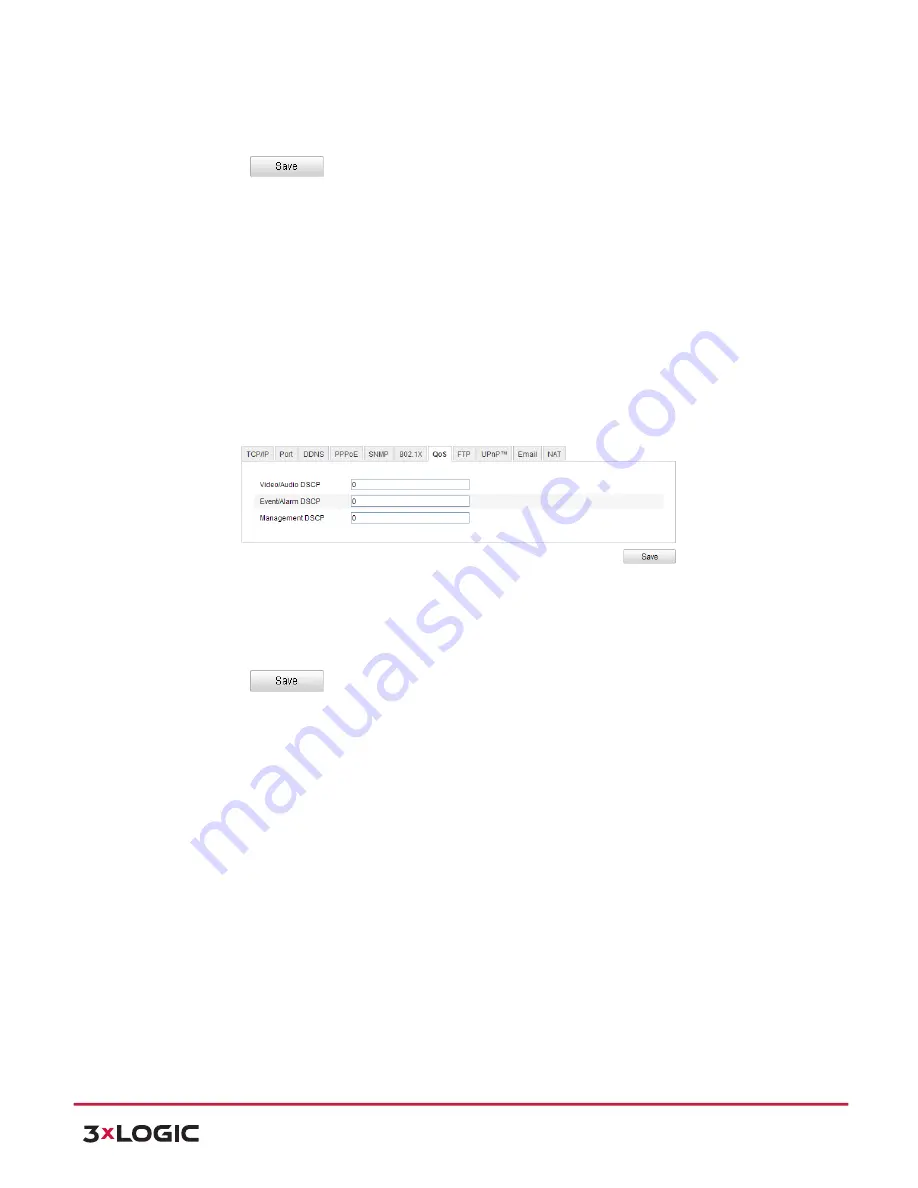
Figure 6-‐18
QoS Settings
2)
Configure the QoS settings, including video / audio DSCP, event / alarm DSCP and
Management DSCP.
The valid DSCP value ranges from 0 to 63. The DSCP value is bigger, the priority is higher.
3)
Click
to save the settings.
NOTE:
!
Make sure that you enable the QoS function of your network device (such as a router).
!
It will ask for a reboot for the settings to take effect.
CONFIGURING FTP SETTINGS
Purpose:
You can set a FTP server and configure the following parameters for uploading captured pictures.
Steps:
1)
Enter the FTP Settings interface:
Configuration >Advanced Configuration >
Network > FTP