•
Contact points. If there are non-scanned areas near the contact points, a warning will appear in the
upper left corner of the screen. Press the message for the model to display the areas in question.
Contact points on a molar may be difficult to reach, try going across the mouth and tilt the scanner
tip.
•
Occlusal surfaces.
Bite Scan
Step 1:
Insert the scanner tip into the patient's mouth at the buccal side of the teeth and rotate it to
scan the side of the teeth. (Start from the second molar or canine if you make an anterior scan), then
close patient’s mouth.
Step 2:
While centering 2D image on occlusion plane, slowly move the scanner tip in mesial direction
with equal coverage of upper and lower teeth.
Step 3:
Scan 4 teeth for optimal alignment (no more/no less).
Each bite scan should take no more than 5 seconds.
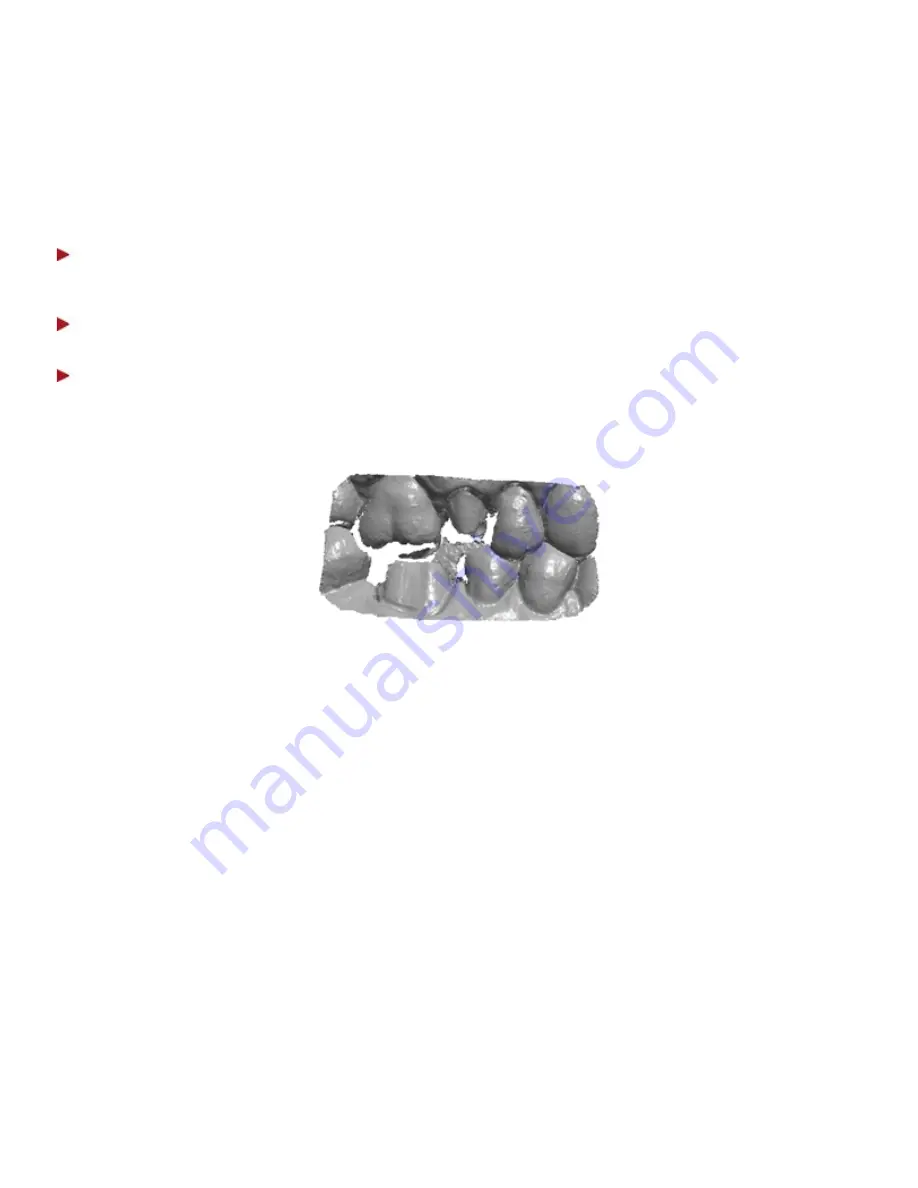
Below is an example of a good bite scan:
Situations with more preparations
In cases of multiple preparations focus must be put on scanning the preparations before the gingiva
collapses. If preparations are closely positioned, they may be scanned in one go. If preparations are
further apart, the retraction agent can be removed from 2-3 teeth at a time, having these areas scanned
before moving to the next region and repeating the procedure.
46


