


40
78-8130-6151-8 Rev G
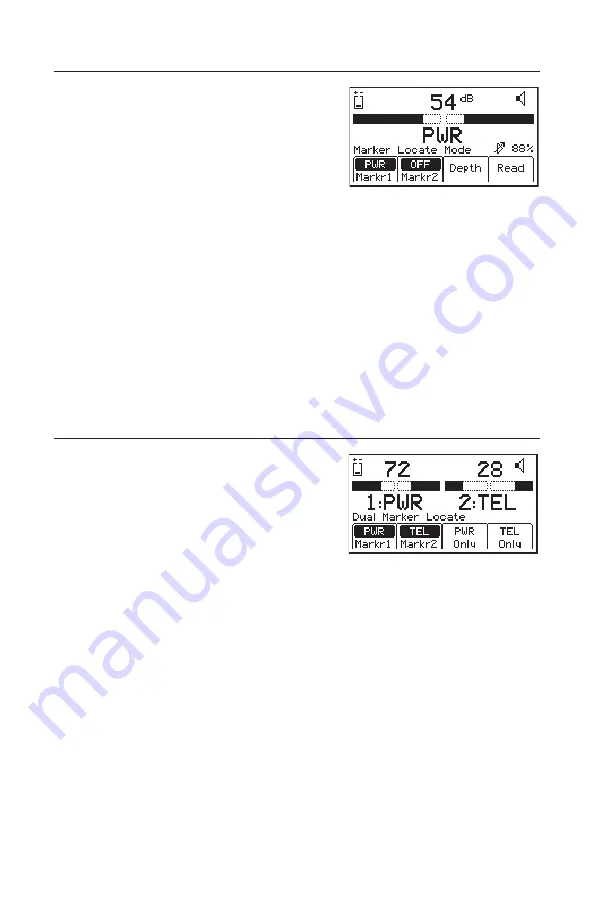
D. Single Marker or Path Locate
1. Press
Locate/OK
[5]
2. Press
Marker
[SK]
3. Press
Markr 1
[SK Toggle] to select desired
EMS Marker or Path Marker utility.
4.
Markr 2
should be OFF.
Note: Only the marker types enabled in the setup
menu will be shown. (See Enabling/Disabling
Marker types, Section 13B). When scanning for
markers, the Gain Level [12] should be set high.
− When a marker is detected, adjust the Gain
[4] down until the bar graph opens.
− The bar graph will close, the audio will be
steady, and the Signal Strength [10] will be
maximum when the receiver detects a marker
of the specified utility and has pinpointed its
location.
E. Dual Marker Locate
1. Press
Locate/OK
[5].
2. Press
Marker
[SK].
3. Press
MARKR 1
[SK Toggle] to select desired
EMS Marker or Path Marker utility.
4. Press
MARKR 2
[SK Toggle] to select desired
EMS Marker or Path Marker utility.
Note: Only the marker types enabled in the setup menu will be shown (See Enabling/
Disabling Marker types, Section 13B). When scanning for markers, the GAIN [4]
should be set high.
−
The third and fourth soft key commands will populate with the types of utilities
selected for Marker 1 and Marker 2.
5. Adjust the
Gain
[4] down until the bar graphs open.
− The bar graph will close, the audio will increase, and the Signal Strength [10]
will increase when the receiver detects a marker of the specified utility.
− When one of the two markers is detected, press the “XXX Only” [SK] for the
detected utility marker. ("XXX" represents the marker types selected. In the
above example, PWR Only and TEL Only.)
−
The receiver will switch to Single Marker Locate in order to pinpoint the
marker.


