Chapter 11 Network Address Translation (NAT)
XMG3512-B10A User’s Guide
154
11.3 The Applications Screen
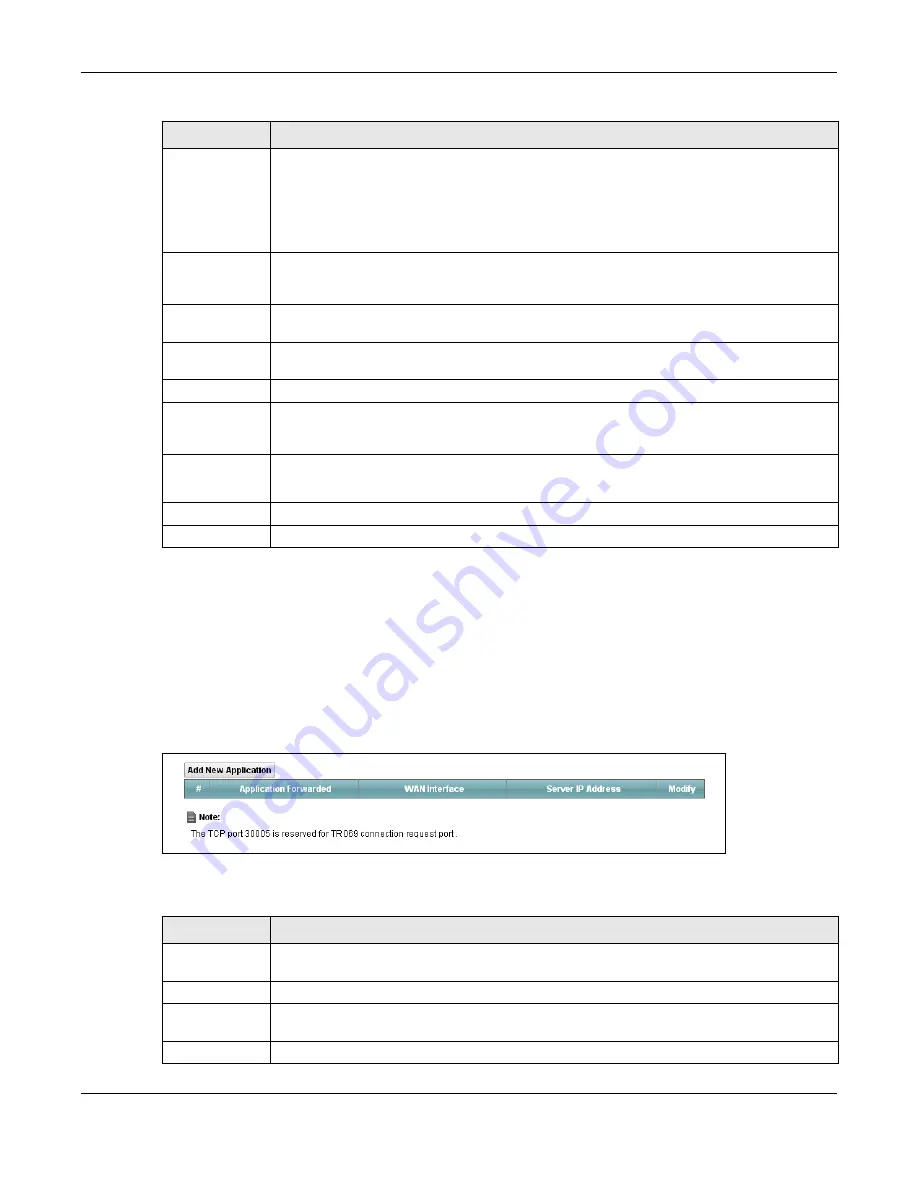
This screen provides a summary of all NAT applications and their configuration. In addition, this screen
allows you to create new applications and/or remove existing ones.
To access this screen, click
Network Setting > NAT > Applications
. The following screen appears.
Figure 79
Network Setting > NAT > Applications
The following table describes the labels in this screen.
End Port
Enter the last port of the original destination port range.
To forward only one port, enter the port number in the
Start
Port
field above and then enter it
again in this field.
To forward a series of ports, enter the last port number in a series that begins with the port
number in the
Start Port
field above.
Translation Start
Port
This shows the port number to which you want the XMG to translate the incoming port. For a
range of ports, enter the first number of the range to which you want the incoming ports
translated.
Translation End
Port
This shows the last port of the translated port range.
Server IP
Address
Enter the inside IP address of the virtual server here.
Protocol
Select the protocol supported by this virtual server. Choices are
TCP
,
UDP
, or
TCP/UDP
.
Wake up this
target by Wake
On Lan (WOL)
Select this to allow the XMG’s network to remotely turn on a device in the network.
MAC address of
WOL device
Enter the MAC address of the device that will be turned on by an XMG’s network message.
A MAC address consists of six hexadecimal character pairs.
OK
Click
OK
to save your changes.
Cancel
Click
Cancel
to exit this screen without saving.
Table 56 Port Forwarding: Add/Edit (continued)
LABEL
DESCRIPTION
Table 57 Network Setting > NAT > Applications
LABEL
DESCRIPTION
Add New
Application
Click this to add a new NAT application rule.
#
This is the index number of the entry.
Application
Forwarded
This field shows the type of application that the service forwards.
WAN Interface
This field shows the WAN interface through which the service is forwarded.
Summary of Contents for XMG3512-B10A
Page 14: ...14 PART I User s Guide ...
Page 23: ...Chapter 1 Introducing the XMG XMG3512 B10A User s Guide 23 Figure 8 Wall Mounting Example ...
Page 33: ...Chapter 3 Quick Start XMG3512 B10A User s Guide 33 Figure 16 Quick Start Result Summary ...
Page 56: ...56 PART II Technical Reference ...
Page 279: ...Appendix D Legal Information XMG3512 B10A User s Guide 279 Environmental Product Declaration ...


