Operation
35
Operating manual TEMPAR console V9.0
626140-9149-911
PiWeb Auto Importer:
PiWeb network share must be used in combination with the PiWeb auto
importer. Follow the following steps to create the connection between
TEMPAR and PiWeb:
– Ensure that the PiWeb PC can be reached from the TEMPAR system via
the network. If a firewall exists between the PiWeb PC and the
TEMPAR system, it must be ensured that the necessary ports are open
(amongst others Port 445).
– Create a folder on the PiWeb PC or select an existing folder, e.g.
C:\Temp\ImportRoot.
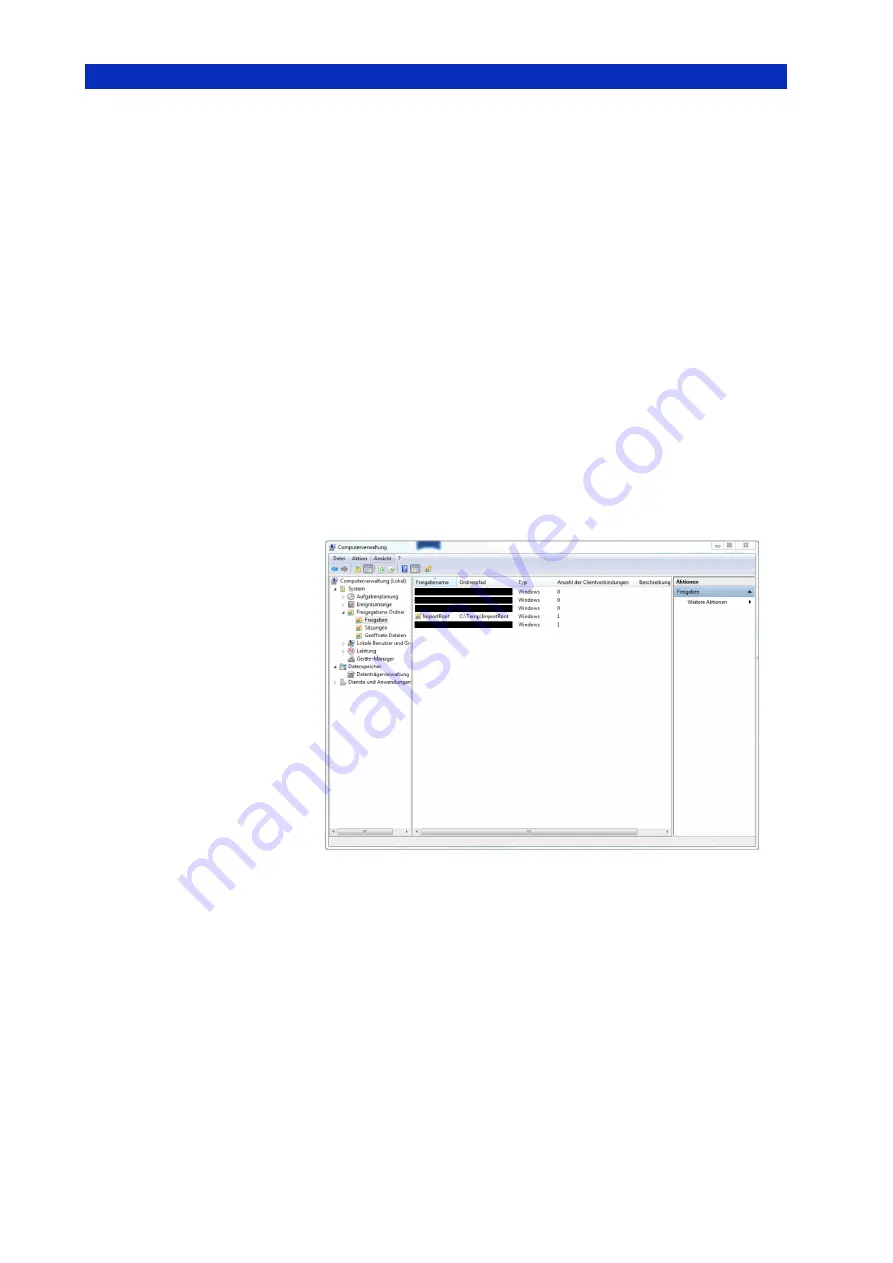
– Enable access to this folder for all users (alternatively only for those
users that have access to the PiWeb PC). After the folder has been
enabled, this must be checked under Control Panel/Administrative
Tools/Computer Management/Shared Folders/Shares (alternatively via
Start/Run/ enter "compmgmt.msc" and press OK).
Fig. 33:
Windows enable
– Check “Network share active” on the TEMPAR user interface.
– Enter the IP address of the PC on which the enabled folder was
created (e.g. 192.168.0.1).
– Enter the name of the folder that was enabled. Do not enter a file
path here, rather just the folder name. The folder name entered here
must match that in the Computer Management of the PiWeb PC.
However, you can create subfolders in the enabled folder, the path of
which, relating to the enabled folder, is entered here.


