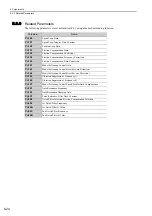
5 Adjustments
5.4.2 Advanced Autotuning by Reference Procedure
5-28
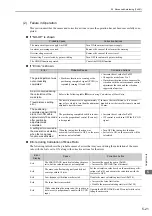
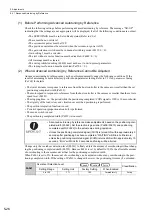
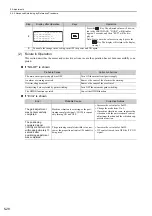
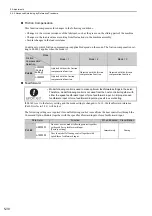
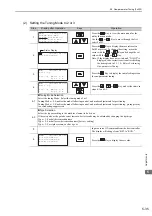
(2) Failure in Operation
This section describes the causes and corrective actions in case the operation has not been successfully com-
pleted.
If “NO-OP” is shown
If “Error” is shown
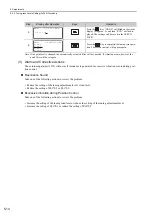
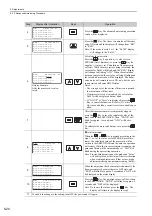
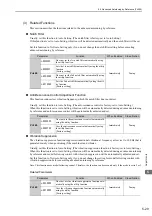
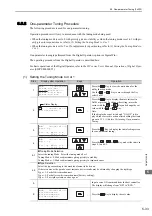
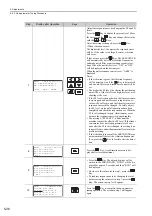
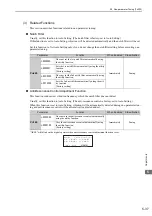
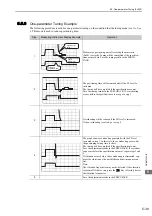
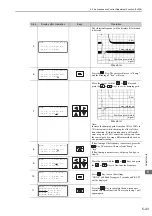
8
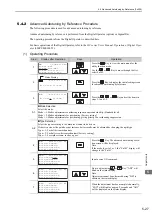
Press the
Key. The adjusted values will be writ-
ten to the SERVOPACK, “DONE” will blink for
approx. 2 seconds, and then “RUN” will be dis-
played.
Note: Not to save the values set in step 6, press the
Key. The display will return to the display
in step 1.
9
To enable the change in the setting, turn OFF the power and ON again.
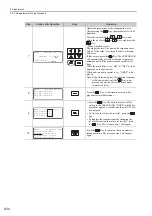
Step
Display after Operation
Keys
Operation
㧾㨁㧺ޓޓޓޓ㧭㨐㨢㨍㨚㨏㨑㨐ޓ㧭㨀
㧼㨚㧝㧜㧟㧩㧜㧜㧟㧜㧜
㧼㨚㧝㧜㧜㧩㧜㧝㧜㧜㧚㧜
㧼㨚㧝㧜㧝㧩㧜㧜㧜㧢㧚㧟㧢
㧼㨚㧝㧠㧝㧩㧜㧝㧡㧜㧚㧜
Probable Cause
Corrective Actions
The main circuit power supply was OFF.
Turn ON the main circuit power supply.
An alarm or warning occurred.
Remove the cause of the alarm or the warning.
Overtraveling occurred.
Remove the cause of the overtravel.
Gain setting 2 was selected by gain switching.
Turn OFF the automatic gain switching.
The HWBB function operated.
Cancel the HWBB function.
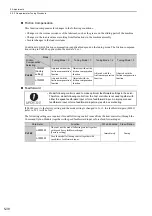
Error
Probable Cause
Corrective Actions
The gain adjustment
was not successfully
completed.
Machine vibration is occurring or the posi-
tioning completed signal (/COIN) is repeat-
edly turning ON and OFF.
• Increase the set value for Pn522.
• Change the mode from 2 to 3.
• If machine vibration occurs, suppress the
vibration with the anti-resonance control
adjustment function and the vibration sup-
pression function.
The positioning
completed signal
(/COIN) did not turn ON
within approximately 10
seconds after
positioning adjustment
was completed.
The positioning completed width is too nar-
row or the proportional control (P control) is
being used.
• Increase the set value for Pn522.
• If P control is used, turn OFF the /P-CON
signal.

