QL5/QL1
116
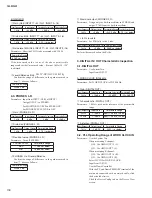
1-4. Initialization
For initialization, turn on the power while pressing the
B [SEL]
switch and execute “INITIALIZE ALL MEMORIES”.
(See page 155.)
1-5. Fader Calibration
For the procedure of calibrating faders, refer to “FADER
CALIBRAION”. (See page 159.)
1-6. Color Bar Calibration
For the procedure of calibrating the color bar, refer to “COLOR
BAR AND CH NAME LCD CALIBRATION”. (See page 161.)
1-7. CPUQL circuit board MRAM Backup Check
Check that “Memory Error! Current Memories were Initialized”
does not appear on the LCD screen when the power is turned
on.
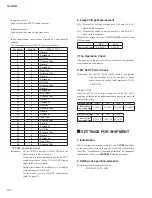
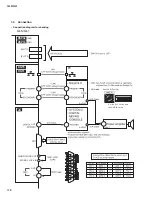
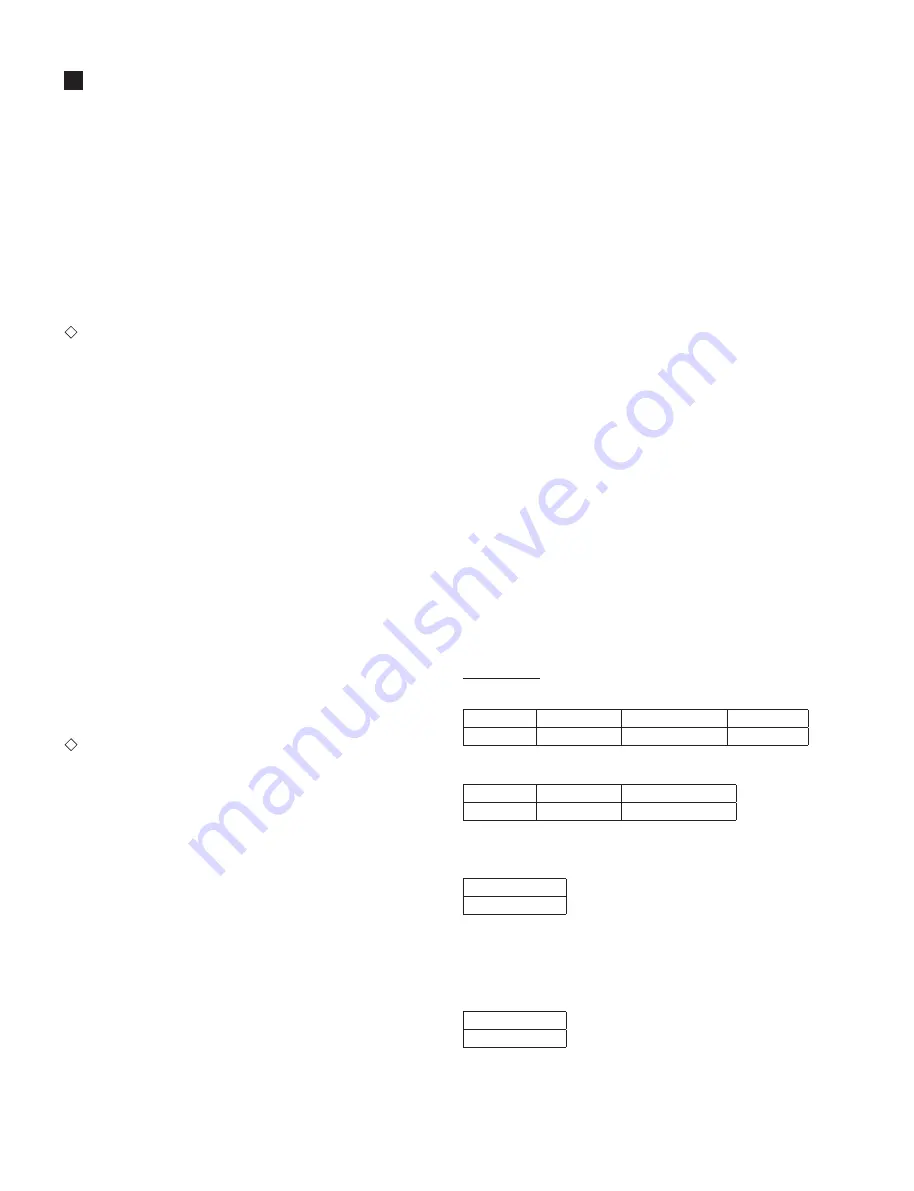
2. ANALOG IN/OUT Characteristic Inspection
2-1. QL5: INPUT 1-16
→
OMNI OUT 1-16
QL1: INPUT 1-8
→
OMNI OUT 1-8
Parameters:
QL5: Input the analog signal from INPUT (XLR) of CH 1-16
and measure the signal output from OUTPUT of CH 1-16.
Assign OMNI IN CH 1-16 to OMNI OUT 1-16.
QL1: Input the analog signal from INPUT (XLR) of CH 1-8
and measure the signal output from OUTPUT of CH 1-8.
Assign OMNI IN CH 1-8 to OMNI OUT 1-8.
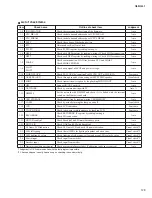
A. GAIN MIN
1
Gain
2
Distortion
3
Noise level
Parameters: Short the CH IN to be measured with 150
Ω
.
4
Residual noise
(QL5: OMNI OUT 1-16 / QL1: OMNI OUT 1-8)
Parameters: QL5: Set INPUT CH 1-16 to OFF.
QL1: Set INPUT CH 1-8 to OFF.
INSPECTIONS
Input Frequency
Input Level
Prescribed Output Level Permissible Range
1 kHz
+10 dBu
+4 dBu
+4±2 dBu
Input Frequency
Output Level
Permissible Range
1 kHz
+22 dBu
0.01 % or below
Permissible Range
–88 dBu or below
Permissible Range
–80 dBu or below
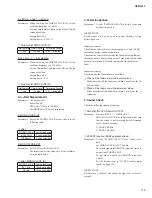
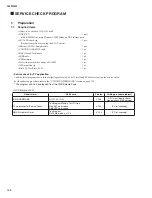
1. Preparation
1-1. Measuring Instruments
Use measuring instruments which can measure the inspection
items accurately with con
fi
dence.
Input impedance of the measuring device should be 100 k
Ω
or more.
• System Two
Multi-Volt Meter
Filter (12.7 kHz, –6 dB/OCT)
Level meter
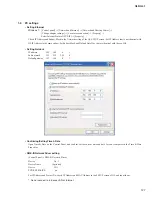
1-2. Parameters
Unless otherwise specified, the parameter settings are as
follows.
• Set the WORD CLOCK to INT 48 kHz.
• Set the "+48 V MASTER" to ON.
• Turn on only the channel being measured.
PAN :
CENTER
GAIN :
MIN
FADER :
NOMINAL (0 dB)
PHONES LEVEL :
MAX
• 0 dBu = 0.775 Vrms
• 0 dBFS = 0 dB, full scale
• The oscillator output impedance should be 150
Ω
.
• Measure the noise level with a 12.7 kHz, –6 dB/octave low
pass
fi
lter.
(For measurement, use the average values and not effective
values.)
When using the Audio Precision Audio Analyzer System
Two and 2700 series, set the Detector Reading Rate to 4/
sec.
• Correct the distortion measurement with an 80 kHz, –18
dB/octave low pass
fi
lter.
For analog output inspection, add or change parameter
settings as follows.
• For maximum output measurement, unless otherwise
speci
fi
ed, output 0 dB from the internal oscillator.
• Set the analog output loads as follows:
OMNI OUT:
600
Ω
PHONES: 8
Ω
1-3. Updating the Program
If the main program is not the latest version, it is required to
update it to the latest version.
*
For the latest version, download the latest program from the
YSISS home page and save it in the USB memory device.
(1) How to check the version of the main program
Press the
[SET UP]
button on the LCD screen and the current
version will be shown in the “SETUP” page screen.
(2) How to update the program
For the program updating procedure, refer to the “UPDATING
FIRMWARE”. (See page 154.)
Summary of Contents for QL5
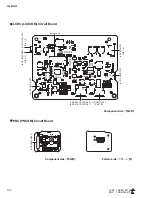
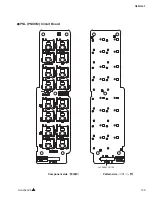
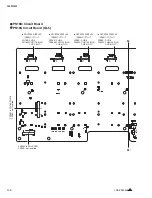
Page 3: ...103 QL5 QL1 PNL PNCOM Circuit Board 2NA ZF60470 1 WR 31 0 1 Component side Pattern side...
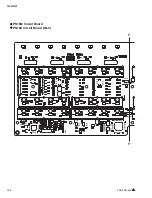
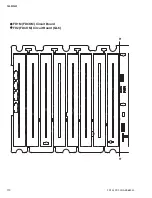
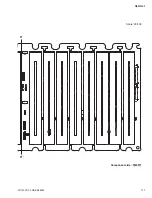
Page 4: ...QL5 QL1 104 2NA ZF60450 1 PN16M Circuit Board PN16S Circuit Board QL5 F F...
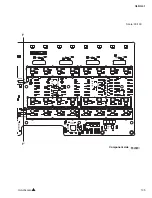
Page 5: ...105 QL5 QL1 Component side 2NA ZF60450 1 Scale 90 100 F F...
Page 8: ...QL5 QL1 108 PNR PNCOM Circuit Board 2NA ZF60470 1 Component side...
Page 9: ...109 QL5 QL1 PNR PNCOM Circuit Board 2NA ZF60470 1 WR 31 0 1 WR 31 0 1 Pattern side...
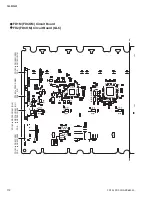
Page 10: ...QL5 QL1 110 FD1M FDCOM Circuit Board FD2 FDCOM Circuit Board QL5 FD1M FD2 2NA ZK68030 H H...
Page 11: ...111 QL5 QL1 FD1M FD2 2NA ZK68030 H H Component side Scale 90 100...
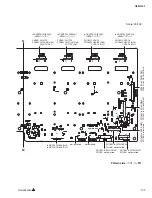
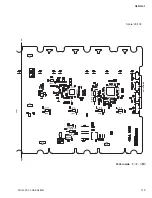
Page 13: ...113 QL5 QL1 Pattern side Scale 90 100 not installed I I FD1M FD2 2NA ZK68030...
Page 14: ...QL5 QL1 114 Pattern side Component side FD1S FDCOM Circuit Board WR 6 1 2NA ZK68030...
Page 50: ...QL5 QL1 150 2 H 3 O X O 4 BOX 5x4 1 18 LCD Test LCD LCD 1 3 2 9 5 OK NG 1...
Page 69: ...QL5 QL1 169 5 Start QL OK Status Updating 1 1 6 OK Status Update Done 7 Status Error QL...
Page 73: ...QL5 QL1 173 CD CD Ctrl Audio CD wav OK 01 01 Ctrl P 8 8 8 8 m ON ON OVER 10 00 dB 0 00 dB...
Page 89: ...QL5 QL1 189 q w NG OK...
Page 91: ...QL5 QL1 191 y u i o F1 F12 0 Port Setting error Ethernet Network...

