P24
P24
Scanning
Make sure that the scan backboard is properly installed in
your 3D printer and press the "Scan" button on the machine,
make sure the machine enters scan mode.
1. Open the scan software.
2. Check the ambient brightness in the preview screen.
Adjust the preliminary settings. If no error is found, click
"Scan" to perform the process.
3. In the Model Preview area, the model slowly rotates. Wait
until the scan point clouds are created.
4. Wait until the scan point clouds are created. Press
Continue and perform meshing.
5. The scan is completed.
1. Remove the object from the tumtable.
2. Perform "Settings" > "Calibrate" in the main menu of "XYZscan Color."
3. Use the calibration plate.
When the screen prompt asks you to place the calibration plate follow the instructions and place the calibration plate in
the middle of the turntable. (The side with the checkered patten faces the scan module and then snap the bottom latch
into the middle notch of the turntable) Click "Calibrate Now" in the software.
4. Check if the calibration plate is properly displayed in the preview screen. If correct, click "Calibrate" to perform the
calibration process.
5. Wait for the XYZscan Color performs calibraiton with the printer (it takes about 2 miniutes.)
6. When the XYZscan Color prompts that the cabiliation is completed, remove the calibration plate from the turntable.
7. Click "Confirm" in the software to exit this function to proceed with scanning.
When the printer is relocated, or the scan result is not accurate, peform the following steps to calibrate the scan module:
Scan software: Operate XYZscan Color
Use the calibration plate
1. You can have better performance under good
lighting conditions.
2. The front side of the object must face the scan
module.
Note
* For details about the scan feature, refer to the "XYZscan
Color Software User's Manual"
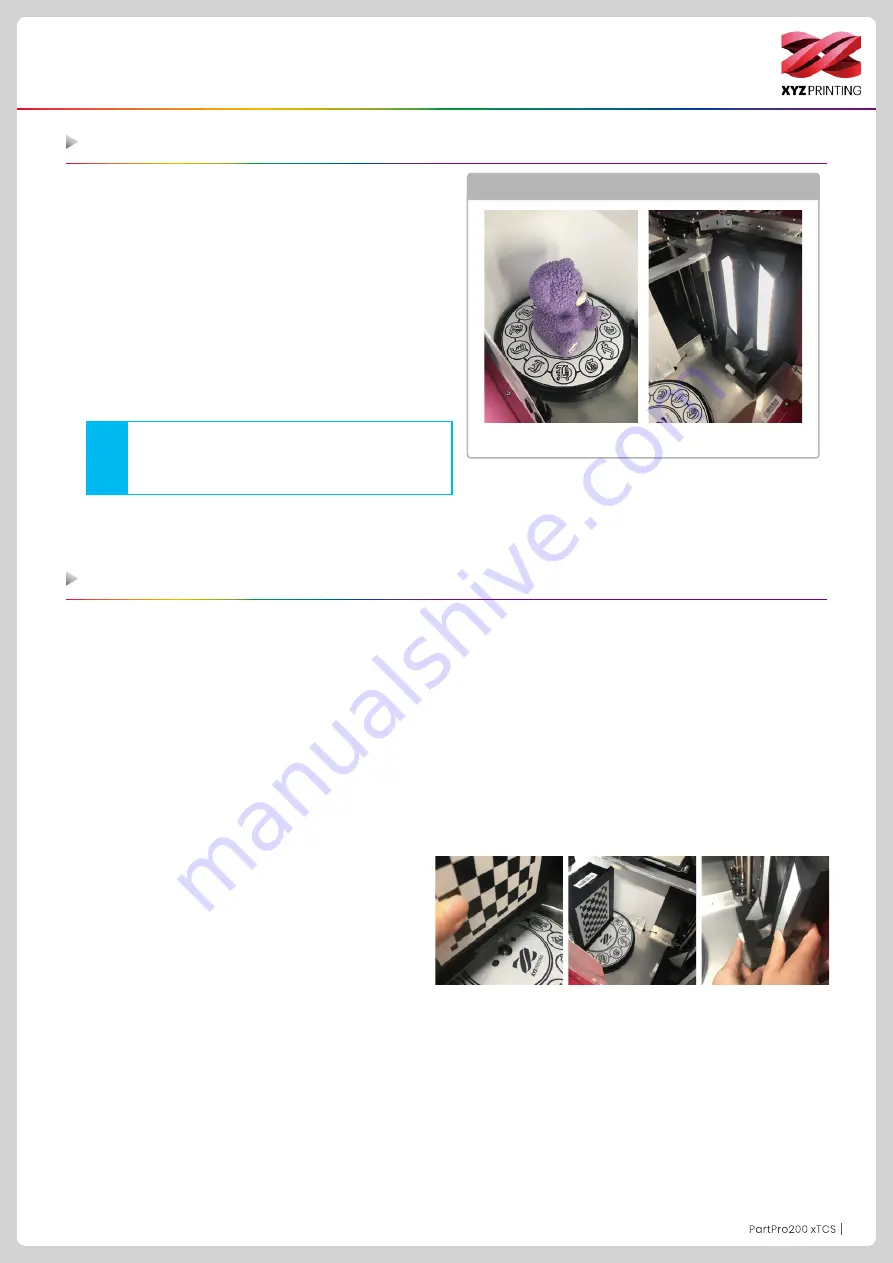
Environmental illustration
Rotating Table Module
Scan Module


