Maintenance
49
Replacing the Ink Cartridge
The ink cartridge includes the ink supply and the print head. Each time you
replace the ink cartridge, you are replacing the print head as well.
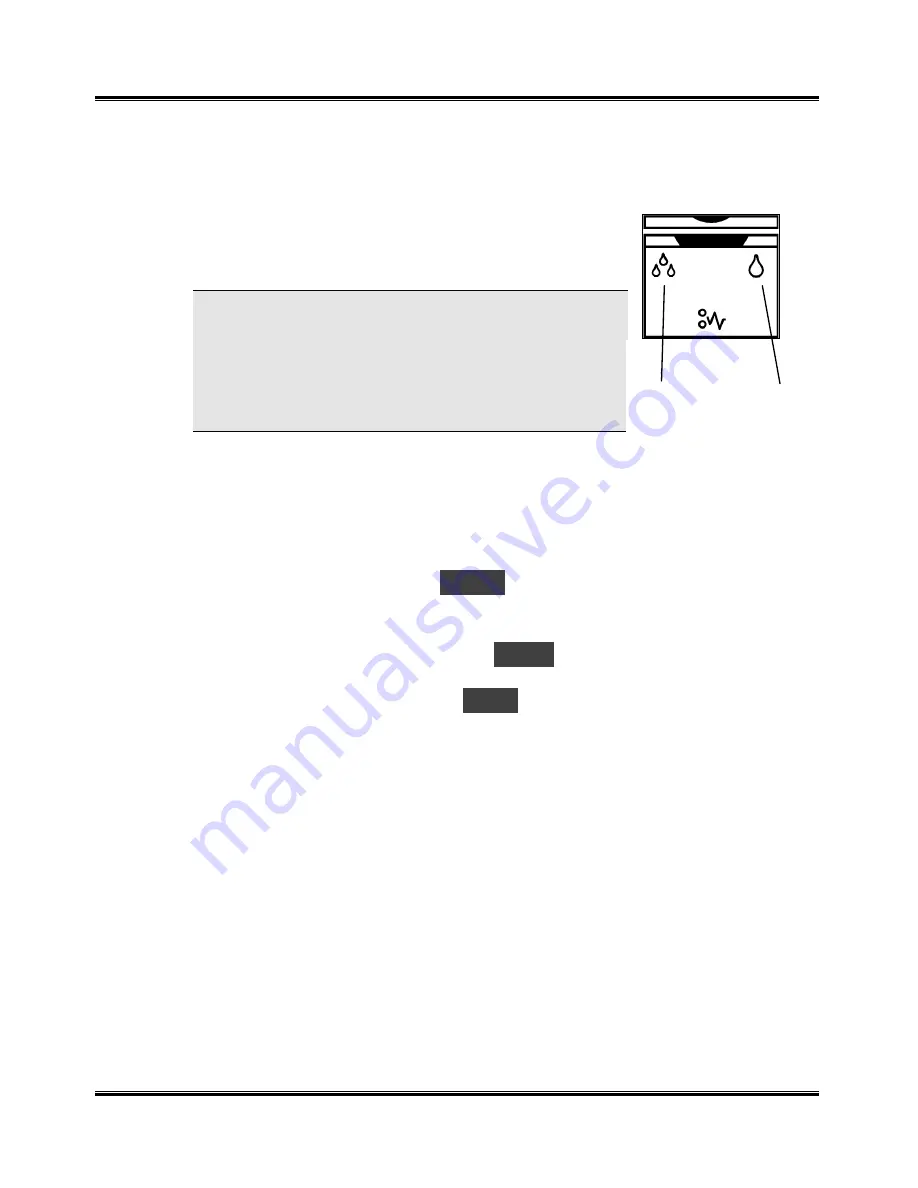
When you notice the print becomes light or one of
the low ink Diagnostic Display turns on, replace your
cartridge.
NOTE: When either of the two ink cartridge
Diagnostic Display turns on during PC printing, the
machine continues printing. After PC printing is
completed, replace the ink cartridge. Your machine
counts ink droplets, and keeps ink low counts for
both ink cartridges.
To replace the ink cartridge, perform the following steps:
1
Load paper into the Automatic Paper Feeder.
2
Lift and open the entire scanner module. Support the scanner with the
cartridge compartment lid/support.
3
Press the Menu button. A
U01
message will appear in the Display.
4
Press Start. The cartridge assembly will move to the open change area.
5
The LCD window will display the
L-C
message. If you want to change
the left cartridge (color) press Start, otherwise press Stop. The message
will then change to message
r-C
. If you want to change the right
cartridge (black), press Start, otherwise press Stop.
6
Pull the handle of the ink cartridge(s) you want to replace toward you
until there is a click. Remove the ink cartridge(s).
7
Remove a new ink cartridge from its packaging and carefully remove the
tape covering the print head. Hold the ink cartridge by the colored tab or
black areas only. Do not touch the copper area.
ª
Color
Black
Diagnostic Display LEDs
Summary of Contents for WorkCentre XK25c
Page 1: ...WorkCentre XK35c 25c User Guide Part No 602P41500 Version 2...
Page 6: ...iv Table of Contents This page intentionally left blank...
Page 9: ...Preface vii Safety Notes continued...
Page 13: ...Preface xi...
Page 14: ...Preface xii...
Page 45: ...30 Printing This page intentionally left blank...
Page 57: ...42 Copying This page intentionally left blank...


