14
Operation
MAN1279 (15/04/2019)
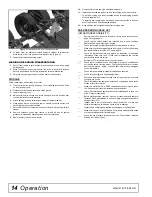
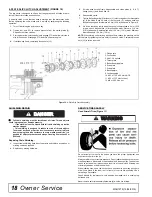
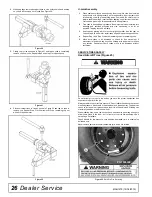
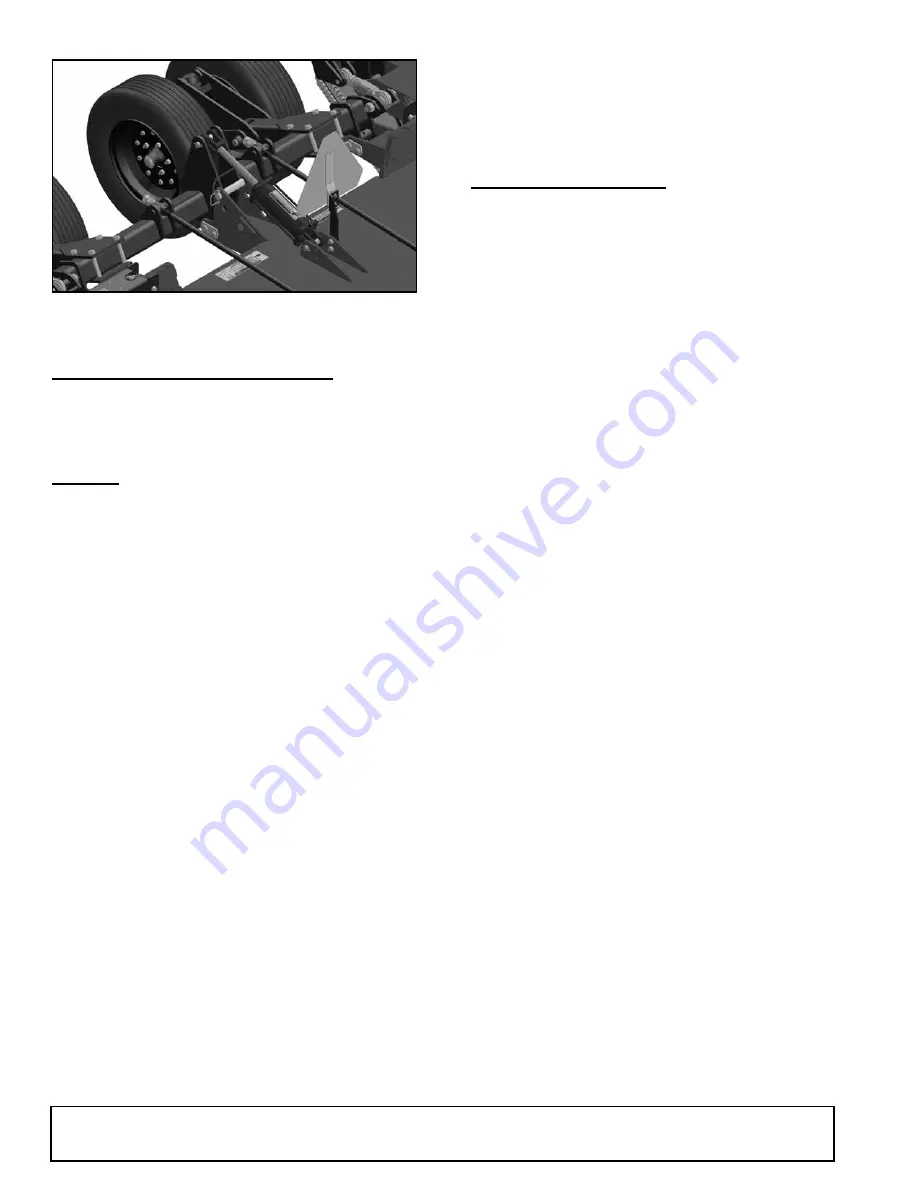
Figure 5
. Transport Lock Pin In Transport Position
4.
To lower cutter for operation, extend hydraulic cylinder to raise cutter.
Move lock pin from lock position to storage position (Figure 5).
5.
Lower cutter to desired cutting height.
JACKING UNIT DURING TRANSPORTATION
1.
Shut off tow vehicle in safe location, place tow vehicle in park, and apply
parking brake.
2.
Place jack device under rear centre frame rail at decal #18 location.
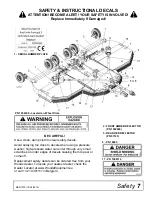
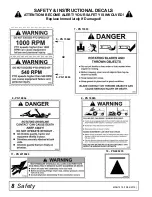
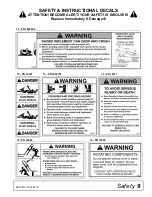
Refer to pages 8 and 9 of Safety Information for decal placement.
3.
Only jack unit up high enough to repair wheel or tire assembly.
STORAGE
Follow these steps when storing your cutter:
1.
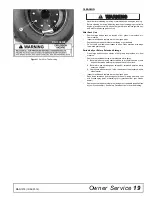
Clean cutter before storing. See page 19 for cleaning instructions. Store
on level, solid ground.
2.
Disconnect driveline and secure up off the ground.
3.
Lower wings to ground.
4.
Raise cutter centre section and rotate transport lock into position over
cylinder. Relieve hydraulic pressure.
5.
Attach parking jack and raise tongue weight off tractor drawbar.
6.
Place wedge blocks at front and rear of wheels on centre section and
each wing to prevent wheel rotation.
7.
Securely block all four corners of centre section and each wing with jack
stands.
8.
Remove hydraulic hoses after tractor is turned off and all system
pressure is released by operating valve levers several times.
9.
Remove safety tow chain from tractor.
10.
Remove retainer pin and high strength drawbar pin.
11.
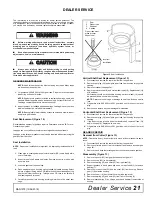
Install unauthorized towing device lock onto towing eye or ball coupler.
•
To install in towing eye, insert supplied device through towing eye and
affix with supplied lock.
•
To install in ball coupler, open device and insert lower portion in ball cou-
pler. Closer device. Attach supplied padlock.
12.
Keep children and bystanders away from storage area.
PRE-OPERATION CHECK LIST
(OWNER'S RESPONSIBILITY)
___
Review and follow all safety rules and safety decal instructions on
page 7 through page 9.
___
Check that all safety decals are installed and in good condition.
Replace if damaged, missing, or illegible.
___
Check that equipment is properly and securely attached to tractor.
___
Make sure driveline spring-activated locking pin or collar slides freely
and is seated firmly in tractor PTO spline groove.
___
Check all lubrication points and grease as instructed in lubrication
information. Make sure the PTO slip joint is lubricated and that the
gearbox fluid levels are correct.
___
Set tractor PTO at correct rpm for your equipment.
___
Check that all hydraulic hoses and fittings are in good condition and
not leaking before starting tractor. Check that hoses are not twisted,
bent sharply, kinked, frayed, or pulled tight. Replace any damaged
hoses immediately.
___
Check that all hardware is properly installed and secured.
___
Check cutting height and attitude adjustment.
___
Raise and lower equipment to make sure air is purged from hydraulic
cylinders and hoses.
___
Check that blades are sharp and secure and cutting edge is positioned
to lead with correct rotation.
___
Make sure tractor ROPS or ROPS cab and seat belt are in good condi-
tion. Keep seat belt securely fastened during operation.
___
Check that shields and guards are properly installed and in good con-
dition. Replace if damaged.
___
Before starting engine, operator must be in tractor seat with seat belt
fastened. Place transmission in neutral or park, engage brake and dis-
engage tractor PTO.
___
Inspect area to be cut and remove stones, branches, or other hard
objects that might be thrown and cause injury or damage.
___
Inspect chain shielding and replace any damaged or missing links.
___
Make sure tractor 3-point lift links do not interfere with hydraulic hoses
or driveline throughout full turning range.
___
Check the tire pressure for pneumatic tires. The maximum pressure
allowed is 2.76 bar (40 psi).
Summary of Contents for BATWING BW20.50QE
Page 1: ...OPERATOR S MANUAL BATWING ROTARY CUTTER Rev 22 10 2019 BW20 50QE BW20 60QE BW20 70QE MAN1279...
Page 10: ...10 Declaration of Conformity MAN1279 15 04 2019...
Page 45: ...Common Components 45 MAN1279 15 04 2019 NOTES...
Page 46: ...46 50 Series Parts MAN1279 15 04 2019 CENTER FRAME ASSEMBLY BW20 50QE...
Page 50: ...50 50 Series Parts MAN1279 15 04 2019 WING CENTER GEARBOX ASSEMBLY BW20 50QE...
Page 55: ...50 Series Parts 55 MAN1279 15 04 2019 NOTES...
Page 56: ...56 60 Series Parts MAN1279 15 04 2019 CENTER FRAME ASSEMBLY BW20 60QE...
Page 60: ...60 60 Series Parts MAN1279 15 04 2019 WING CENTER GEARBOX ASSEMBLY BW20 60QE...
Page 66: ...66 70 Series Parts MAN1279 15 04 2019 CENTER FRAME ASSEMBLY BW20 70QE...
Page 70: ...70 70 Series Parts MAN1279 15 04 2019 WING CENTER GEARBOX ASSEMBLY BW20 70QE...
Page 90: ...10 Declaration of Conformity MAN1279 15 04 2019 10 D claration de conformit MAN1279 15 04 2019...


