7
Complete cleaning
40
Translation of the original operation manual
•303_208176_1004_en•ski
➤
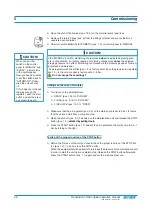
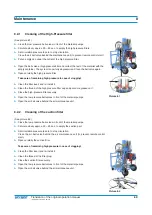
Open the lever of the dispensing unit (pos. 5).
➤
Increase the air inlet pressure to allow the dispensing unit to overcome the backpres-
sure.
➤
Flush until clean thinner is emitted.
➤
Close the lever of the dispensing unit.
➤
Turn back the air regulator (pos. 2.2) of the main pump.
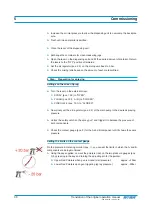
Settings on the mixer (circulate)
➤
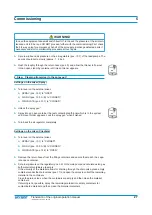
Turn levers on the external mixer:
➤
SPRAY (pos. 13.2) to “CLOSED”.
➤
FLUSH (pos. 13.3 A+B) to “CLOSED”.
➤
CIRCULATE (pos. 13.1) to “OPEN”.
➤
Slowly set the air regulator (pos. 2.2) of the main pump from 0 to about 1 bar.
Thereby, watch carefully that the pistons of the fluid sections are slowly moving up
and down.
➤
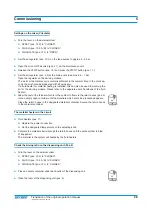
When thinner is emitted from the return hoses (pos. 9), then reassembled the return
hoses in the thinner.
Let the equipment circulate and pump for about 20 minutes.
NOTE:
Please take absolute care to separate both components Base and Hardener
during cleaning so therefore ensure NEVER to use only one container with thinner.
When thinner evaporates explosive gases may occure, which could ignite on hot
surfaces.
The solvent (thinner) temperature should not increase too high!
➤
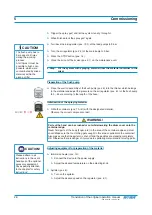
Turn the air regulator of the feed pumps (pos.10.1) to the left until it eases.
➤
Turn the air regulator of the flush pump (pos. 6.1) back to 0 bar until it eases.
➤
Empty the thinner of the material container A and B by triggering the spray gun* and
spraying into an empty container.
If the viscosity of the material allows for draining through the drain valve:
➤
place empty containers under the drain valves
➤
open the valves to collect the remaining material in the containers.
➤
Close the drain valves when the containers are empty and then clean the material
containers.

