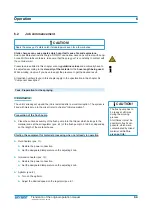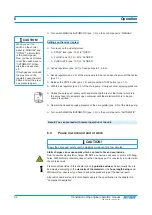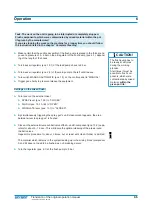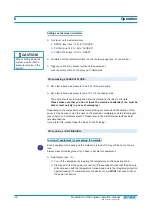
Complete cleaning
7
Translation of the original operation manual
39
39
•303_208176_1004_en•ski
➤
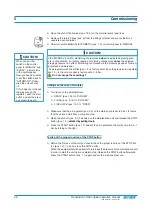
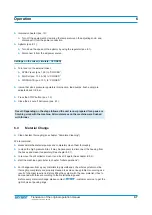
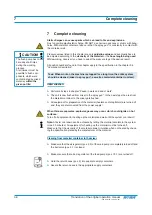
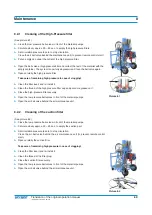
Empty the material containers (pos. 7 A / B) by spraying the rest of the material into
an empty container or let the system run dry by circulating the material over the
return hoses.
If the viscosity of the material allows for draining through the drain valve:
➤
place empty containers under the drain valves (pos. 7.1)
➤
open the valves to collect the remaining material in the containers.
➤
Close the drain valves (pos. 7.1) when the containers are empty and then clean
the material containers.
If draining is not possible, spray the remaining material into empty containers for
contaminated material and then clean the material containers.
➤
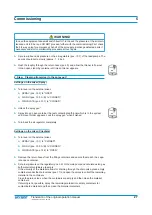
Fill the containers with thinner recommended by the material manufacturer.
.
WARNING!
Parts of the hand can be crushed or cut while lowering the drum cover onto the
container edge.
Never hold parts of the body (finger, etc.) in the area of the container edge and drum
cover! Make sure that no clothing gets caught in this area or pulled into the container!
➤
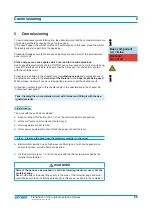
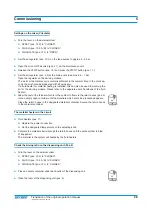
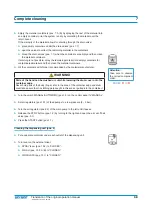
Turn the switch MANUAL/AUTOMATIC (pos.1.3) on the control panel to ”MANUAL”.
➤
Set air regulators (pos.10.1) of feed pumps to a low pressure (2 - 3 bar).
➤
Turn the air regulator (pos.2.2) of the main pump to the left until it eases.
➤
Release the STOP button (pos. 1.2) by turning to the right and open the air cut-off ball
valve (pos. 2.1).
➤
Press the START button (pos.1.1).
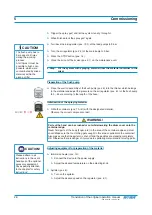
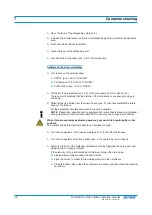
Cleaning the dispensing unit (pos. 5)
➤
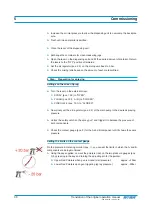
Put a separate container under each outlet of the dispensing unit.
➤
Turn lever on the external mixer:
➤
SPRAY lever (pos. 13.2) to “CLOSED”.
➤
FLUSH (pos. 13.3 A / B) to “CLOSED”.
➤
CIRCULATE (pos. 13.1) to “CLOSED”.
Attention:
Take care to observe
the correct component
order.
A
➞
A
;
B
➞
B

