WAVELET DIGITAL VIDEO RECORDER
89
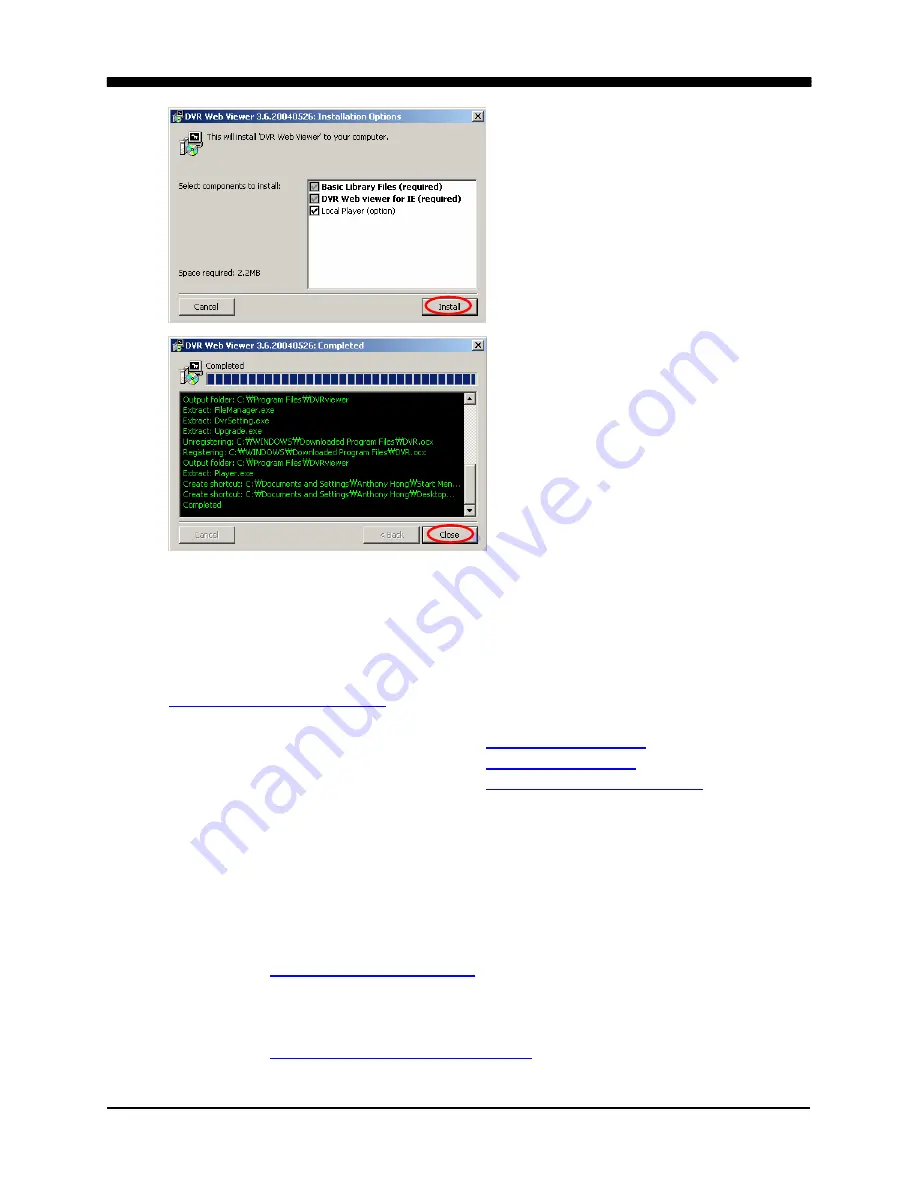
The Setup dialog displays the
installation options: the basic
library files and the DVR web
client. It will also list the option to
install the DVR local player.
Click on Install and the program
will be installed onto the
computer.
After the installation procedure
has completed, click on Close to
end the setup dialog.
c. CONNECTING TO THE DVR USING THE WEB CLIENT
Open up the Internet Explorer and type in the DVR’s IP address or the host
address from the information screen. For example, if the host name of the DVR
is Q00C66B, then the host address of the DVR would be
http://q00c66b.dvrhost.com
. Following is a few sample addresses.
Static, external (public) IP address:
http://24.168.44.180
Static, internal (private) IP address:
http://192.168.0.52
Dynamic, host address:
http://q00c32a.dvrhost.com
Some internet service providers block the default web broadcasting port (80),
therefore it is sometimes necessary to enter the secondary port number after the
address to connect to the DVR. Below are examples of the same addresses
from above using the secondary broadcasting port.
Static, external IP address with secondary port:
http://24.168.44.180:7777
Dynamic, host address with secondary port:
http://q00c32a.dvrhost.com:7777
Summary of Contents for 16-ch Digital Video Recorder
Page 1: ...WAVELET DIGITAL VIDEO RECORDER 0...
Page 21: ...WAVELET DIGITAL VIDEO RECORDER 20 5 P T Z CAMERA CONNECTION...
Page 30: ...WAVELET DIGITAL VIDEO RECORDER 29 Live view sequence of 16 ch DVR...
Page 77: ...WAVELET DIGITAL VIDEO RECORDER 76 The three ports are added as shown...
Page 124: ...WAVELET DIGITAL VIDEO RECORDER 123 19 POWER Terminates and exits from the CMS...
Page 147: ...WAVELET DIGITAL VIDEO RECORDER 146...


