12
7.4.1 Alarm 1
Alarm 1 Function:
The
ALM1
is displayed and the display indicates
the current function of alarm 1
(HI, LO, OFF
or
Error)
. Use the
or
buttons to cycle through and select the desired function. Press the
button to accept the selection.
If the alarm was turned
OFF
a prompt will appear to set up alarm 2
(go to section 7.4.2). If, on the other hand, one of the other functionalities
was selected a prompt will appear to set the delay times.
Alarm 1 Set Point:
This prompt is used to select the set point for this
alarm; this is indicated by “S/P” shown on the lower row of the display.
Select the desired alarm level by using the
and
buttons. Once the
desired set point has been set, press the
button to accept it.
Alarm 1 Delay Times:
Delay On:
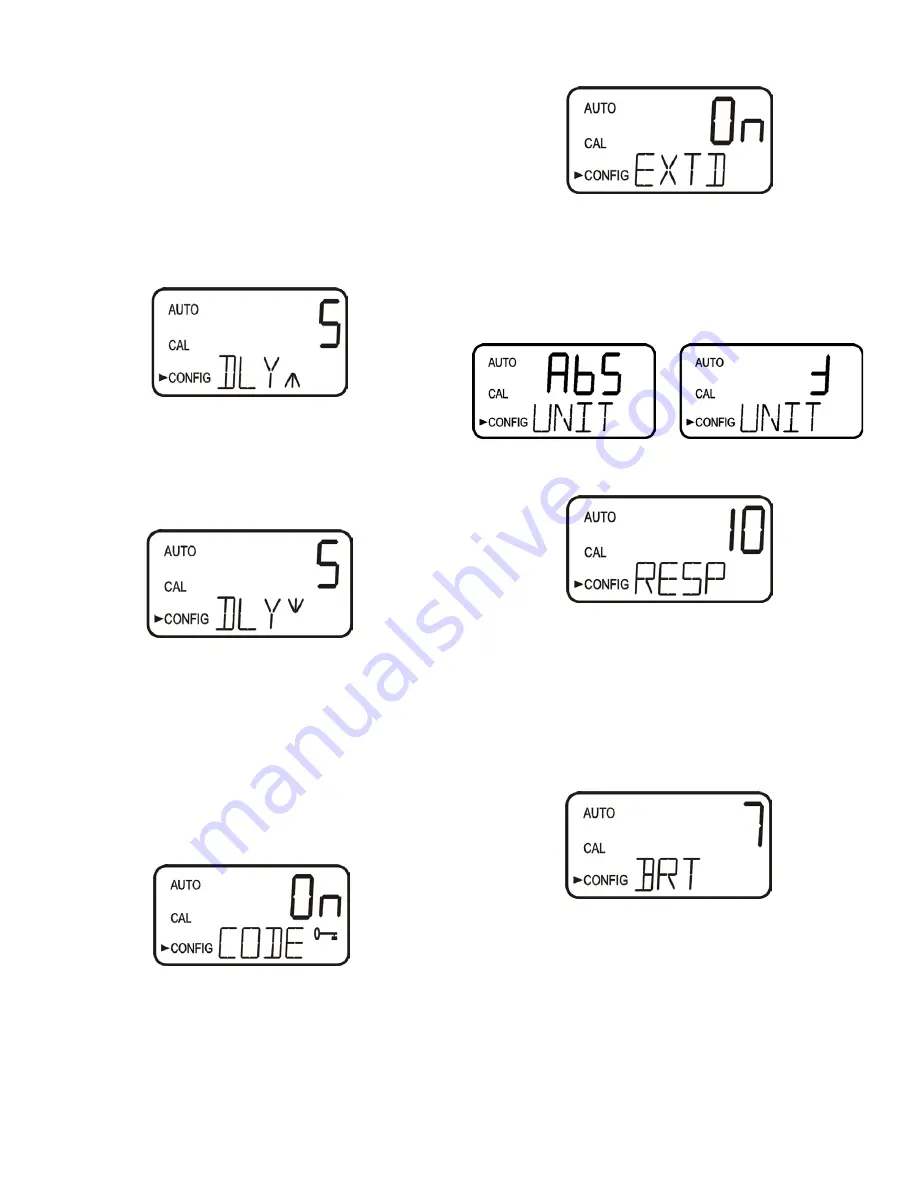
The following display will appear to allow
to select the number of seconds currently set for the “delay on” time.
The current selected number of seconds will be shown. Select the
desired number of seconds for the “delay on” time for this alarm using
the
and
buttons. Once the desired delay time has been set, press
the
button to accept it.
Delay Off:
Next, the following display will appear to select the number
of seconds currently set for the “delay off” time.
The current selected number of seconds will be shown. Select the
desired delay off time for this alarm using the
and
buttons. Once
the desired delay time has been set, press the
button to accept it.
After the settings for alarm 1 have been completed, prompts will allow
for the set up of the information on alarm #2.
7.4.2 Alarm 2
Repeat the procedure listed in section 7.4.1 to set up the parameters
for alarm 2. If one of the other functionalities is selected, a prompt
to set the delay times and the set point, as with Alarm #1, will be
displayed.
7.5 Enabling the Security Access
The instrument is equipped with a security access. If this option is turned
on, the user is required to input the access code into the instrument to get
to any mode other than
AUTO
. The only code is
333
. This code may not
be changed. See section 4.3 for more information on this security feature.
The security key icon will be visible and flashing on the display whenever
the access option is selected using the
or
buttons. (
On
or
OFF
).
7.6 Extended Settings
The last few settings are grouped together to prevent them from being
adjusted by accident. To gain access to the extended settings, select On
using the
or
buttons and press the
button.
7.7 Units
Select the preferred measurement parameter in either ABS shown or %T.
This selection will affect menus prior Extended Settings.
7.8 Speed of Response
The speed of response for both displayed and output values can be
adjusted in this menu. The factory setting is 3 however, 10 response
speeds are available. Select the desired speed of response using the
and
buttons. Press the
button to accept it.
Please note that the response is simply an average of the previous
readings combined with the current reading. If the setting is 1, only current
readings are displayed. If the setting is 10, the last 9 readings are averaged
with the current reading.
7.9 LCD Backlight Brightness
The LCD backlight brightness may need to be adjusted. This is of
particular interest if multiple instruments are located in the same area and it
is desired for the entire group to have the same appearance. Ten levels are
available. The factory brightness is 8.
Change the brightness by pressing the
or
button. When the desired
brightness has been selected, press the
button.


