34
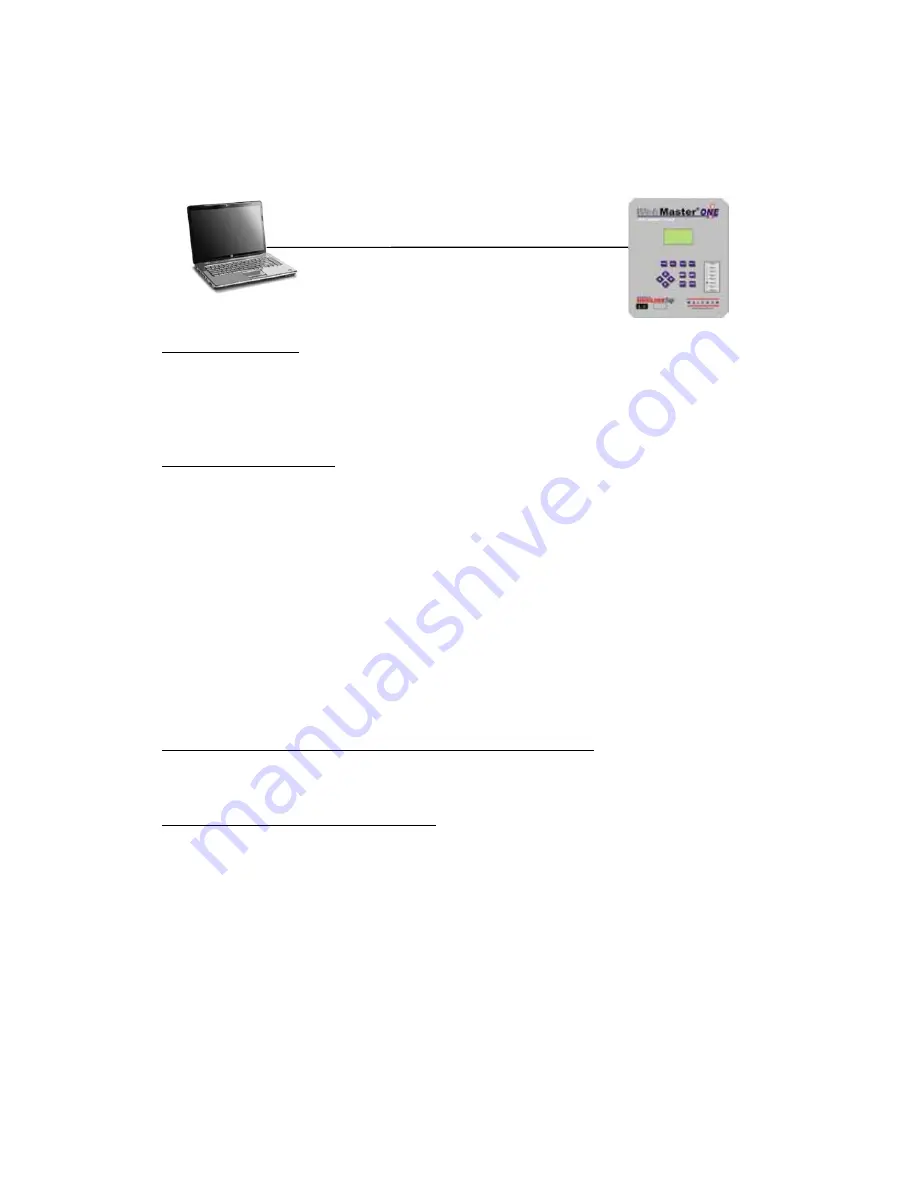
4.6.5 Direct Ethernet (for a WebMasterONE not connected to a LAN)
Equipment Required
An Internet-ready computer.
An Ethernet cable connection between the PC and WebMasterONE.
Note: Ethernet cross-over cable is required if your PC is using Windows XP. For Vista,
Windows 7 or Mac OS, a standard Ethernet cable will work.
Setting up your computer:
Go to LAN connections
For Windows XP: Control Panel > Network and Internet Connections > Network
Connections > Local Area Network
For Windows Vista: Control Panel > Network and Sharing Center > Manage Network
Connections
For Windows 7: Control Panel > View Network Status and Tasks
For Mac OSX: System Preferences > Ethernet
Right-click on the LAN connection, and choose Properties.
For Windows XP: Highlight
Internet Protocol (TCP-IP)
For Vista and Windows 7: Highlight
Internet Protocol Version 4 (TCP/IPv4)
For Mac OSX: Set
Configure IPv4
to Manually
Select
Use the following IP address
Change the IP address to 10.0.100.30. Subnet mask should be 255.255.254.0.
Parameters that need to be programmed into the WebMasterONE
The default settings will work with the LAN settings shown above. The default IP address for
the controller is 10.0.100.29. The default subnet mask is 255.255.254.0.
Steps Required to Establish a Connection
Open Internet Explorer.
Type in the Ethernet IP address that has been assigned to the WebMasterONE (10.0.100.29).
The sign-on screen of the WebMasterONE will come up. Type the User Name and Password
(Access Code) in the text boxes and click the Submit button. The default user name is
"webmaster" and the default passwords are "2001" for full access, "2002" for calibration only,
and "2003" for read only. These defaults can and should be changed in the Access Code page.
Ethernet Cable
User Assigned
Fixed IP Address
G Subnet Mask
Web Browser
(Client)
Fixed IP
Address User
Assigned


