SmartCrystal™ Diamond
n ° : MUV140036
Version : A12
USER MANUAL
Date : 11/01/2018
www.volfoni.com
This document is the property of the Co VOLFONI and may not be reproduced or disclosed without permission.
43
6.
The SmartCrystal™ Diamond box Image adjustment
The installation and the positioning of the SmartCrystal™ Diamond Box are now completed. Re-position the SCD Box in front of the
projector lens (3-D position) for the next operation (image adjustment).
Image adjustment
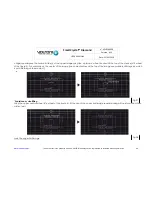
Now that the SCD Box is properly positioned, we can carry out the image adjustment. The principle consists in aligning every half
image (upper and lower) with the central image
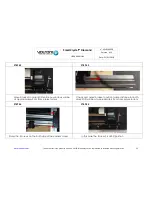
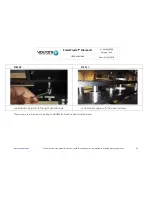
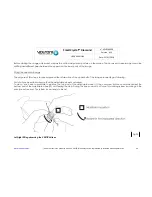
The fitting wheels are located on each side so as on the projector side of the SmartCrystal™ Diamond Box.
On one side of the SmartCrystal™ Diamond Box, you will find the up/down adjustment wheels of the upper half image (at the
top) so as of the lower half image (at the bottom). They can be spotted with the ‘left/right’ inscription.
On the other side of the SmartCrystal™ Diamond Box, you will find the right/left adjustment wheels of the upper half image (at
the top) and of the lower half image (at the bottom). They can be spotted with the ‘left/right’ inscription.
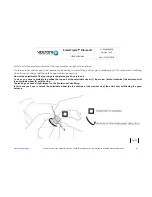
On the front projector side of the SmartCrystal™ Diamond Box, you will find the zoom in/out wheel for the upper half image (at
the top) and the zoom in/out wheel for the lower half image (at the bottom). They can be spotted with the ‘adjust’ inscription.
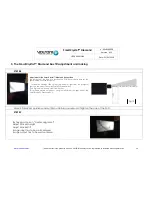
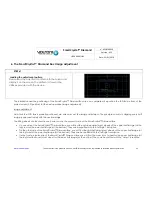
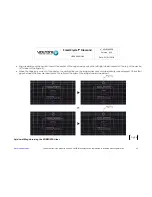
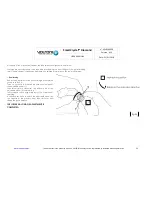
STEP 61
Loading the adjustment pattern
Please load the adjustment pattern into the server and
display it on the screen. The pattern is stored in the
USB key provided with the device.


