C
ONFIGURING
THE
O
NE
T
OUCH
B
UTTONS
79
7. Now start scanning using the button you selected to use to scan and
burn to CD.
When scanning is finished, a bubble message on the screen tells you
that files are waiting to be burned to the CD.
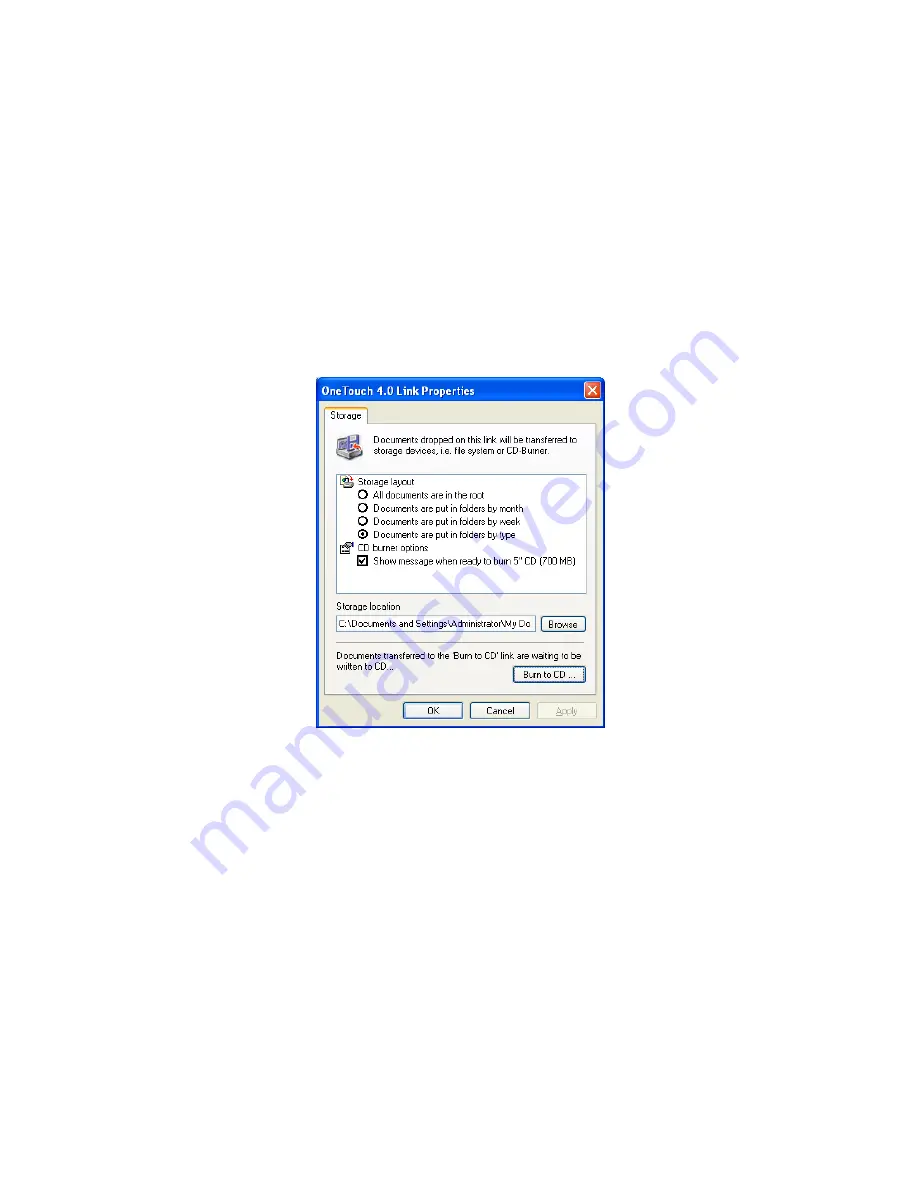
8. Open the OneTouch window and make sure that the
Burn to CD
Destination Application is still selected and click the
Properties
button.
The OneTouch 4.0 Link Properties window opens.
9. Make sure a CD is in the CD burner.
10. Click the
Burn to CD
button.
The CD burner begins and your scanned documents are written to
the CD.
Summary of Contents for OneTouch 9450
Page 1: ...for Windows Visioneer OneTouch 9450 USB Scanner User s Guide...
Page 2: ...Visioneer 9450 Scanner User s Guide F O R W I N D O W S...
Page 7: ...iv TABLE OF CONTENTS...
Page 145: ...138 VISIONEER 9450 SCANNER USER S GUIDE...
Page 149: ...INDEX 142...
Page 150: ...Copyright 2006 Visioneer Inc 05 0508 500 visioneer...


