23
Advanced Configuration
3. On each decoder:
a. Set
VW.ENABLED
to
True
on by selecting the check box.
b. Assign a user defined video wall name to each decoder that will be part of the video wall:
VW.NAME
.
Assign the same name to each decoder that will be part of the video wall you are creating. For example: Videowall_1. The
Vision Lite software uses this name to automatically group all of the decoders into a video wall object that can then have
sources routed to it in the Vision Lite drag and drop “routing” user interface.
c. Set the
VW.STRETCH_TYPE
. This option chooses how a video is scaled to the wall area. The default is
Fit
, which scales the
video to fit the wall area, changing the aspect ratio as needed.
d. Set the video wall rotation
VW.ROTATION
. Options are 0, 90, 180, or 270 degrees clockwise.
e. Set the Bezel and Gap settings:
VW.OVERALL_WIDTH, VW.VISIBLE_WIDTH
,
VW.OVERALL_HEIGHT
,
VW.VISIBLE_HEIGHT
.
Units = 0.1mm.
f. Set the Row and Column settings:
VW.MAX_ROWS
,
VW.MAX_COLUMNS
.
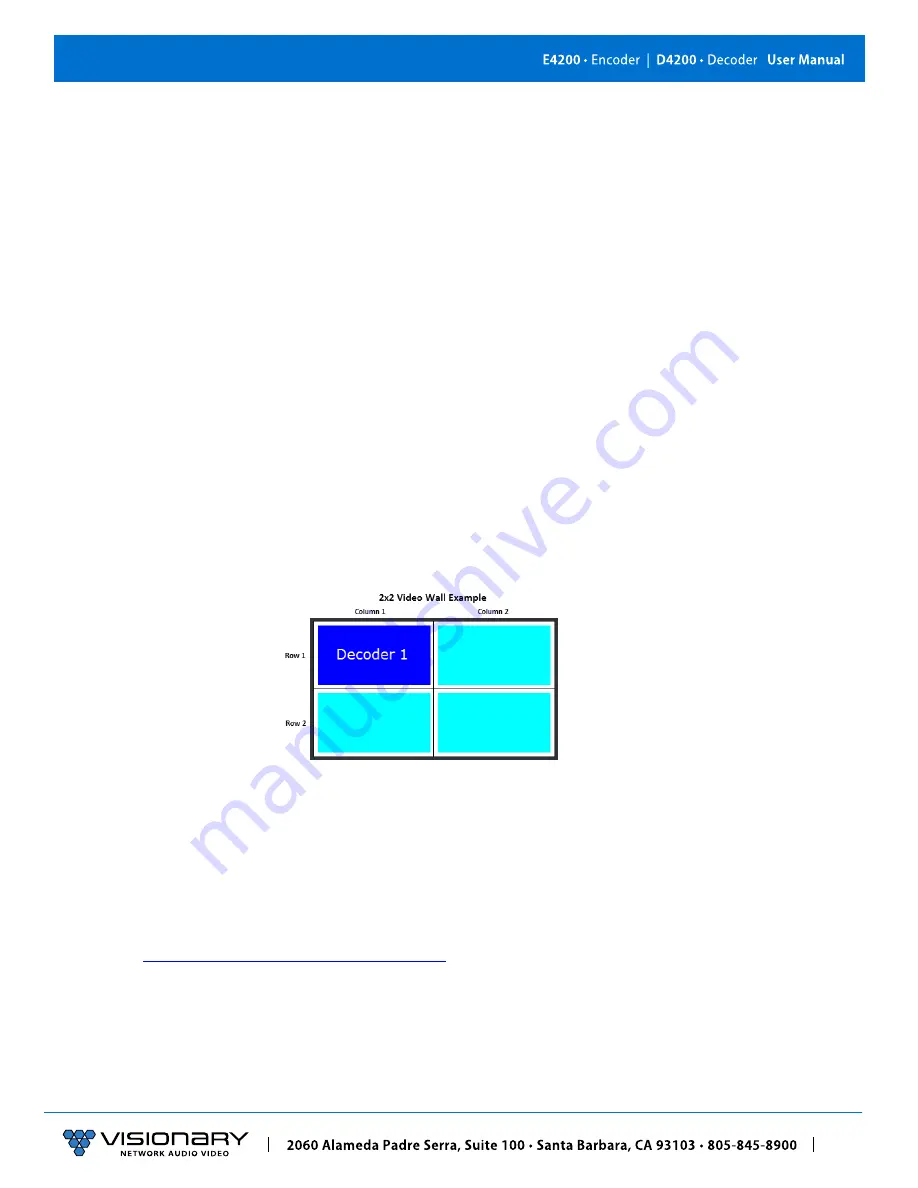
In this 2x2 video wall example, set the
VW.MAX_ROWS
to
2
and set the
VW.MAX_COLUMNS
to
2
.
g. Set the position on the video wall for the decoder to display:
VW.ROW, VW.COLUMN
.
In this 2x2 video wall example, set the position of the decoder as follows:
First decoder:
VW.ROW
=
1
and
VW.COLUMN
=
1
Second decoder:
VW.ROW
=
1
and
VW.COLUMN
=
2
Third decoder:
VW.ROW
=
2
and
VW.COLUMN
=
1
Fourth decoder:
VW.ROW
=
2
and
VW.COLUMN
=
2
The display highlighted in dark blue indicates the position of the decoder that you are configuring in the video wall, based
on your settings.
h. Click
Save
to save the new settings. The unit will automatically reboot.
The units are now configured in video wall mode.
EDID
The default EDIDs that come with the E4200 encoder cover a range of resolutions and audio formats that are widely supported. There
may be some instances where the default EDIDs do not produce the expected or desired results for a unique system, such as for
certain special resolutions, color-space options, and audio formats. In those cases, produce the desired result by capturing the EDID
settings from your display and updating the EDID on the E4200 encoder. You can use EDID capture software such as
Monitor Asset
Manager 2.9
http://www.entechtaiwan.com/util/moninfo.shtm
) to copy the EDID from your display.
The EDID describes the formats for audio and video that an HDMI sync can process. The source device uses this information to
determine the audio and video format that is output. The source gets its EDID from the encoder. The E4200 encoder is the only device
that is presenting an EDID to the source. No matter how many displays are in the system, the devices never report their EDID to the
source.
Most source devices are set to output according to the EDID it is receiving. Therefore, to make the source device output a different
audio or video format you must update the EDID on the E4200 encoder.


