13
Network Discovery
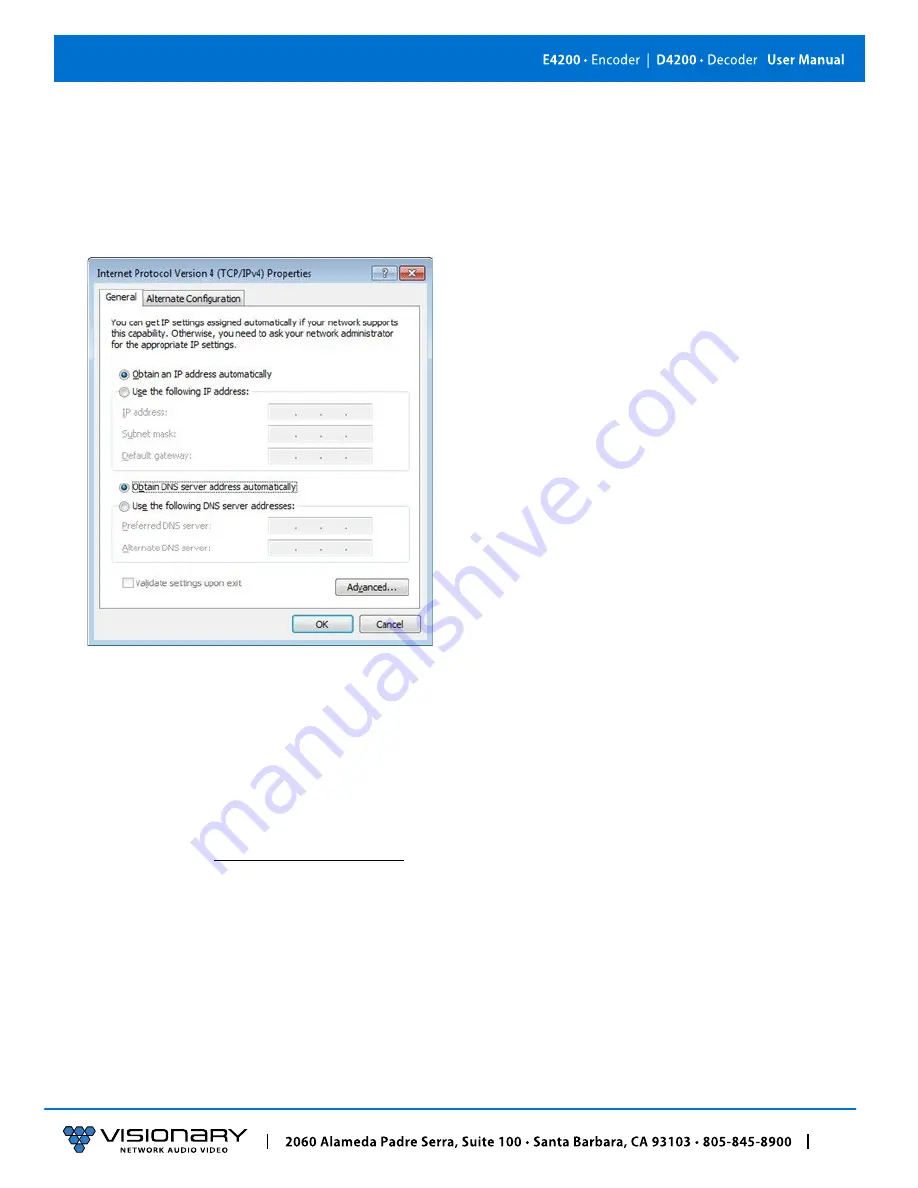
On a Microsoft Windows computer, configure your network settings as follows:
1. Click
Start
menu, go to
Control Panel > Network and Sharing center > Change Adapter Settings > Local Area Connection
. Right-
click and choose
Properties
.
2. Highlight
Internet Protocol Version 4 (TCP/IPv4)
then click
Properties
. This opens the window you use to configure your
network settings.
To set up your computer to communicate with endpoints that are using
DHCP:
•
Method 1
: If there is a DHCP server on the network, accept
Obtain an IP address automatically
(the default)
.
The computer will
be automatically assigned a unique IP address by the DHCP server on the same subnet, allowing communication with the
E4200/D4200 endpoints.
•
Method 2
: Configure your computer with a static IP address within the defined DHCP range for your network (the subnet (VLAN)
defined by the DHCP netmask for your network). Choose
Use the following IP address
. Enter an IP address then click
OK
. To
avoid address conflicts, enter a static address that is not in the range of addresses that will be given out by the DHCP server. For
example: If the DHCP range = 192.168.1.100 –192.168.1.150 and netmask = 255.255.255.0, you can assign 192.168.1.151.
To set up your computer to communicate with endpoints that are using
Auto IP:
•
Method 1
: If there is no DHCP server on the network, a Windows PC will “failover” to Auto IP in a similar way as the encoders
and decoders. Accept
Obtain an IP address automatically
(the default)
.
After about one minute the computer will assign itself a
unique IP address within the range of 169.254.1.0–169.254.254.255, with a 255.255.0.0 subnet mask, allowing communication
with the encoders and decoders on the network that are also assigned IP addresses via Auto IP.


