LabQuest
®
3 User Manual
www.vernier.com/labq3
19
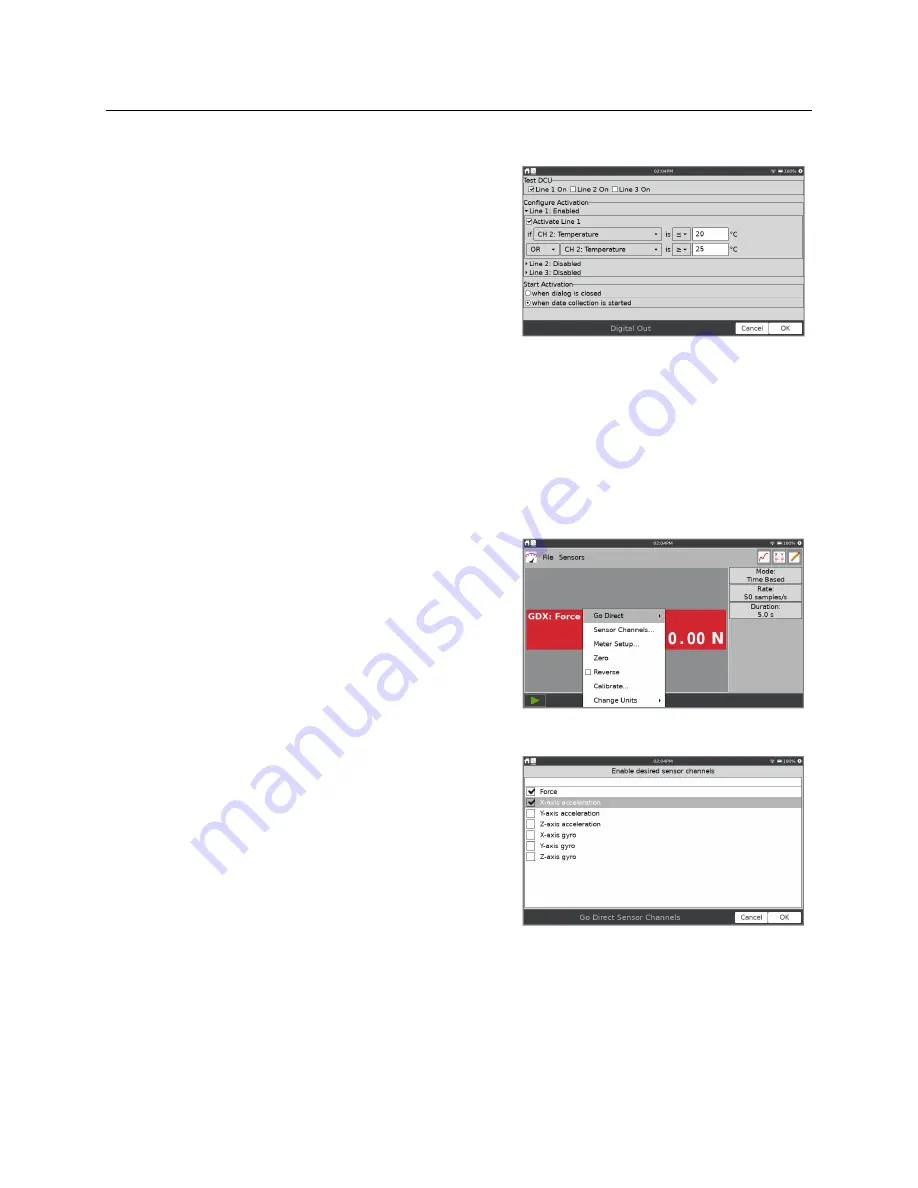
DCU Setup
Connect a Digital Control Unit (DCU) to one of the
LabQuest digital ports. Choose DCU Setup from the
Sensors menu and select the DCU for setup.
Test DCU
—Manually turn on and off the digital
lines.
Configure Activation
—Use logic statements to
activate digital lines based on sensor readings.
Start Activation
—Apply digital output logic
immediately or only while collecting data.
Once digital output has been activated, automatic identification of sensors is disabled for the
port used by the DCU. The LabQuest App cannot detect the removal of the DCU or the addition
of any other digital sensor in that port. To turn off the digital output and enable auto-ID of
sensors, choose New from the File menu.
Configuring Sensors
A digital meter for each connected sensor is shown on
the meter screen. Tap on a sensor meter to display
options for changing sensor settings. The available
options depend on the sensor and can include options
to set up channels, change units, calibrate, zero, and
reverse the sensor. Many of these options can also be
accessed from the Sensors menu.
Go Direct Sensor Channel Configuration
Many Go Direct sensors have multiple sensor
channels. These sensors have a default configuration
that does not typically use all available sensor
channels.
Tap the sensor meter and select Sensor Channels to
access the configuration screen. Select the applicable
sensor channels and tap OK.


