Setup and Registration
6-36
3
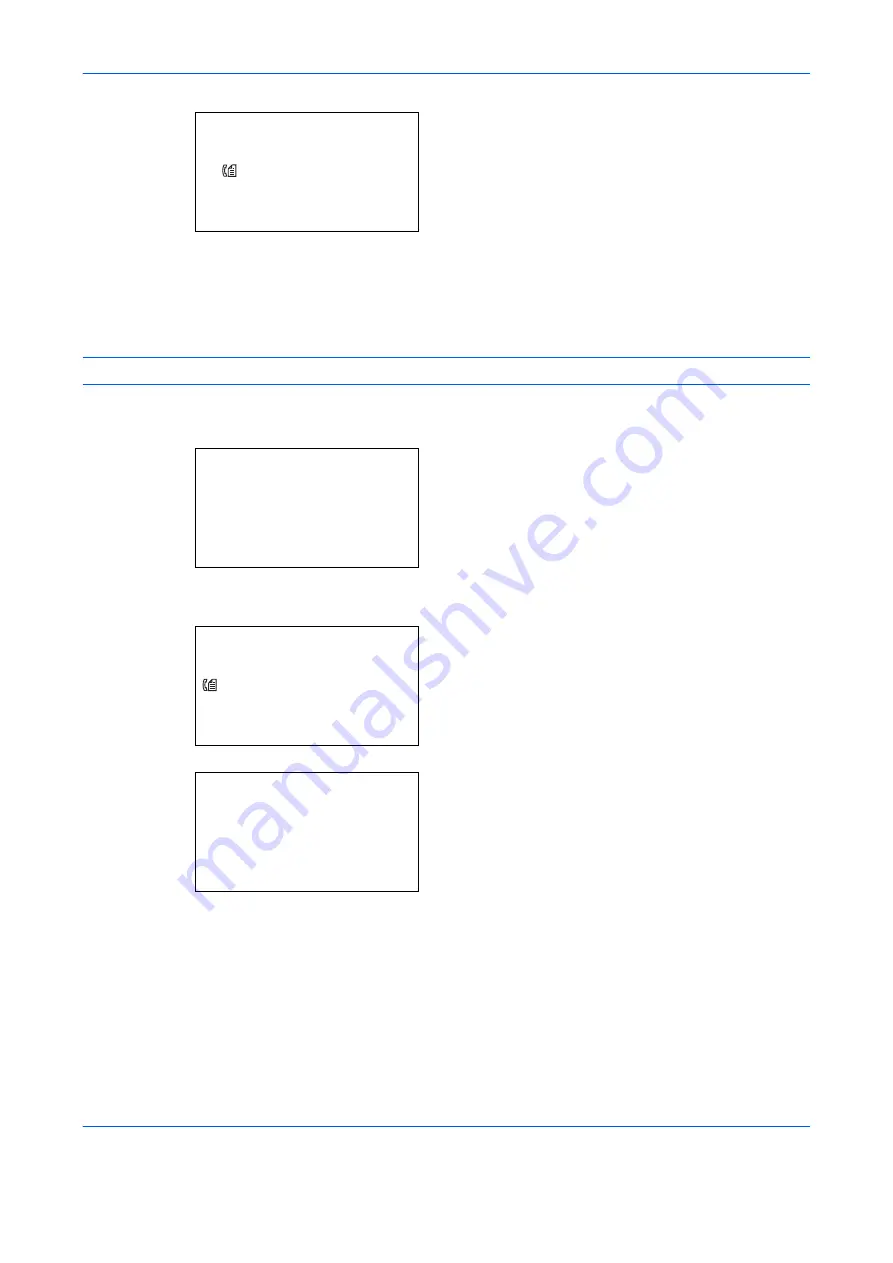
Press [Yes] (the
Left Select
key). This deletes
the Reject FAX number.
5
To change and delete other Reject FAX numbers,
repeat steps 2 to 4.
Registering Permit ID No.
NOTE:
Up to 10 Permit ID numbers can be registered.
1
Refer to
Basic Operation Procedure on page 6-7
2
Press the
or
key to select [Permit ID List].
3
Press the
OK
key.
4
Press [Menu] (the
Right Select
key).
5
Press the
or
key to select [Add FAX ID].
Delete.
Are you sure?
z
0667640001
[ Yes ]
[ No ]
TX/RX Restrict.:
a
b
2
RX Restriction
3
Permit No. List
*********************
[ Exit
]
4
Permit ID List
Permit ID List:
a
b
*********************
0007
[ Menu
]
0004
Menu:
a
b
1
Detail/Edit
2
Delete
*********************
3
Add FAX ID
Summary of Contents for P-C2665 MFP
Page 1: ...USER MANUAL P C2665 MFP Copy Print Scan Fax A4 FAX SYSTEM ...
Page 2: ......
Page 20: ...Part Names and Functions 1 6 ...
Page 28: ...Preparation Before Use 2 8 ...
Page 58: ...FAX Operation Basic 3 30 ...
Page 112: ...FAX Operation Advanced 4 54 ...
Page 126: ...Checking Transmission Results and Registration Status 5 14 ...
Page 180: ...Troubleshooting 8 8 ...
Page 196: ...Appendix 16 ...
Page 200: ...Index 4 ...
Page 201: ......
Page 202: ...2PWGEEN500 First edition 2013 11 ...


