220/240 Volt Models
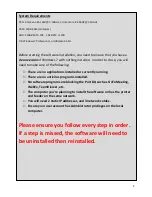
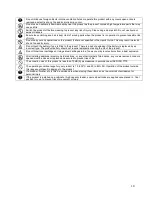
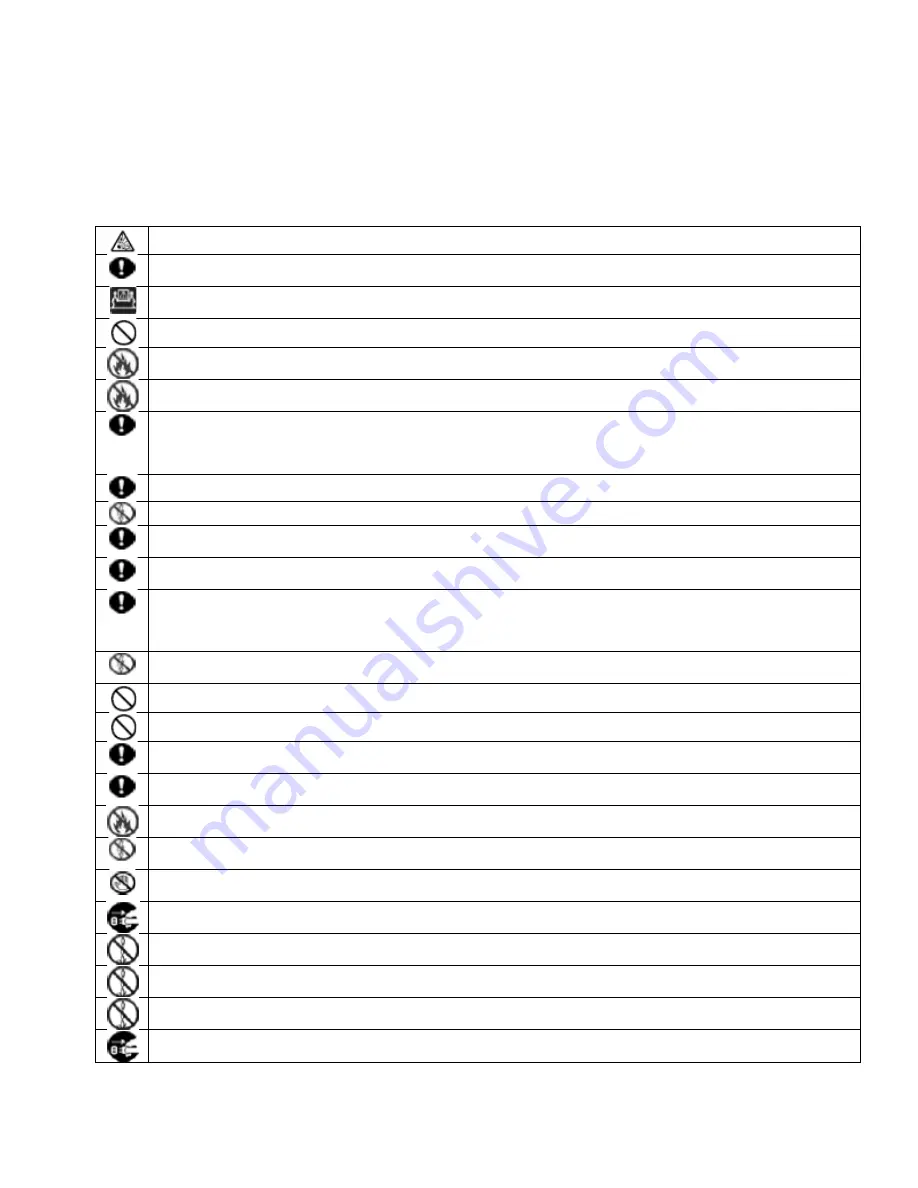
This product has been carefully designed to give years of safe, reliable performance. As with all electrical
equipment, however, there are a few basic precautions that should be taken to avoid injury or damage:
Ensure this and all other documentation is both read carefully and retained for future reference.
Ensure all warning and instruction labels on the product are read, understood and followed in order to prevent any
risk of injury.
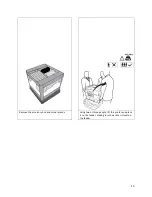
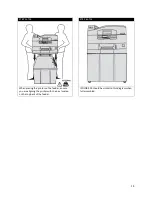
This product may be heavy. Please check the weight of the product and take all necessary precautions to prevent
the risk of personal injury.
The product must be placed on a flat solid surface strong enough to support its weight to prevent any risk of injury.
Ensure that there is adequate ventilation all around the product to prevent overheating and any risk of fire.
Keep the product away from direct heat sources such as radiators and out of direct sunlight to prevent any risk of
overheating.
The power supply required for this product is 220-240 VAC, 50/60 Hz. (For any DC powered product, the figures are
9.6- 31.2VDC, 4-1.8A.) Refer to your product’s rating label on the machine for full power rating details. Ensure that
you have a suitable power supply before connecting the product. If in doubt contact your dealer or check with your
local power provider.
Ensure both the product and mains power switches are in the OFF position before connecting the AC power cable.
Do not connect or disconnect the power plug with a wet hand as this may cause electric shock.
Always hold the power plug to connect/disconnect the power cable to/from the mains socket. Unplugging by pulling
on the cable can cause fraying and may lead to fire or electric shock.
This product has an earthed plug as a safety feature and will only connect to an earthed socket. Do not attempt to
defeat the earthing or there is a risk of fire or shock.
If using an extension cable or power strip ensure that the total current rating (amperes) of all connected equipment is
less than the maximum rating of the extension cable, power strip or wall outlet. If the product is already supplied with
a fitted power strip then no additional power strip or extension cable should be used to connect to the mains wall
outlet. Otherwise, fire or shock may occur.
Ensure the power cable is routed so as not to be damaged or cause a trip hazard. If the cable becomes frayed or
damaged replace it immediately to prevent any risk of shock.
Do not twist, constrict or knot the power cable as this can cause overheating which may lead to fire or electric shock.
Ensure the power socket to which the product is connected is easily accessible at all times and not obstructed.
Use only the power cable supplied. Using a power cable not intended for this product may lead to fire or electric
shock.
To avoid risk of fire and electric shock, do not use the power cable supplied with this product for any other electrical
equipment.
If you do not connect the power cord or any other cables only as directed in the User’s Guide, this may result in a
fire.
It is recommended that the machine is switched off prior to opening covers; otherwise there is a risk of electric
shock.
When the product cover is open, do not touch the fuser unit or print head as you may receive burns. Allow it to cool
before touching.
If the product casing gets extremely hot or smoke, unusual smells or abnormal noises are emitted from the product,
there is a risk of fire. Unplug the mains connector and contact your Uninet.
If the product has been knocked over or damaged, there is a risk of electric shock, fire and/or injury. Unplug the
mains connector and contact Uninet.
If any liquid (for example water) is allowed to enter the product, there is a risk of fire. Unplug the mains connector
and contact your Uninet.
Do not place containers containing liquid on the product as electric shock, fire and/or injuries may occur.
If any foreign objects (for example clips) are allowed to enter the product, there is a risk of electric shock, fire and/or
injury. Unplug the mains connector before removing the object.
9
Summary of Contents for iCOLOR 900
Page 1: ...iCOLOR 900 APEX2Print Installation and User Guide ...
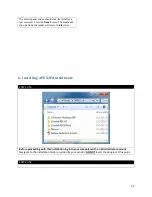
Page 23: ...Navigate to the 2 Install RIP vR2 Folder Run the Prepare_Uninet_RIP_v2 1 exe file 23 ...
Page 24: ...STEP 3 of 8 The KEYLOK and Sentinel Drivers will install 24 ...
Page 26: ...STEP 5 of 8 Click Done STEP 6 of 8 26 ...
Page 27: ...Navigate to the 3 Install APEX2Print folder Run the APEX2Print_Install msi file Click Next 27 ...
Page 53: ...Appendix 53 ...
Page 57: ...57 ...
Page 59: ...PAGE 3 59 ...
Page 68: ...STEP 2 of 4 The Creating a New User Media Entry window will display Click Edit STEP 3 of 4 68 ...
Page 80: ...STEP 7 of 10 The job is ready for printing Click Print Nesting 80 ...
Page 87: ...STEP 3 The Preview Screen will display the scaled object 87 ...
Page 100: ...Example 2 Guide Arms Example 3 Cutter Blade Glue Residue Glue Residue 100 ...
Page 108: ...STEP 21 Close the Guide Door and the system is ready to print 108 ...

