STEP 3
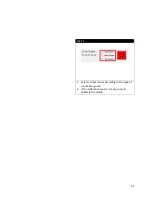
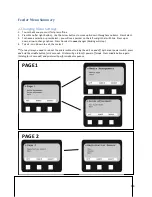
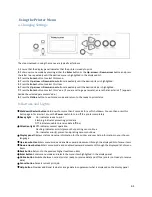
Red Arrow: Where the sensor is located. The media needs to pass through here to be calibrated.
Blue arrow: Is the place where the media should be before calibration.
For calibrating media that uses the Back and Top sensor, line up the Black Marking on the paper (shown in the
photo as the blue arrow) about one inch below the sensor (Red arrow).
For Gap Sensor: Line up the gap (Blue arrow) of the labels about one inch from the sensor (Red arrow).
Give some slack to the roll of paper directly underneath the sensor before calibrating. This ensures the rollers are
not pulling the weight of the roll while calibrating.
STEP 4
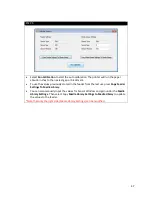
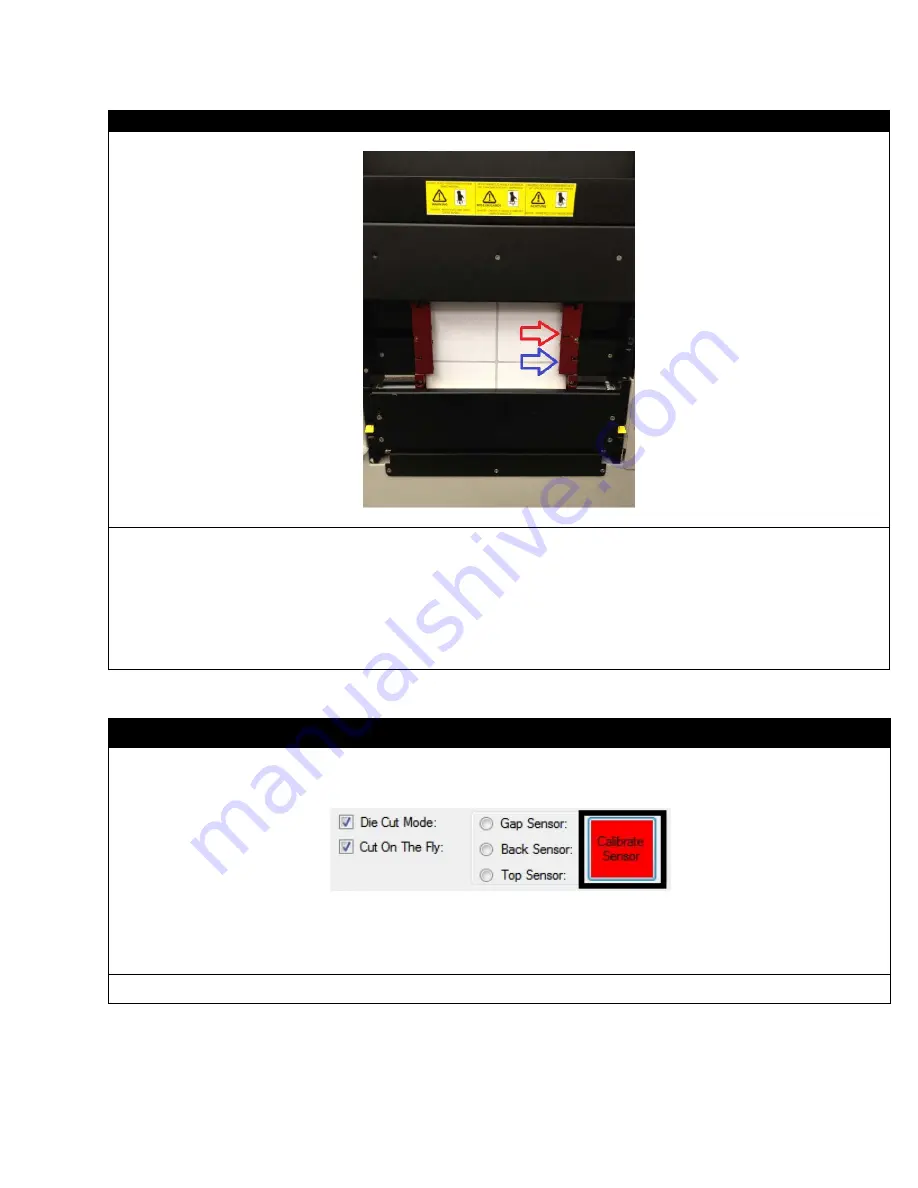
When the media is properly loaded and the sensor has been chosen, select Calibrate Sensor.
46
Summary of Contents for iCOLOR 900
Page 1: ...iCOLOR 900 APEX2Print Installation and User Guide ...
Page 23: ...Navigate to the 2 Install RIP vR2 Folder Run the Prepare_Uninet_RIP_v2 1 exe file 23 ...
Page 24: ...STEP 3 of 8 The KEYLOK and Sentinel Drivers will install 24 ...
Page 26: ...STEP 5 of 8 Click Done STEP 6 of 8 26 ...
Page 27: ...Navigate to the 3 Install APEX2Print folder Run the APEX2Print_Install msi file Click Next 27 ...
Page 53: ...Appendix 53 ...
Page 57: ...57 ...
Page 59: ...PAGE 3 59 ...
Page 68: ...STEP 2 of 4 The Creating a New User Media Entry window will display Click Edit STEP 3 of 4 68 ...
Page 80: ...STEP 7 of 10 The job is ready for printing Click Print Nesting 80 ...
Page 87: ...STEP 3 The Preview Screen will display the scaled object 87 ...
Page 100: ...Example 2 Guide Arms Example 3 Cutter Blade Glue Residue Glue Residue 100 ...
Page 108: ...STEP 21 Close the Guide Door and the system is ready to print 108 ...


