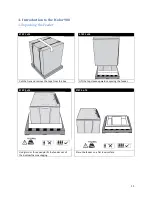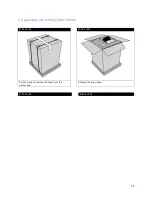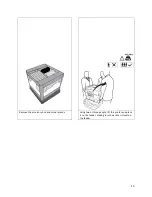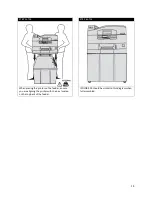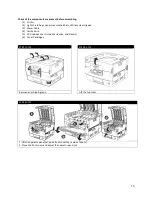
STEP 10 of 23
STEP 11 of 23
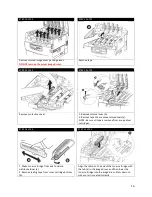
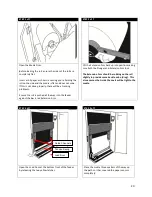
Remove colored image drum packing pieces.
DO NOT remove the actual image drums.
Remove tape
STEP 12 of 23
STEP 13 of 23
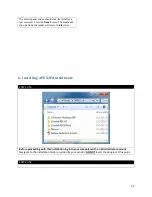
Remove protective sheet
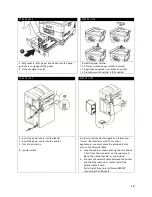
1. Remove colored locks (b).
2. Remove tape then remove colored seals (a).
NOTE:
Be sure all tape is removed from image drum
cartridges.
STEP 14 of 23
STEP 15 of 23
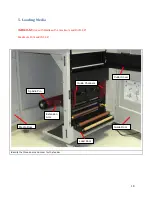
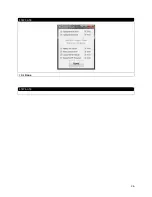
1. Shake toner cartridge from side to side to
distribute toner (a).
2. Remove sealing tape from toner cartridge bottom
(b).
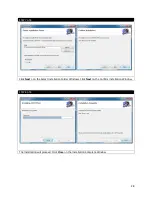
Align the notch on the end of the toner cartridge with
the tab (a) in the image drum, and then lower the
toner cartridge into the image drum. Press down to
make sure it is seated correctly.
16
Summary of Contents for iCOLOR 900
Page 1: ...iCOLOR 900 APEX2Print Installation and User Guide ...
Page 23: ...Navigate to the 2 Install RIP vR2 Folder Run the Prepare_Uninet_RIP_v2 1 exe file 23 ...
Page 24: ...STEP 3 of 8 The KEYLOK and Sentinel Drivers will install 24 ...
Page 26: ...STEP 5 of 8 Click Done STEP 6 of 8 26 ...
Page 27: ...Navigate to the 3 Install APEX2Print folder Run the APEX2Print_Install msi file Click Next 27 ...
Page 53: ...Appendix 53 ...
Page 57: ...57 ...
Page 59: ...PAGE 3 59 ...
Page 68: ...STEP 2 of 4 The Creating a New User Media Entry window will display Click Edit STEP 3 of 4 68 ...
Page 80: ...STEP 7 of 10 The job is ready for printing Click Print Nesting 80 ...
Page 87: ...STEP 3 The Preview Screen will display the scaled object 87 ...
Page 100: ...Example 2 Guide Arms Example 3 Cutter Blade Glue Residue Glue Residue 100 ...
Page 108: ...STEP 21 Close the Guide Door and the system is ready to print 108 ...

