


pg. 12
BEFORE TURNING ON THE PRINTER
Before you begin printing with your new unit there are a few things that need to be done. Check
over the following instructions before powering the machine up.
•
The printer and black metal platform are both on a stable and level surface.
•
The USB cable is connected to both the printer and your computer.
•
All packing tape has been removed from the print, be sure to check under the lid to ensure
there is no tape holding the carriage/printhead down.
FIRST TIME START-UP
With all preparations completed, it is time to power up your new printer. The directions below will
walk you through correctly powering on and setting up your printer for the first time.
1.
Connect the power cable to both the printer and a known-good outlet.
2.
Press the Power Button and wait for the green light to light up.
3.
You will see that the orange light above the Ink Button will be blinking, simply hold it down
until the printer begins making sound. This will initiate a dry head cleaning and can take
several minutes before it is complete. When it is completed the Ink light will no longer be on
or blinking, only the green power light will be lit up.
4.
After the dry head cleaning is complete, you want to install the Epson L1800 driver.
DRIVER INSTALLATION
The driver needed for you printer is the “Epson L1800”. The following link will automatically start the
download:
https://download.epson-europe.com/pub/download/3786/epson378692eu.exe
Once downloaded, launch it. Your computer will ask if you accept changes to be made by the driver,
select “Yes”.
A Printer Utility Setup window will appear with a checkbox to set your new printer as the default,
you want to make sure that box is
unchecked
before pressing “OK”.
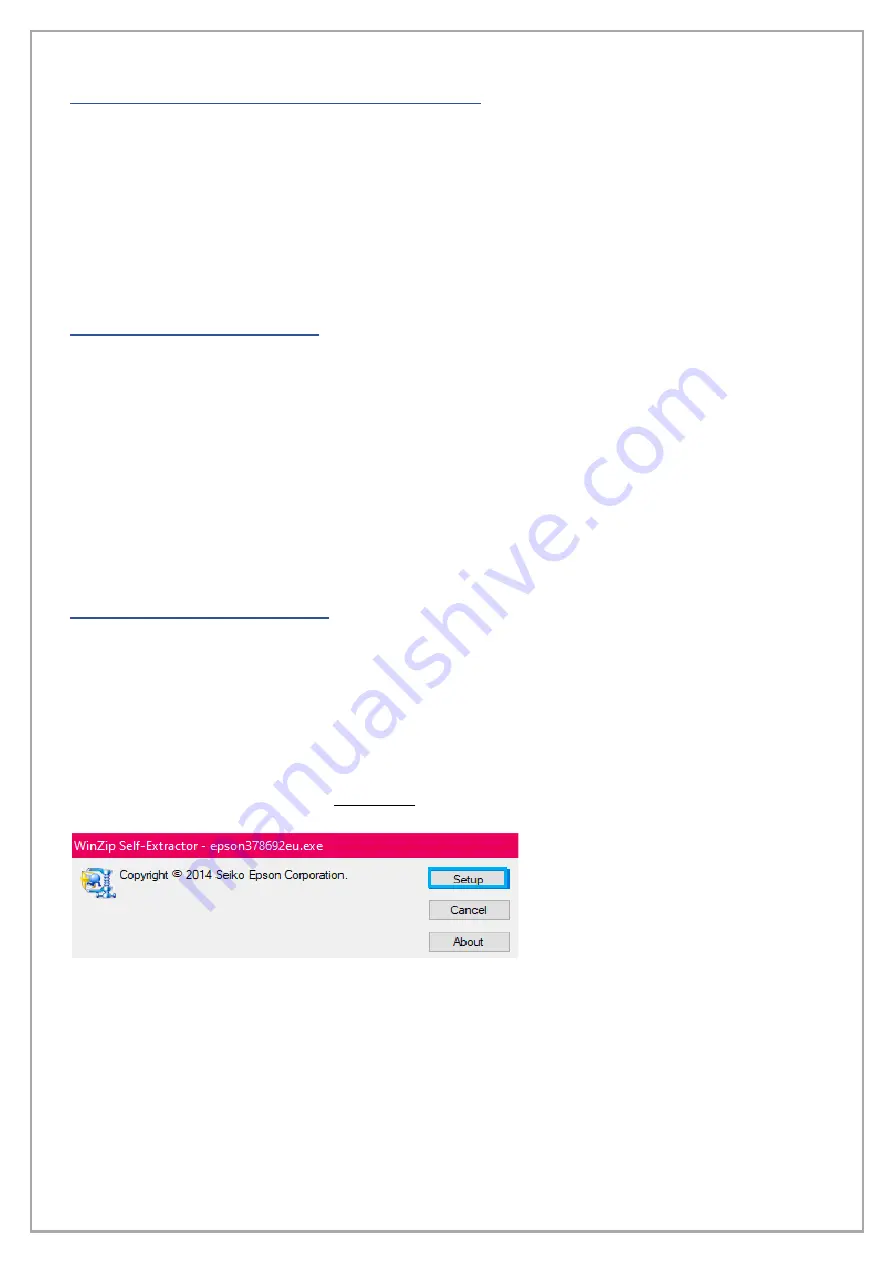
Once the WinZip Self-Extractor window
appears, click “Setup”


