


pg. 11
MATERIALS
Products provided with the printer.
•
Waste Bottle
•
Syringes with 14” Gauge Tips
•
Humidity Sensor
•
Printing Platform Tray
•
Epson Driver
•
RIP Software
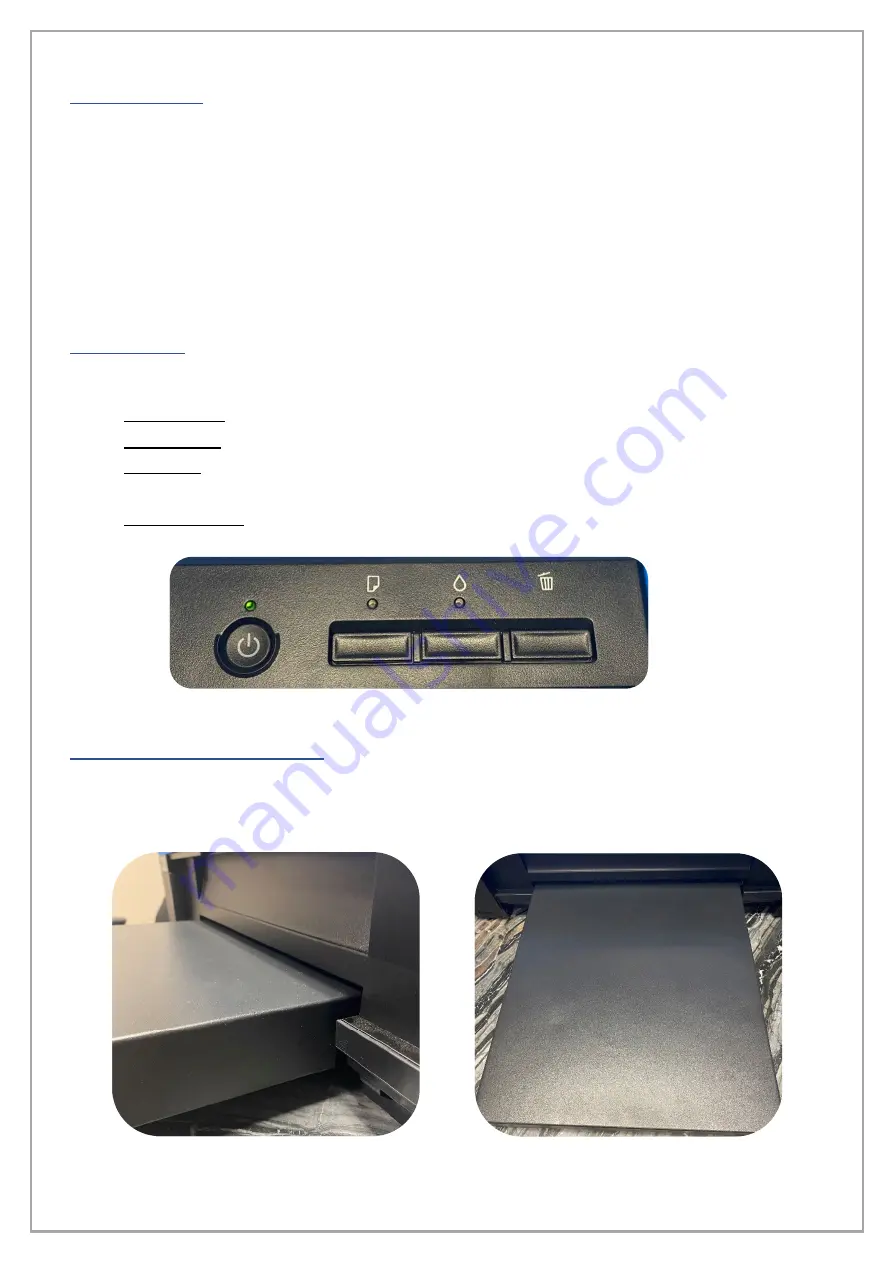
BUTTONS
Controls of the printer on the front are as follows:
•
Power Button: Turns the printer on and off indicated by the green light above it.
•
Paper Button: Indicates any issues related to your print media; light illuminates orange.
•
Ink Button: Indicates any issues related to your ink via a blinking orange light; Head cleanings
can be initiated by holding the Ink Button down until the Printhead carriage moves.
•
Trashcan Button: Cancels and stops the print in progress.
PRINTING PLATFORM
Once you have found an area for your printer, gently insert the black printing platform in the front of
the machine; the platform does not click or lock so you must be sure you inserted it fully. Be sure to
confirm that the platform is flat and evenly level on the same surface as the printer.


