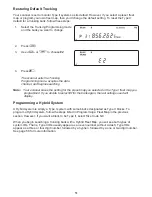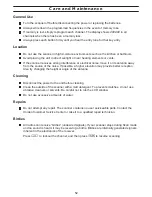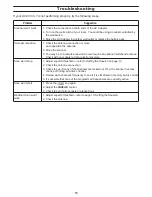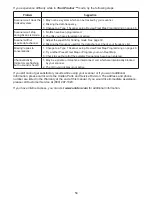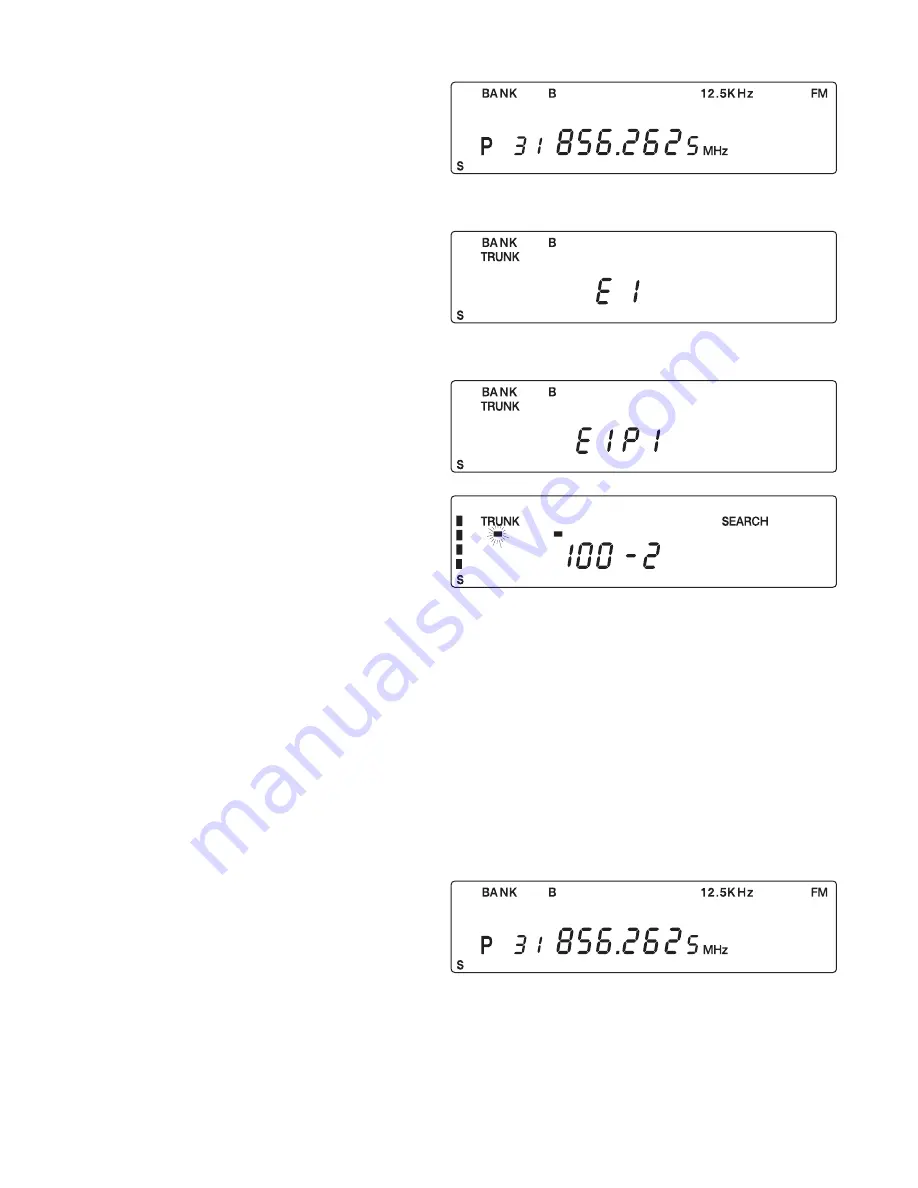
Selecting a Preset Fleet Map
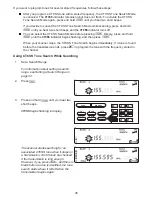
1.
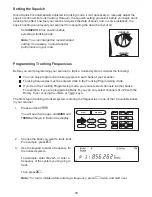
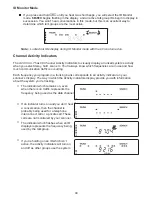
Select the Trunking Programming mode
and the bank you want to change.
2.
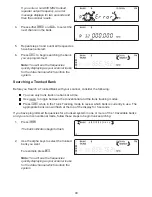
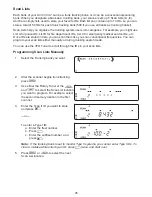
Press
d
.
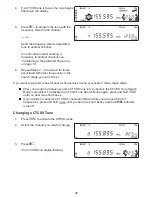
3.
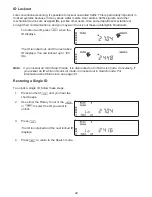
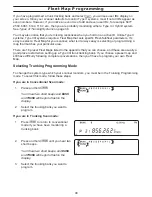
Use
h
or
i
to choose
E1
.
4.
Press
d
.
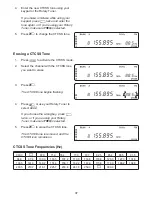
5.
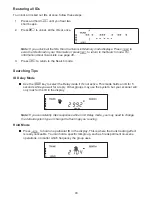
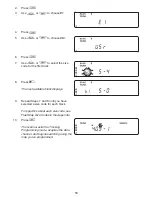
Use
h
or
i
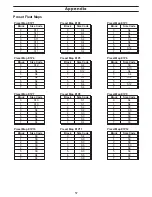
to choose the map
you want. For example,
E1P2
.
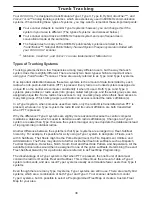
6.
Press
e
.
The scanner exits the Trunking
Programming mode, acquires the data
channel, and begins searching using the
preset map you chose.
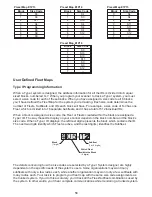
Note: You will now begin to see Type I Fleet-Subfleet IDs. For example, 100-12, 100-9,
000-12, 400-8, etc. See User Defined Fleet Maps in the Appendix for more information
about Type I IDs.
How do you know if the preset map is correct? You’ll have to listen to see if you’re following
complete conversations. If not, you should try another preset map.
Programming a Fleet Map
You may want to read User Defined Fleet Maps in the Appendix before programming a fleet map. It
contains a detailed explanation of Scanner Fleet Map Programming, as well as a table listing the
Fleet Map Size Codes.
1.
Select the Trunking Programming mode
and the bank you want to change.
49

