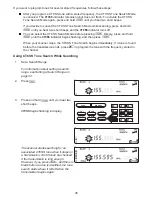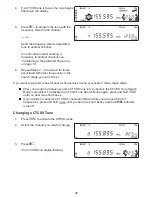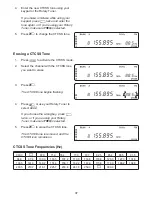
Fleet Map Programming
If you have programmed a trunk tracking bank and select
S
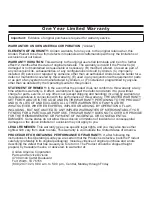
, you will see user IDs display on
your screen. Since your scanner defaults to monitor Type II systems, most if not all IDs appear as
even numbers. However, if you notice an even mix of odd and even user IDs, for example 6477,
2560, 6481, 6144, 1167, etc., then you are probably monitoring either a Type I or Hybrid system.
See
Types of Trunking Systems
on page 38.
You may also notice that you’re missing responses when you hold on an active ID. Unlike Type II
systems, Type I/IIi systems require a Fleet Map that sets specific Fleet-Subfleet parameters. It’s
easy to select a Fleet Map for your scanner; what isn’t always easy is selecting or programming a
map that matches your particular area.
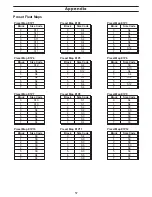
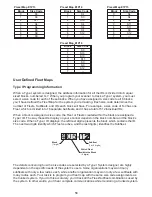
There are 16 preset Fleet Maps listed in the appendix that you can choose, and these are usually a
good place to start when setting up a Type I/IIi trunk tracking bank. If you choose a preset map and
still have difficulty following complete conversations, then you’ll have to program your own Fleet
Map.
Selecting Trunking Programming Mode
To change the system type which your scanner monitors, you must be in the Trunking Programming
mode. To select this mode, follow these steps:
If you are in Conventional Scan mode:
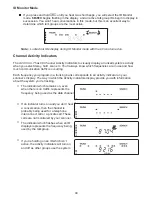
1.
Press and hold
t
.
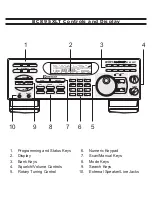
You’ll hear two short beeps and BANK
and TRUNK will begin to flash in the
display.
2.
Select the trunking bank you want to
program.
If you are in Trunking Scan mode:
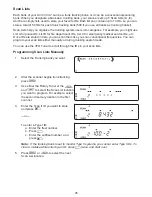
1.
Press
t
to return to conventional
mode if you have been monitoring a
trunking bank.
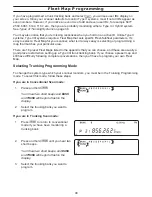
2.
Press and hold
t
until you hear two
short beeps.
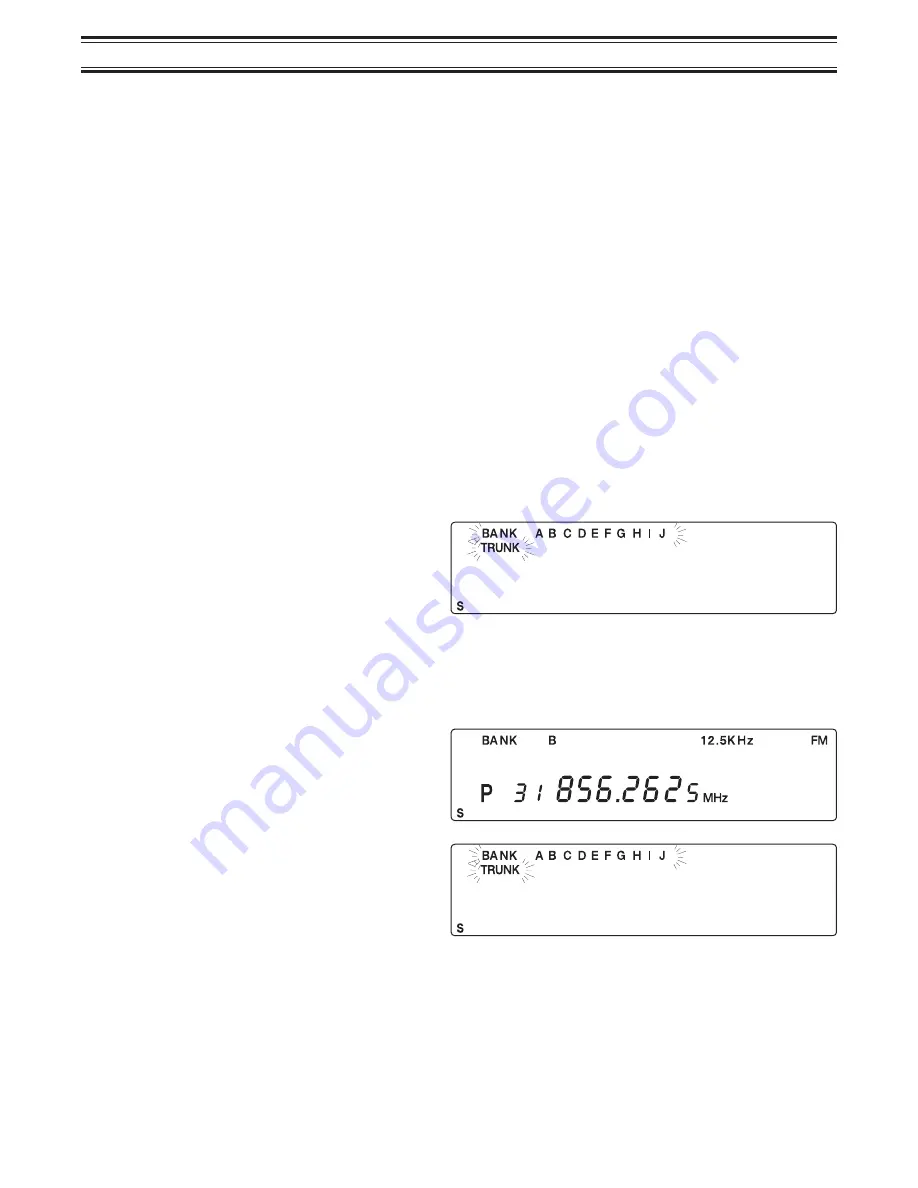
You’ll hear two short beeps, and BANK
and TRUNK will begin to flash in the
display.
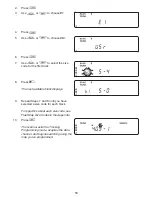
3.
Select the trunking bank you want to
program.
48


