


http://www.CompeGPS.com http://Support.CompeGPS.com 49
A
track.
The
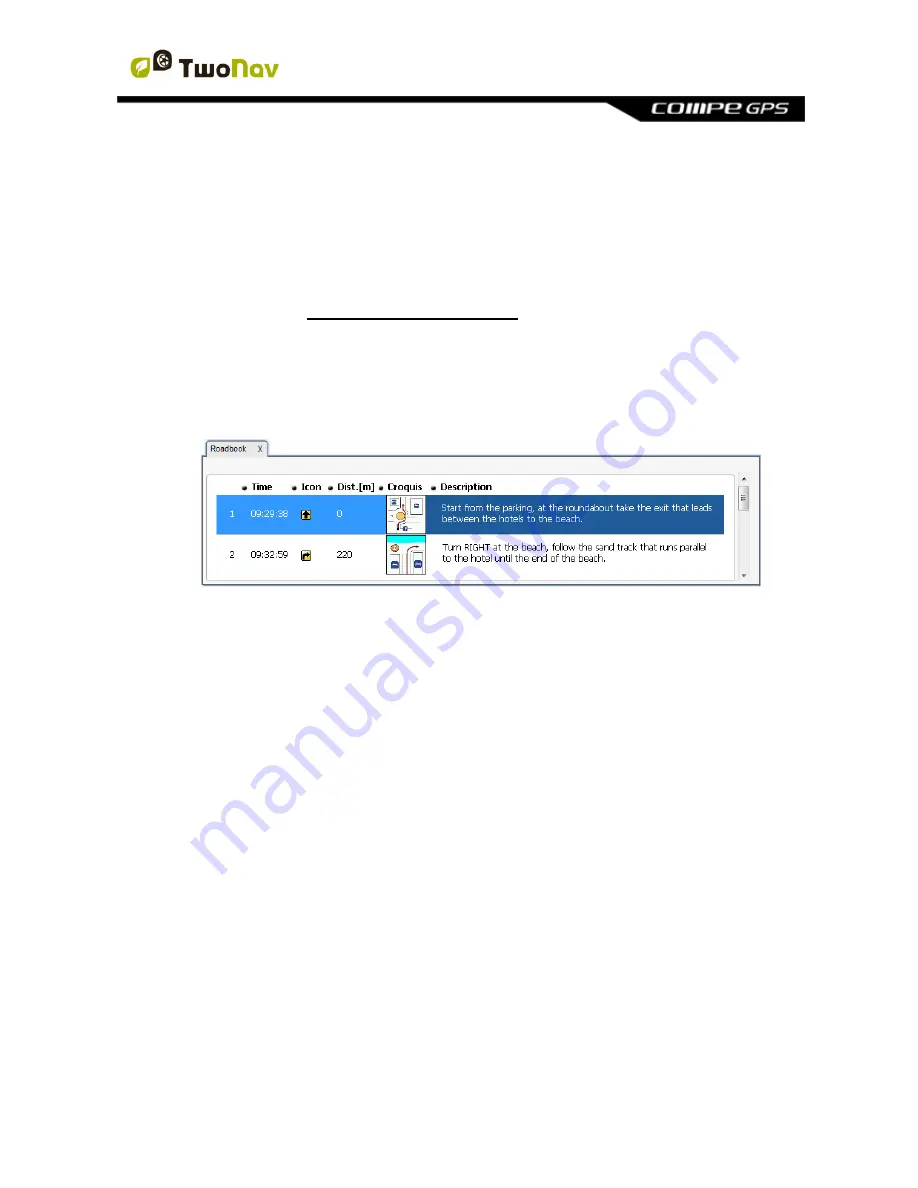
book
where items are stored with the images and descriptions.
Land/Air
software (Windows/Mac platforms).
Follow next steps to create an e-Roadbook file using Land/Air software:
1. Install Land/Air in your computer (Windows/Mac platforms), more
information at http://www.CompeGPS.com
2. Start Land/Air software and open the track file. Track will appear at
‘Track’
section at the data tree.
3. Once opened, open its contextual menu and select
‘Edit roadbook’
.
4. A new window will appear containing all waypoints of the track. Place the
mouse at the exact location where there is something to highlight and
open the contextual menu on that point, press
‘Create a roadbook point
here’
.
5. Now you can edit the roadbook point with relevant information:
Description:
Write important manoeuvres, information about
monuments, notable facts…
Croquis:
Associate image showing navigation signs for an easy
orientation.
Important:
To associate images you should edit, cut and save
them using a suitable format (*.BMP) and size (
128x128 pix.)
, so
that they can fit TwoNav interface. Search for the right image editor
to edit pictures.
6. Repeat this action for each roadbook point that you want to highlight.
7. If you wish, add files to the waypoints of the roadbook using one of these
methods: