10-12
Troubleshooting > Troubleshooting
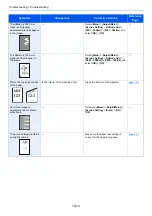
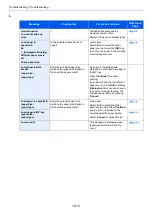
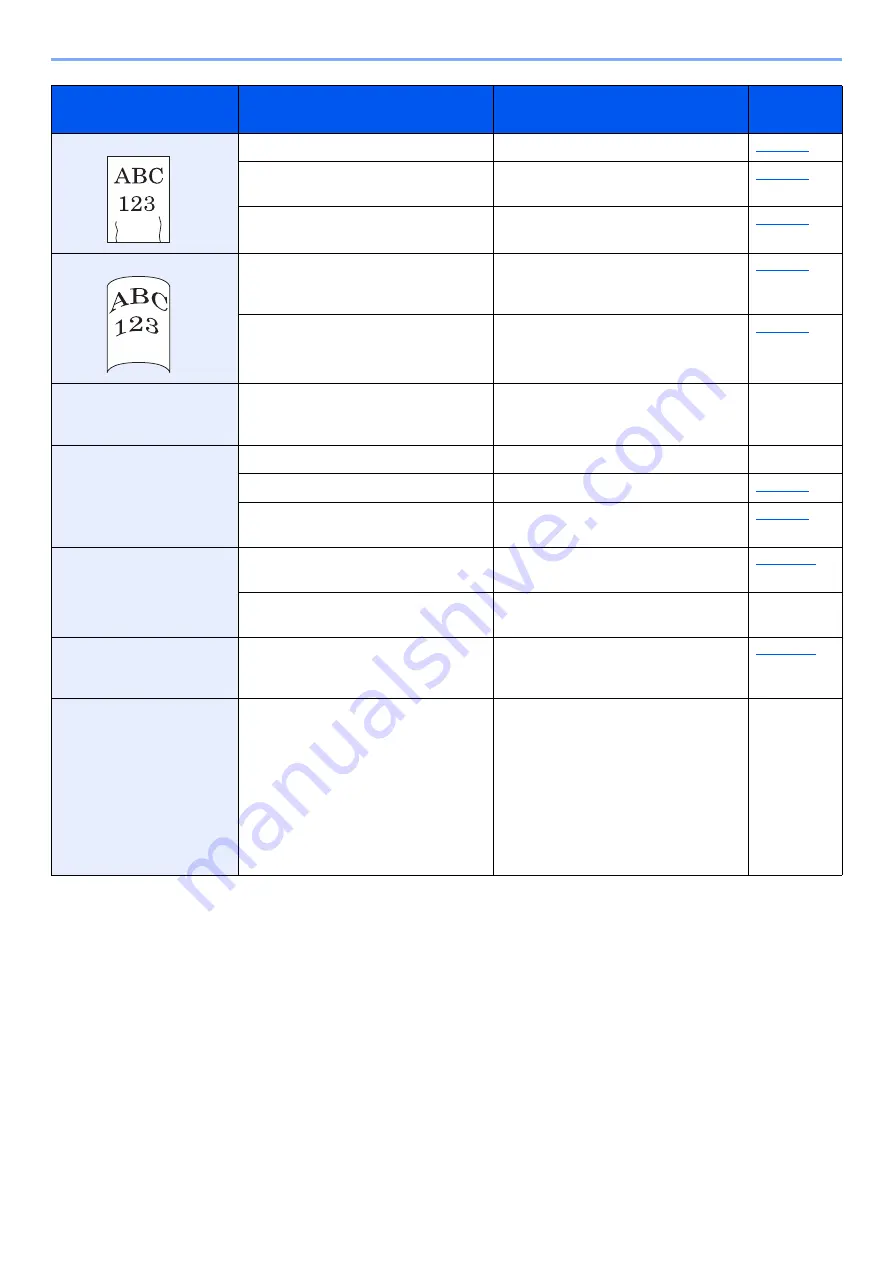
Printouts are wrinkled.
Is the paper loaded correctly?
Load the paper correctly.
―
Turn the orientation 180 degrees around
in which the paper is positioned.
Is the paper damp?
Replace the paper with new paper.
Printouts are curled.
―
Turn the paper over in the cassette, or
turn the orientation 180 degrees around
in which the paper is positioned.
Is the paper damp?
Replace the paper with new paper.
Printer driver cannot be
installed.
Is the driver installed with the host name
while Wi-Fi or Wi-Fi Direct function is
available?
Specify the IP address instead of the
host name.
―
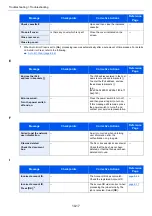
Cannot print.
Is the machine plugged in?
Plug the power cord into an AC outlet.
―
Is the machine powered on?
Turn on the power switch.
Are the USB cable and network cable
connected?
Connect the correct USB cable and
network cable securely.
Cannot print with USB drive.
USB drive not recognized.
Is the USB host blocked?
Select [
Unblock
] in the USB host
settings.
―
Check that the USB drive is securely
plugged into the machine.
―
While [
Auto-IP
] is already
set to [
On
], the IP address is
not assigned automatically.
Is a value other than "0.0.0.0" entered
for the link local address of TCP/IP(v4)?
Enter "0.0.0.0" for the IP address of
TCP/IP(v4).
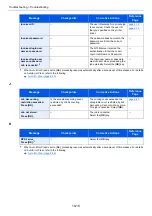
The machine is emitting
steam in the area around the
paper ejection slot.
Check the room temperature to see if it
is low, or if damp paper was used.
Depending on the printing environment
and the paper's condition, the heat
generated during printing will cause the
moisture in the paper to evaporate, and
the steam emitted may look like smoke.
This is not a problem, and you can
continue printing. If the steam concerns
you, raise the room temperature, or
replace the paper with a newer, dryer
paper.
―
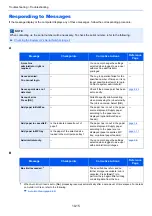
Symptom
Checkpoints
Corrective Actions
Reference
Page
Summary of Contents for P-4532DN
Page 1: ...Operation Guide P 5532DN P 5032DN P 4532DN ...
Page 219: ...10 5 Troubleshooting Regular Maintenance Replacing the Toner Container 1 2 ...
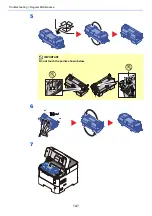
Page 221: ...10 7 Troubleshooting Regular Maintenance 5 6 7 IMPORTANT Do not touch the points shown below ...
Page 241: ...10 27 Troubleshooting Troubleshooting Duplex Unit 1 2 3 ...
Page 243: ...10 29 Troubleshooting Troubleshooting 4 Inner Tray Inside Rear Cover 1 2 ...
Page 245: ...10 31 Troubleshooting Troubleshooting Bulk Feeder 1 2 3 ...
Page 246: ...10 32 Troubleshooting Troubleshooting 4 Duplex unit when Bulk Feeder is installed 1 2 3 ...
Page 247: ...10 33 Troubleshooting Troubleshooting 4 5 6 ...
Page 281: ......

