9-3
User Authentication and Accounting (User Login, Job Accounting) > Enabling User Login Administration
Enabling User Login Administration
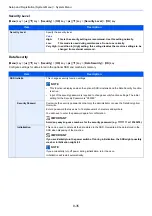
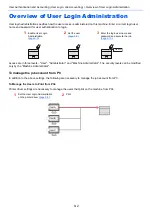
This enables user login administration.
1
Display the screen.
1
[
Menu
] key > [▲] [▼] key > [
User/Job Account
] > [
OK
] key
2
[▲] [▼] key > [
User Login Set.
] > [
OK
] key
2
Configure the settings.
1
[▲] [▼] key > [
User Login
] > [
OK
] key > [▲] [▼] key > [
Login Type
] > [
OK
] key >
[▲] [▼] key > [
Netwk Authentic.
] > [
OK
] key
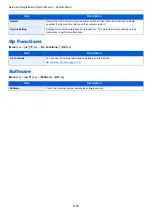
2
[▲] [
] key > [
Netwk Auth. Set.
] > [
OK
] key > [▲] [
] key > [
Server Type.
] > [
OK
] key >
[▲] [
] key > [
NTLM
], [
Kerberos
] or [
Ext.
] > [
OK
] key > [▲] [
] key > [
Host Name
] >
[
OK
] key
3
Enter the host name (64 characters or less) for the Authentication Server and select the
[
OK
] key.
4
Select the domain name for the Authentication Server, and select the [
OK
] key.
If the domain has not been set, select the number where "----------------" is displayed and select
[
Menu
]. Select [
Edit
] and select the [
OK
] key then enter the domain name (in 256 characters or less).
Select the [
OK
] key and the domain will be registered.
To edit or delete a domain name that has already been registered, select that domain name and
select [
Menu
].
5
When selecting [
Ext.
] as the server type, select [▲] [
] key > [
Port
] > [
OK
] key.
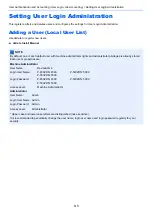
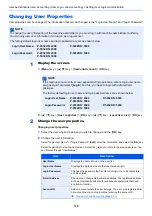
NOTE
If the login user name entry screen appears during operations, enter a login user name
and password, and select [
Login
]. For this, you need to login with administrator privileges.
The factory default login user name and login password are set as shown below.
Login User Name:
P-4532DN: 4500
P-5032DN: 5000
P-5532DN: 5500
Login Password:
P-4532DN: 4500
P-5032DN: 5000
P-5532DN: 5500
NOTE
Select [
Off
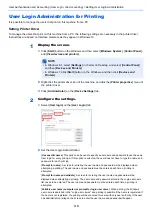
] to disable user login administration.
NOTE
Up to 10 domain names can be registered.
Summary of Contents for P-4532DN
Page 1: ...Operation Guide P 5532DN P 5032DN P 4532DN ...
Page 219: ...10 5 Troubleshooting Regular Maintenance Replacing the Toner Container 1 2 ...
Page 221: ...10 7 Troubleshooting Regular Maintenance 5 6 7 IMPORTANT Do not touch the points shown below ...
Page 241: ...10 27 Troubleshooting Troubleshooting Duplex Unit 1 2 3 ...
Page 243: ...10 29 Troubleshooting Troubleshooting 4 Inner Tray Inside Rear Cover 1 2 ...
Page 245: ...10 31 Troubleshooting Troubleshooting Bulk Feeder 1 2 3 ...
Page 246: ...10 32 Troubleshooting Troubleshooting 4 Duplex unit when Bulk Feeder is installed 1 2 3 ...
Page 247: ...10 33 Troubleshooting Troubleshooting 4 5 6 ...
Page 281: ......

